Adobe InDesign is a great page layout program, allowing you to design just about anything that your creativity can dream up. But once you get a complex document filled with placed images, text frames, baseline grids, guides, and more, it can be difficult to see exactly what’s going on!
Fortunately, there’s a simple trick to quickly toggle back and forth between the standard InDesign editing mode and a clean preview of your final output.
Table of Contents
Key Takeaways
- Cycle between Normal and Preview screen modes by pressing W.
- Launch a full-screen preview by pressing Shift + W.
Switching Screen Modes in InDesign
Here’s how to quickly shift view modes in InDesign to preview your document: just press the W key! That’s all there is to it.
InDesign will hide all object borders, margins, guides, and other on-screen elements such as the bleed and slug areas, allowing you to get a proper look at how your document will look once it’s exported.

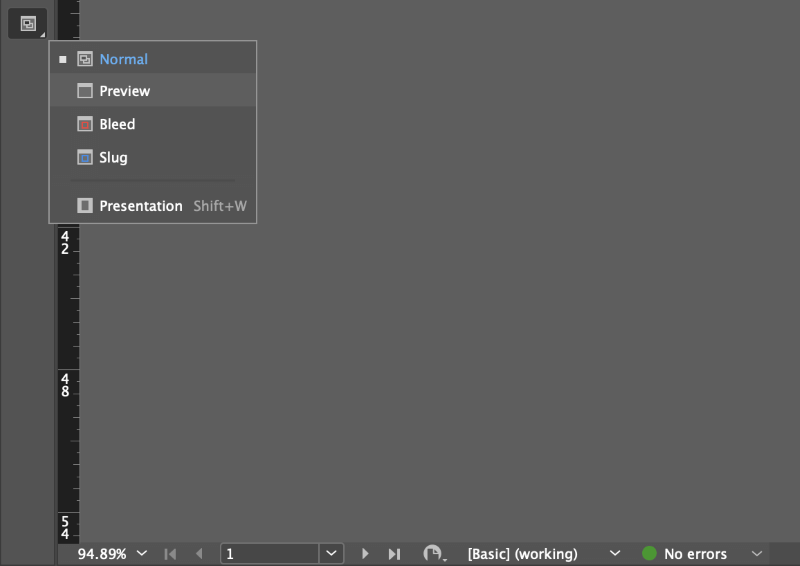
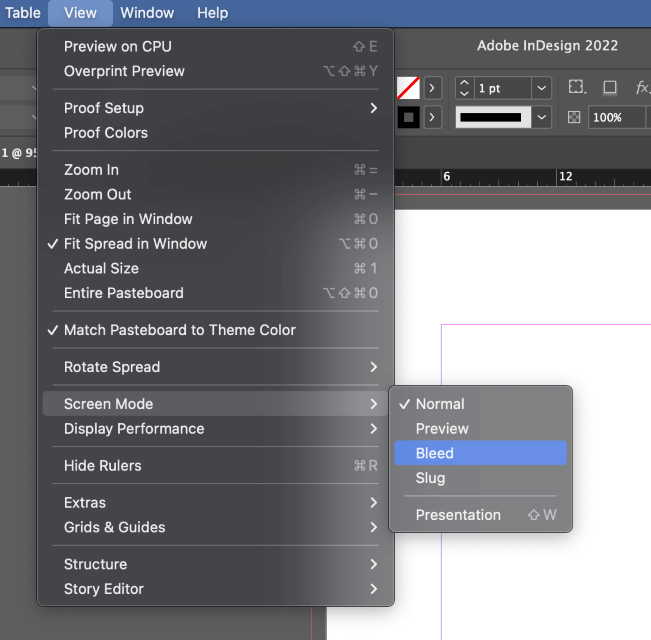
You can also switch between Normal and Preview modes using the Screen Mode popup menu that’s located just below the toolbox (see above). If that’s not to your taste, you can open the View menu, select the Screen Mode submenu, and then click Preview.
Previewing Bleed and Slug Areas in InDesign
As you probably noticed when trying out the screen mode popup menu, there are a couple of other options for previewing your document, depending on what you want to accomplish.
The typical Preview screen mode described above shows the trim size of your document without bleed or slug areas, but it’s also possible to see a preview that includes them.

Unfortunately, the handy keyboard shortcut doesn’t work for the Bleed and Slug screen modes, so you’ll have to select these options manually from one of the screen mode menus.
Previewing as a Full-Screen Presentation in InDesign
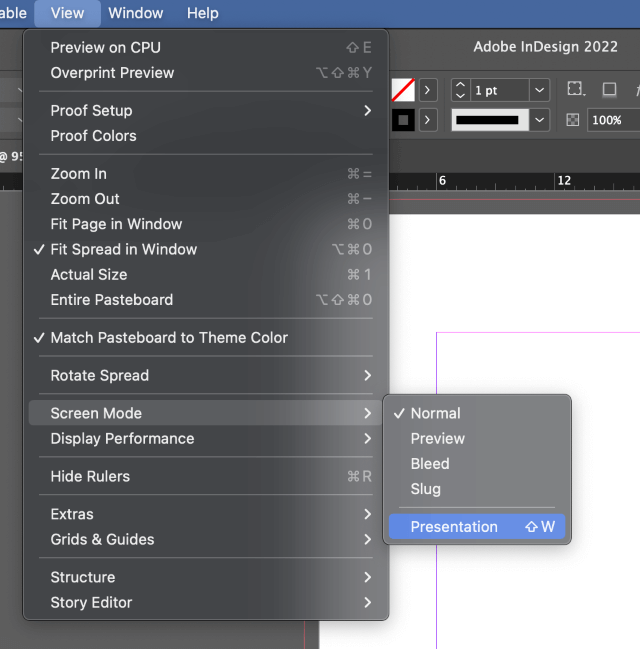
If you want to give a more polished presentation of your work for a client meeting or a supervisor’s unexpected stop at your desk, you can view a preview of your document in a full-screen presentation mode using the keyboard shortcut Shift + W.
You can also launch the full-screen presentation mode using the Screen Mode section of the View menu or by using the Screen Mode popup menu below the toolbox, but they all produce the same result.

This will hide all of the InDesign user interface elements and display your document as large as possible. This is an excellent way to preview digital documents because rich media and other interactive elements will be easily usable.
To exit full-screen preview mode, press the Escape key.
A Note About Display Performance
As everyone knows, computers are continually getting more powerful, but it wasn’t all that long ago that an InDesign document filled with hundreds of high-resolution images could slow a computer to a crawl.
Adobe balanced this out by using low-resolution preview images for on-screen display to keep the interface feeling snappy and responsive, but many new InDesign users were confused by the fact that their high-resolution images looked bad on screen, even though they printed out just fine.
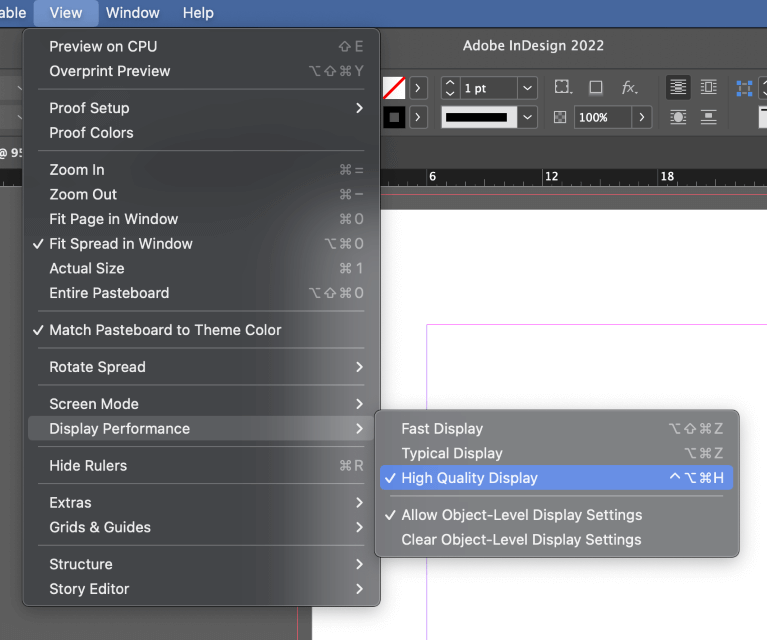
It is possible to adjust the Display Performance setting in the View menu to show images at their full resolution, but this option is now enabled by default if InDesign detects that your computer has a graphics processing unit (GPU) that’s capable of handling it well.
Most modern computers can do this easily and should display your images properly during editing and preview.

If you’re seeing blurry images while working with InDesign, double-check your Display Performance setting by opening the View menu, selecting the Display Performance submenu, and clicking High-Quality Display.
Alternatively, if your computer is struggling, you can drop the quality down to Typical or even Fast to improve performance.
Just remember: this only affects how images appear on screen within InDesign and not how they will look when exported or printed!
A Final Word
That’s just about everything there is to know about how to preview in InDesign! There are a couple of other different preview modes for checking overprints and color proofing, but they are highly specialized preview modes that deserve their own tutorials.
Happy previewing!
