If you want to create a transparent background you have access to Canva Pro, Canva for Education, Canva for Teams, or Canva for Nonprofits. You can remove or delete backgrounds to create and download files with transparent backgrounds.
My name is Kerry, and I’ve been involved in graphic design and digital art for years. I have been using Canva as a main platform for designing and am extremely familiar with the program, best practices for using it, and tips to make creating with it even easier!
In this post, I’ll explain how to create a file with a transparent background in Canva. I’ll also explain how to download these transparent PNG files so that you can use them for a variety of applications.
Are you ready to learn how?
Table of Contents
Key Takeaways
- Downloading transparent images is only available through certain types of accounts (Canva Pro, Canva for Teams, Canva for Nonprofits, or Canva for Education).
- After using the background remover tool or changing the exposed background to white, you can download your design as a PNG file which will allow it to have a transparent background.
Can I Make the Background of an Image Transparent for Free?
In order to alter the transparency of the background or an image on Canva, you must have access to an account with premium features. While you can see the transparency options on the platform, you won’t be able to make use of them without paying for a Pro account.
How to Create Designs with Transparent Backgrounds
If you want to create a design with a transparent background, you can either use the background remover tool that is available or follow these steps to ensure that your downloaded file has a transparent background.
Step 1: Insert the elements that you want to use into the canvas for your project.
Step 2: When you are ready to download, set the background color of the canvas to white. Click on the background and tap the gradient color tool that is located above the canvas, changing the selection to white.
You can also remove any background pieces that you don’t want by tapping on them and clicking delete.
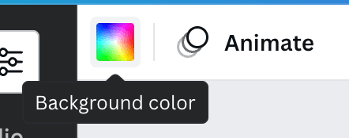
Step 3: Follow the steps at the end of this article to download your file as a PNG file, and make sure to check the transparent background box so that your work is saved with that transparency!
It is also important to note that in order to create a file with a transparent background, you can’t have the entire canvas covered in elements or images since there will be no background space to actually make it transparent!
How to Change the Transparency of an Image
If you’re looking to layer images and text within your design, it is important to know how to alter individual images to change their transparency. You can do this without using the background remover tool since it will alter the entire image.
Follow these steps to change the transparency of an image:
Step 1: Click on the image on your canvas that you want to edit. You can also select multiple elements by holding down the Shift key on your keyboard and clicking additional components to highlight.
Step 2: Tap the transparency button (it looks like a checkerboard) that is located towards the top right of the screen. You’ll be able to change the translucence of your image using this tool!
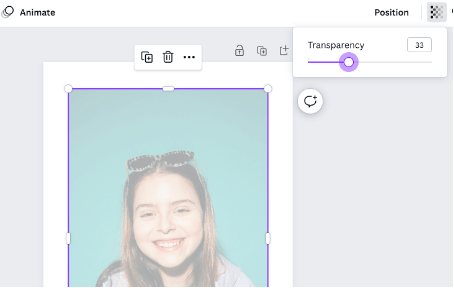
Step 3: Drag the circle on the slider to adjust the transparency value according to your needs. Remember, the lower the number on the scale, the more transparent the image becomes.
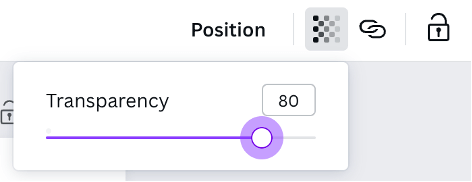
If you would prefer to type in a transparency value between 0-100, you can manually add that into the value box next to the slider tool.
Downloading Your Design as a PNG File
One of the best things about using the background remover tool is that it allows you to download files with transparent backgrounds! This is perfect for anyone looking to create designs to be used in other presentations or if you want to create designs for crafting purposes.
To download your work as a PNG file:
1. Click on the Share button that is located at the top right section of the screen.
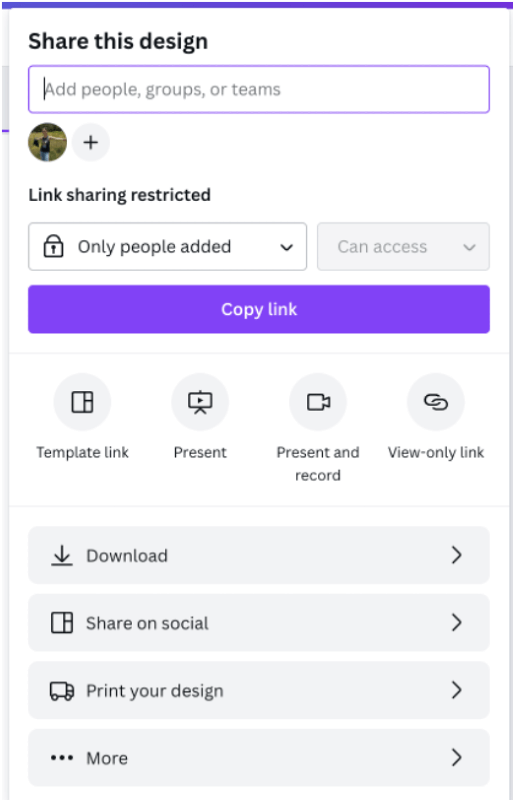
2. In the dropdown menu, tap on the download option. You will see that there are a few file options to select from (JPG, PDF, SVG, etc.). Choose the PNG option.
3. Underneath the file format dropdown, check the box next to the transparent background. If you don’t remember to check this button, your downloaded image will have a white background.
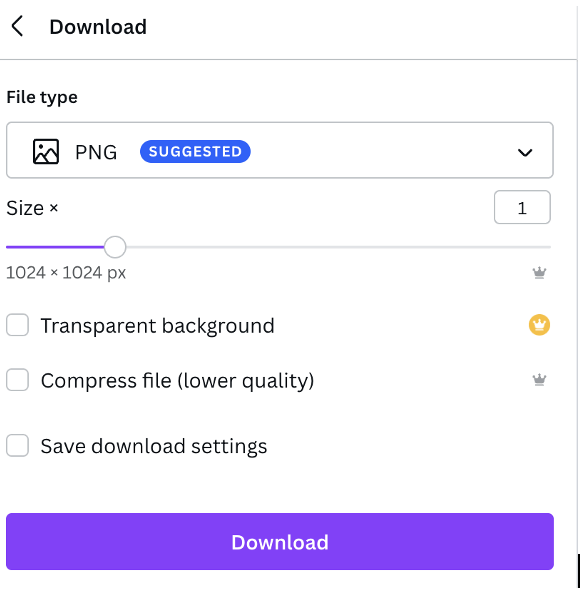
4. Tap the download button and your file will download to your device.
Final Thoughts
Knowing how to alter the transparency of images and backgrounds on your designs in Canva is a great asset that can expand your design capabilities. By utilizing these tools, you’ll be able to edit and create more designs that can be transferred to other projects without you having to worry about attached background images.
Do you have any tips on using transparent images in your Canva projects? Share your feedback and advice in the comment section below!
