To customize your projects even further, there is an option to flip or rotate any element in Canva by clicking an element and using either the rotator handle or flip button.
My name is Kerry, and I’ve been working in the world of graphic design and digital art for years. Canva has been one of the main platforms that I’ve used to do this because it is so accessible, and I am excited to share all the tips, tricks, and advice on how to create awesome projects!
In this post, I’ll explain how you can flip or rotate any type of added element on Canva. This can be helpful when customizing your designs within a project and is very simple to do.
Ready to go? Excellent- let’s learn how to rotate and flip images!
Table of Contents
Key Takeaways
- You can rotate an image, text box, photo, or element in Canva by clicking on it and using the rotator tool to spin it to a specific angle.
- To flip an element, you will use the Flip button that is displayed on the additional toolbar that pops up when you click on an element.
Adding a Border to Your Work in Canva
Even though these are fairly simple tasks to do in Canva, the ability to flip or rotate an element within your project really allows for additional customization. Depending on your layout and what you are trying to make, being able to do this makes building a design much easier.
You can use these tools on any sort of element, including text boxes, photos, elements, videos, and basically any design component on your canvas!
How to Rotate an Element in Your Project
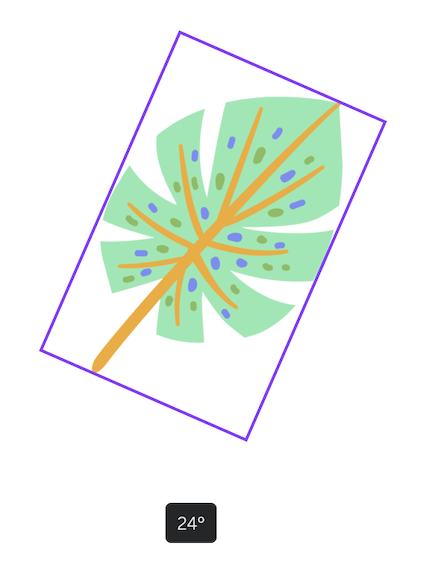
The rotate feature in Canva allows you to change the orientation of different pieces of your project. While using it, a degree symbol will also pop up so that you can know the specific orientation of the rotation in case you want to duplicate it.
Follow these steps to learn how to rotate an element in Canva:
Step 1: Open up a new project or one that you are currently working on.
Step 2: Insert any text box, photo, or element onto your canvas. (You can check out some of our other posts to learn how to do this.)
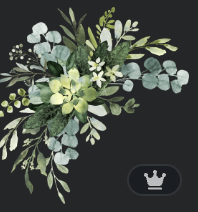
Note: If you see a small crown attached to the element, you will only be able to use it in your design if you have a Canva Pro account that gives you access to premium features.

Step 3: Click on the element and you will see a button pop up that looks like two arrows in a circle. This will appear only when you click on the element. This is your rotator handle!

Step 4: Click on the rotator handle and swivel it to change the orientation of the element. You will see that a small degree symbol will change based on your rotation. This will be helpful if you want to make sure different elements have the same alignment!

Step 5: When you are satisfied with the orientation, simply unclick the element. You can go back and rotate it at any point!
How to Flip an Element in Canva
Just like you can rotate an element to various degrees on a project, you can also flip them horizontally or vertically.
Follow these steps to flip any element in your project:
Step 1: Open up a new project or one that you are currently working on. Insert any text box, photo, or element onto your canvas.
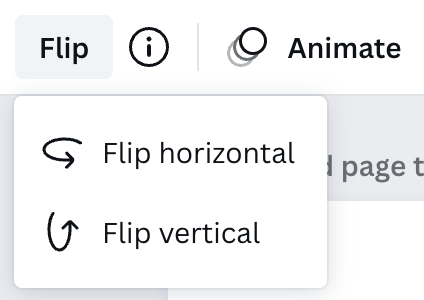
Step 2: Click on the element and an additional toolbar will appear toward the top of your canvas. You will see a few buttons that will allow you to edit your element, including one labeled Flip.

Step 3: Click on the Flip button and a dropdown menu with two options will appear that will allow you to flip your element either horizontally or vertically.

Choose whichever option you need for your design. You can go back and change these at any point while working on the canvas!
Final Thoughts
Being able to manipulate elements on your project through rotation or flipping is a great ability when using Canva. Those specific customizations will really help elevate your projects and make them one of a kind!
When do you find that using the rotator tool and flip option is the most useful when designing in Canva? Share your thoughts and ideas in the comment section down below!
