InDesign is a page layout application, but it comes with a set of simple vector drawing tools that can be useful in a wide range of circumstances.
Sometimes, it doesn’t make sense to load up Illustrator just to draw a basic shape, and you can streamline your workflow a little bit by using InDesign for very small drawing tasks.
Of course, InDesign will never replace Adobe Illustrator as a vector drawing app, but there are still four different ways to make a simple star shape in InDesign.
Here’s how to use them in your next project!
Table of Contents
Method 1: Making Stars with the Polygon Tool
The fastest way to make a star in InDesign is to use the Polygon Tool. If you haven’t run into this tool before, don’t feel bad – it’s nested under the Rectangle Tool in the Tools panel, and it doesn’t even have its own keyboard shortcut.
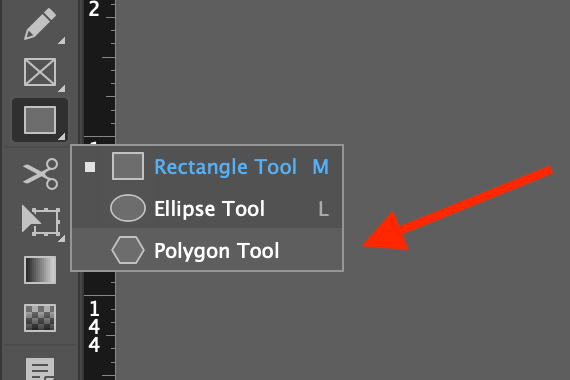
To access it, right-click or click and hold on to the Rectangle Tool icon in the Tools panel. A popup menu will show the other tools that are nested in the same spot. Click Polygon Tool in the popup menu to activate it.
Once the tool is active, double-click the Polygon Tool icon in the Tools panel to open the Polygon Settings dialog window. This allows you to customize the number of sides for your polygon, as well as the star inset percentage.
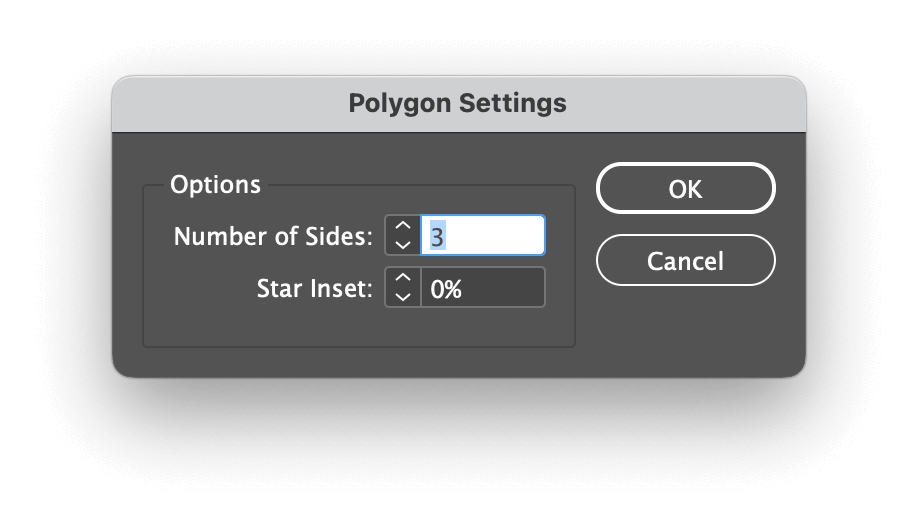
As you’ve probably guessed, the Star Inset percentage controls the shape of your star by creating an inset point along each of the polygon’s sides.
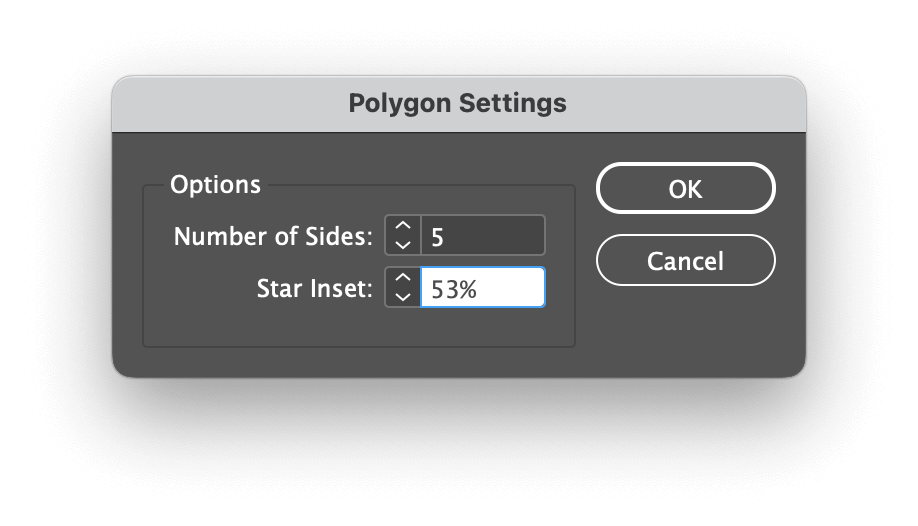
To create a basic five-pointed star, set Number of Sides to 5 and set Star Inset to 53%, then click the OK button.
Click and drag anywhere on your page to draw your five-pointed star. You can hold down the Shift key while dragging to keep the star’s width and height equal.
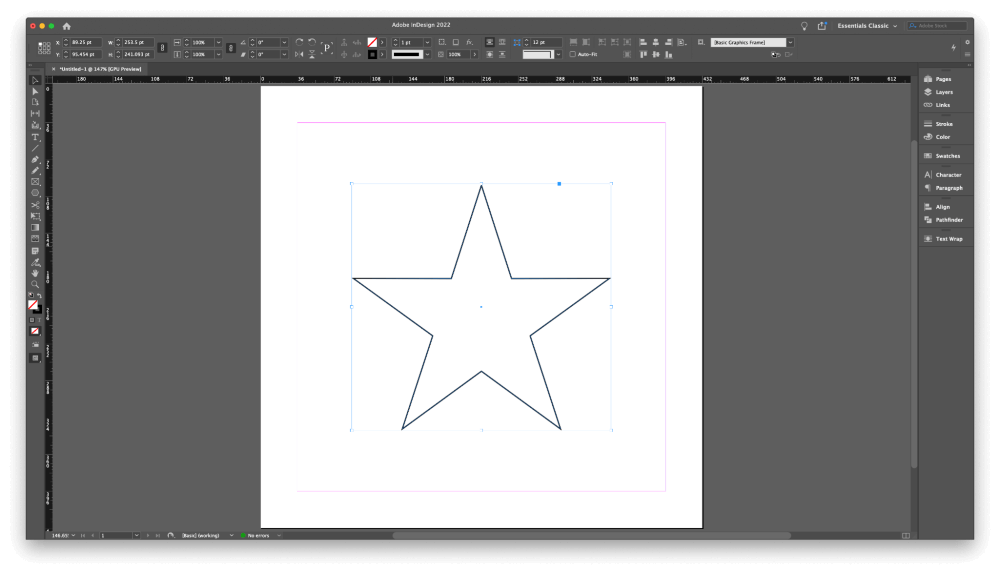
You can adjust the configuration of your stars at any time by double-clicking the Polygon Tool icon and changing the settings there. Number of Sides will always correspond to the number of points on your star, and different Star Inset percentages can make a big difference in the final shape of your star.
Once you’ve drawn a star, you can edit it like any other vector shape using the Direct Selection tool, as well as the Pen tool and its associated anchor point tools.
Method 2: Drawing Freeform Stars with the Pen Tool
If you prefer a more freeform approach to stars, you can draw a star by hand with the Pen tool. The Pen tool is perhaps the only universal tool across all of Adobe’s drawing apps, and it works the same way in every situation.
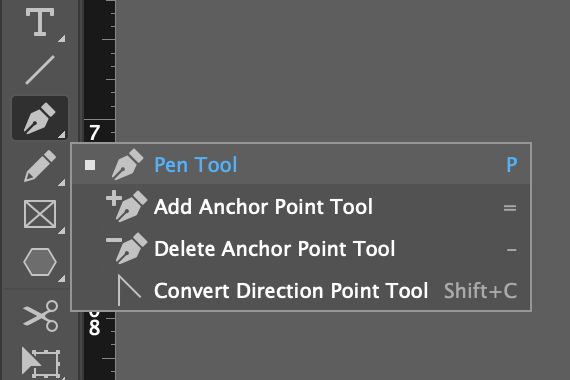
Switch to the Pen tool using the Tools panel or the keyboard shortcut P. Click anywhere to place the first anchor point of your star and then click again to place a second anchor point and automatically draw a perfectly straight line between the two.
If you want to add a curve, you can click and drag when adding a new anchor point and then come back to adjust it later.
Continue clicking with the Pen tool until you’ve completed your star, but remember that you’ll need to close the outline for it to be considered a shape instead of a line.
As with all other vector shapes, you can also reposition anchor points and adjust curves using the Direct Selection tool.
Method 3: Convert Anything into a Star
One of the most underused tools in InDesign is the Pathfinder panel. If it’s not already part of your workspace, you can activate the panel by opening the Window menu, selecting the Object & Layout submenu, and clicking Pathfinder.
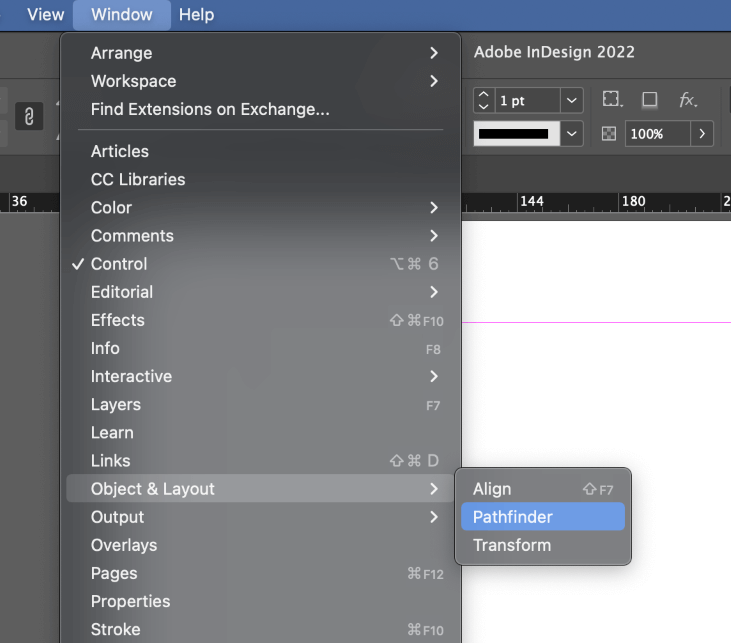
The Pathfinder panel has a unique feature that allows you to instantly convert any vector shape into a star – even the clipping masks inside text frames!
First, you’ll need to make sure that the Polygon Tool is already configured with your chosen settings. Right-click the Rectangle Tool, select Polygon Tool from the popup menu and then double-click the icon to open the Polygon Settings window. Customize the settings the way you want, and then click OK.
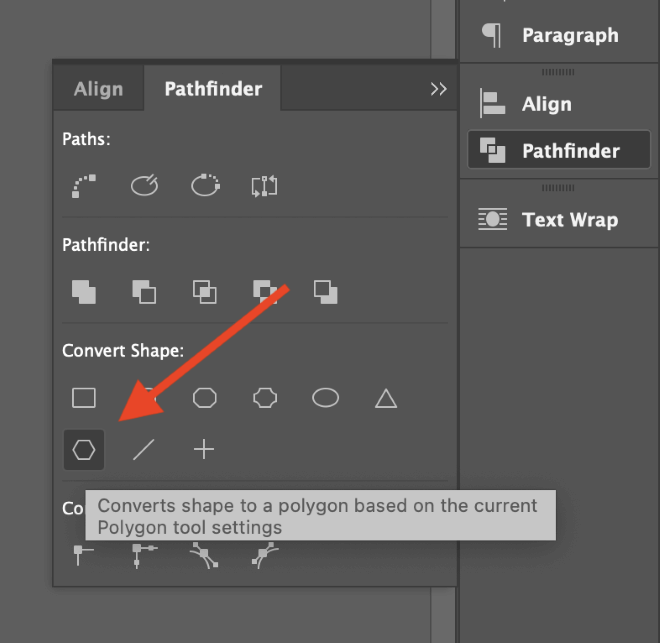
Next, switch to the Selection tool and select the object that you want to convert into a star. Then simply click the Convert to Polygon button in the Pathfinder panel, and it will apply your current Polygon Tool settings to the selected object!
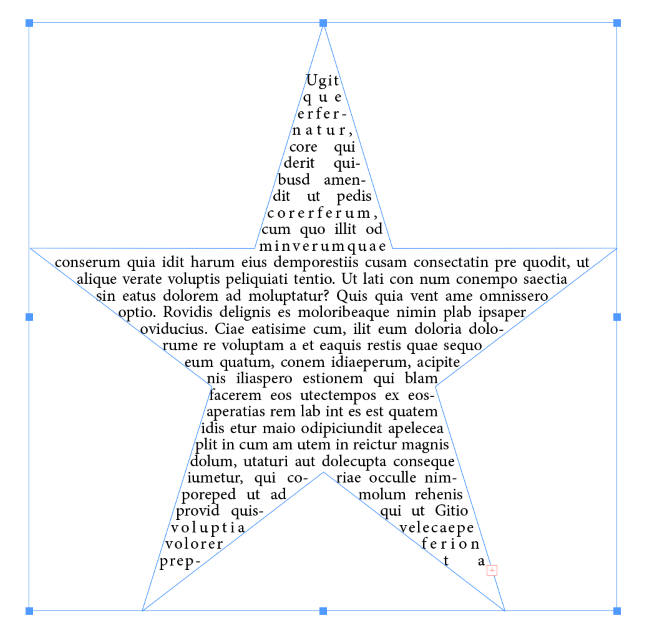
You’ll have to choose your font settings carefully, but you might even be able to make it work with a text frame!
Method 4: Use Glyphs to Create Special Stars
Because all fonts in InDesign are treated as vectors, you can use any of the star characters in any font as a vector shape.
To get started, switch to the Type tool using the Tools panel or the keyboard shortcut T, then click and drag to create a small text frame. The size of the frame doesn’t matter because the star won’t stay in text format for long. In the Control panel or the Character panel, select the typeface that you want to use.
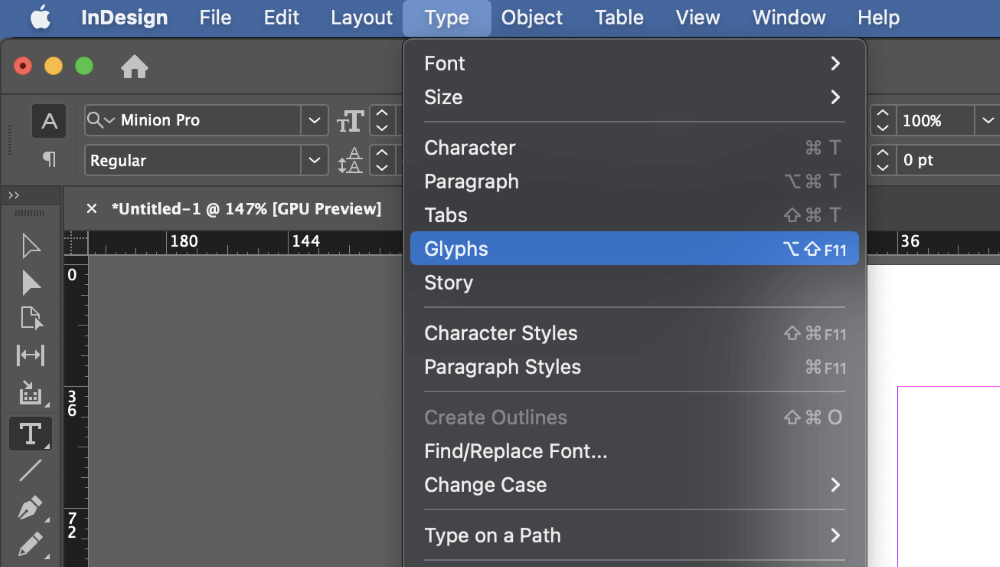
Next, open the Type menu and select Glyphs. You can also use the keyboard shortcut Option + Shift + F11 (use Alt + Shift + F11 if you’re on a PC). If the Glyphs panel is empty, it’s because you forgot to select a typeface first!
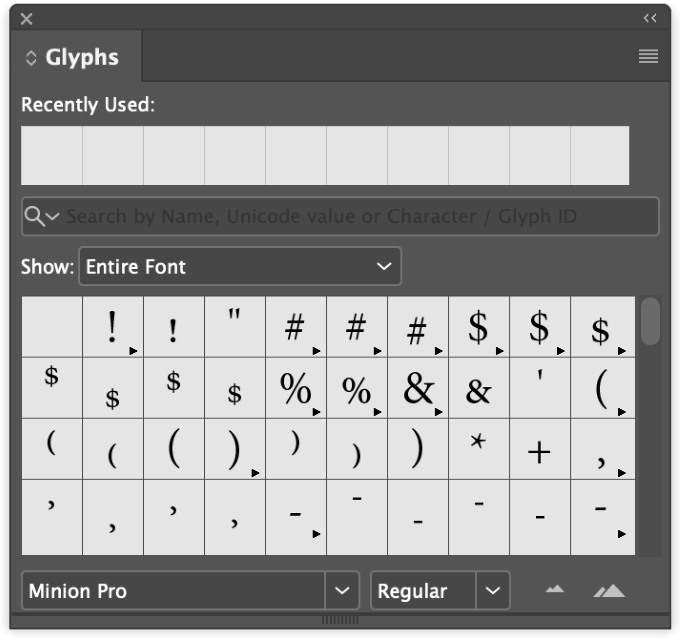
Otherwise, you should see a list of all the characters within the selected font. You can use the search bar to enter a keyword, although you may have better luck browsing visually. Searching for “star” or “asterisk” may also be helpful.
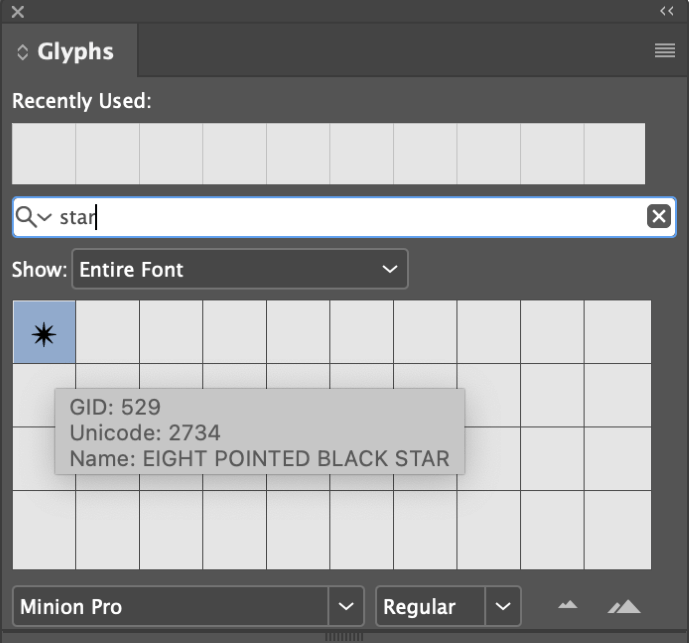
Once you find a star glyph you want to use, double-click the entry, and it will be inserted into your text frame.
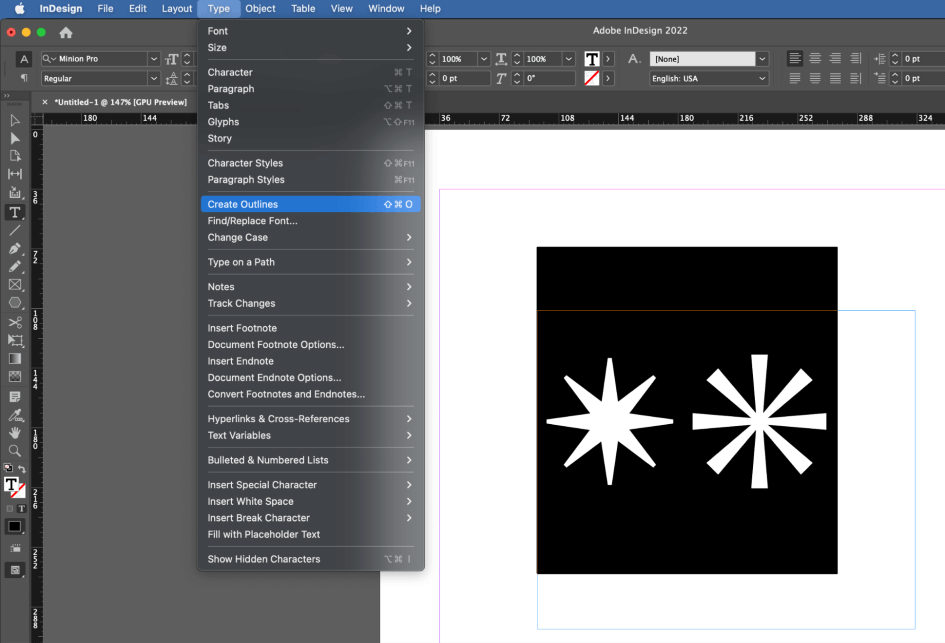
Using the Type tool, select the star glyph you just added, then open the Type menu and select Create Outlines. You can also use the keyboard shortcut Command + Shift + O (use Ctrl + Shift + O if you’re on a PC).
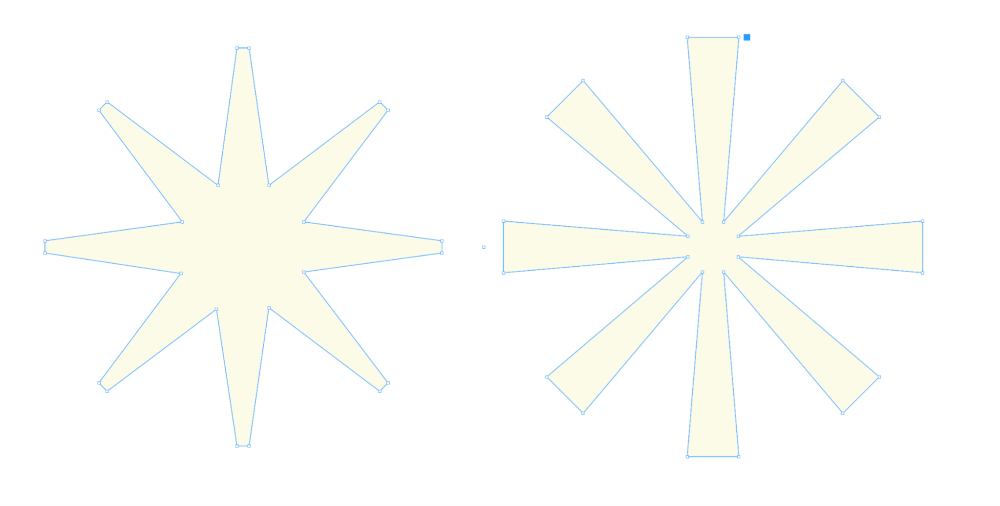
The glyph will be converted into a vector shape and will no longer be editable with the Type tool. However, it is still contained within the existing text frame, but you can Cut and Paste the shapes to remove them from the frame.
If you need to customize the shape any further, you can edit it using the Direct Selection tool and the Pen tool. You can also apply any fill and/or stroke colors you may want, or you can even convert it into an image frame!
A Final Word
Considering that InDesign isn’t a drawing program, it has a surprising number of different ways to make a star shape – and now you know them all! Just remember that even though InDesign is very flexible, it can’t replace a dedicated vector drawing app like Illustrator.
Happy drawing!
