Why would you turn a picture to black and white? Sometimes, it is for creative/aesthetic purposes. Other times you simply might be trying to simplify a photo to make it easier to print.
Hey there! I’m Cara and if the first one is your goal, Microsoft Paint will struggle, as we’ll see in a minute. However, if you want to create a simplified black-and-white image for printing, the program does just fine.
Let’s take a look at how to make a picture black and white in Microsoft Paint.
Table of Contents
Step 1: Open the Image in Paint
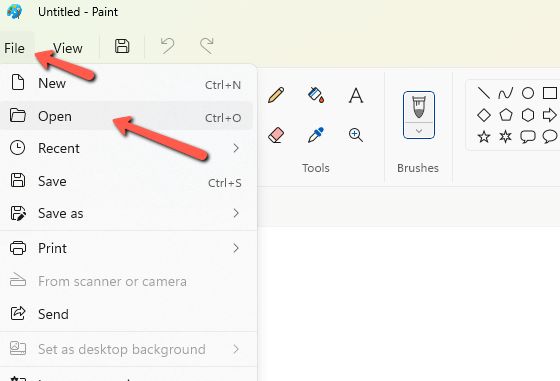
Open Microsoft Paint and choose the Open command from the File menu.
Navigate to the image you want to use and press Open.
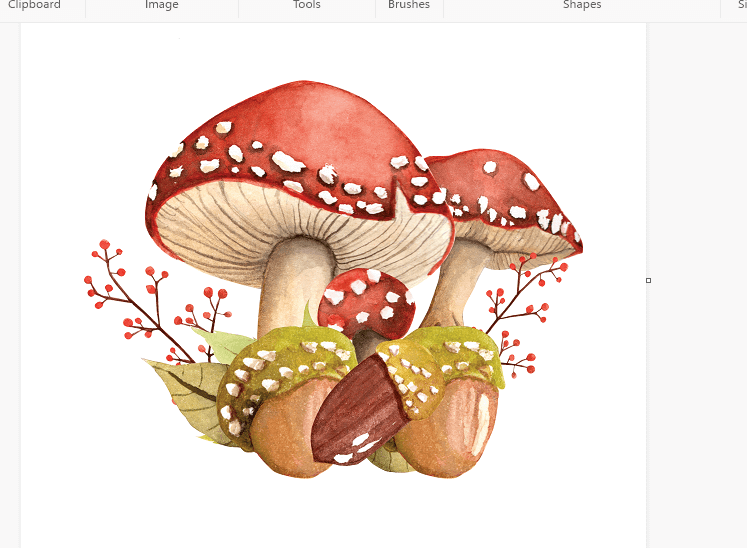
Step 2: Change to Black and White
Changing to black and white is a simple step. Go to the File menu and choose Image properties.
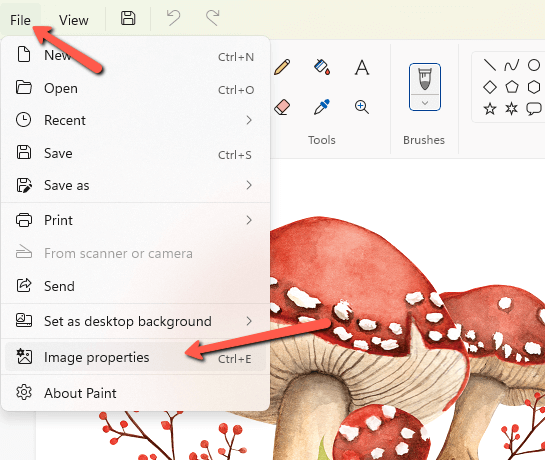
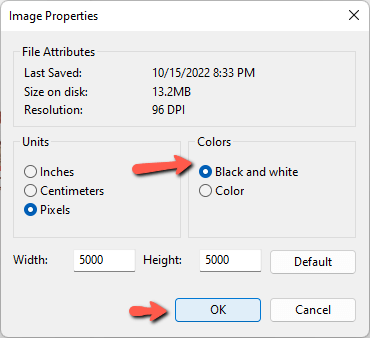
Set the radial button to Black and white and press OK.
You’ll get this warning. Just press OK.

And now your image will convert to black and white.
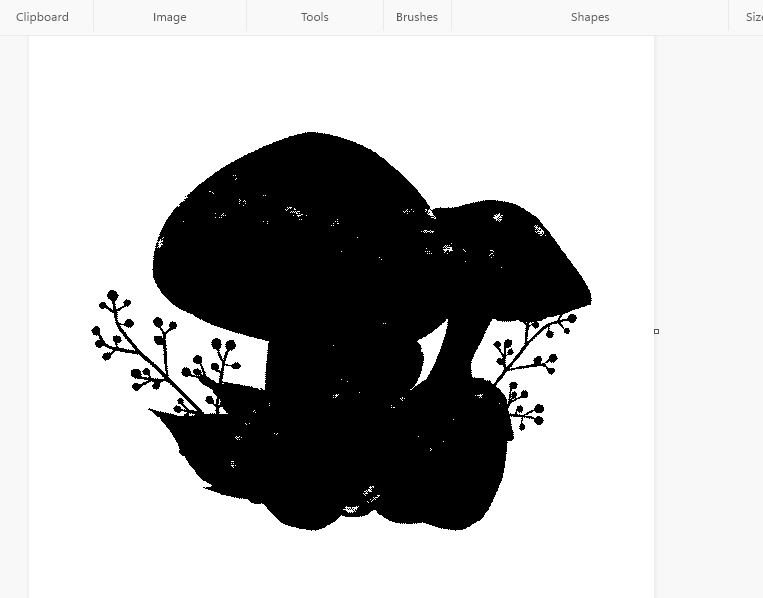
The Limitations of Paint
Now, if you’ve used other photo editing software to turn pictures to black and white, this might not be what you were expecting.
Microsoft Paint literally turns images into black and white. The darker colors become black, the lighter colors become white and that’s it.
Check out what happened when I turned this cell phone image to black and white using Microsoft paint.
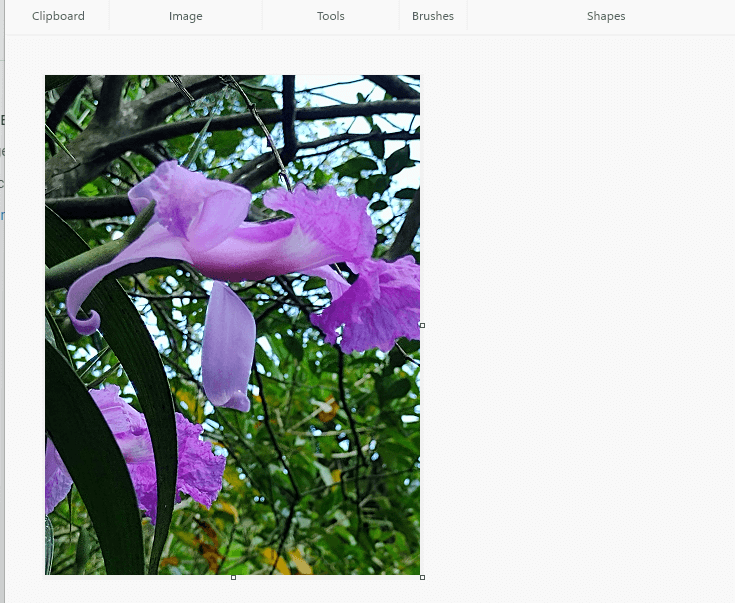
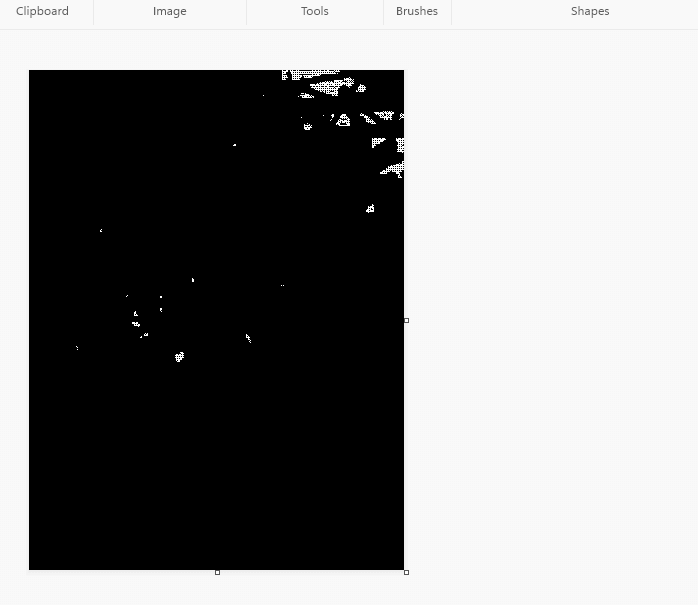
And when I tried turning larger images from my professional camera to black and white, they just turned completely black.
What is going on here?
Most of the time when we think of black-and-white images, we’re actually talking about grayscale. Elements within the image take on various shades of gray from black to white. This preserves the details in the image even without color.
MS Paint turns the image to black and white, period. This is great for printing clipart in black and white or similar tasks, but don’t expect to get a moody portrait with all sorts of depth and dimension.
If you want the image to be mostly white instead of mostly black, check out how to invert the colors here!
