Drawing grass in PaintTool SAI is easy! Using custom brushes, brush textures, and a few layers you can draw grass in a few minutes.
My name is Elianna. I have a Bachelor of Fine Arts in Illustration and have been using PaintTool SAI for over seven years.
In this post, I will show you how to create a custom grass brush, and how to use it to draw grass in PaintTool SAI.
Let’s get into it!
Table of Contents
How to Make a Custom Brush for Grass in PaintTool SAI
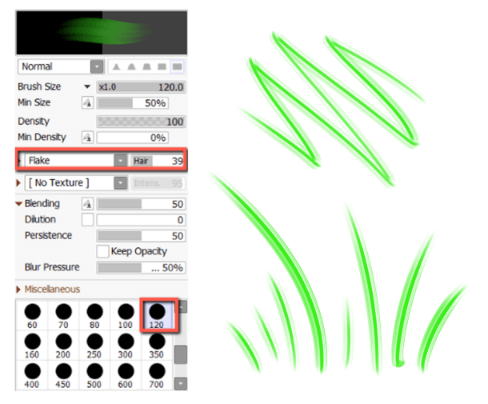
You can create a custom grass brush using the Brush shape Flake with Hair set to 39.
You can also find user-generated grass brushes for PaintTool SAI online on websites such as DeviantArt. To learn how to download brushes, check out my post How to Install Brush and Paper Textures in PaintTool SAI.
Follow the steps below to create a grass brush in PaintTool SAI.
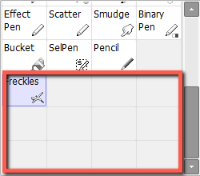
Step 1: Scroll to the bottom of the tool menu and right-click any empty spot.
Step 2: Select Brush.
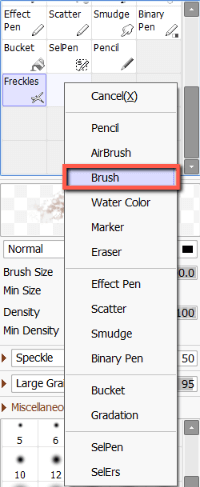
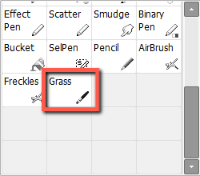
Step 3: Double-click the brush and rename it Grass. Input a shortcut key if desired.

Step 4: Edit your brush shape and texture as desired. In this example, my brush shape is Flake with Hair set to 39. Test out your brush(es).
How to Draw Grass in PaintTool SAI
Now that we have our custom grass brush, we can draw grass in PaintTool SAI with ease. Here’s how:
Step 1: Create a new layer and name it Grass.

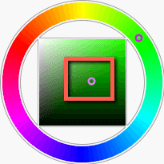
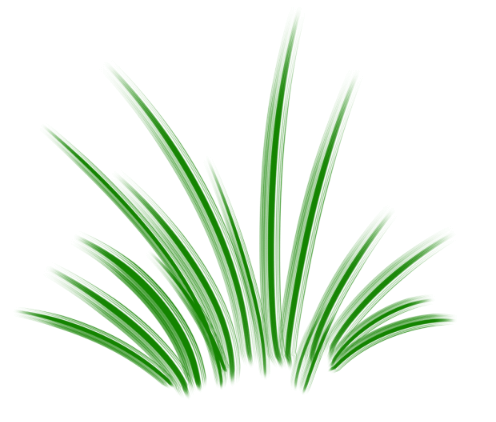
Step 2: Select a Dark Green on the color wheel.
Step 3: Click on the custom Grass brush.
Step 4: Use long strokes to draw the blades of grass.
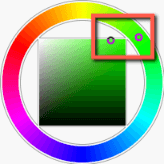
Step 5: Select a Light Green on the color wheel.
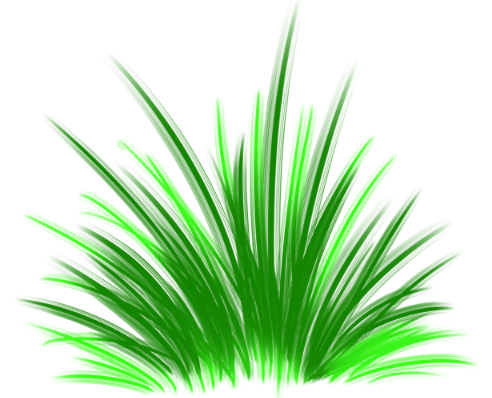
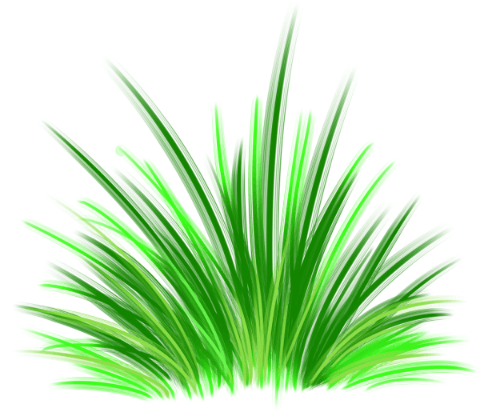
Step 6: Using short and long strokes fill in the areas between the long blades of grass.
Step 7: Create a new layer above Grass and name it Highlights.

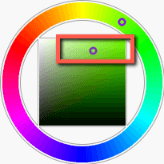
Step 8: Select an Olive Green on the color wheel.
Step 9: Draw blades of grass in the foreground.
Final Thoughts
With custom brushes and multiple layers, drawing grass in PaintTool SAI is easy. Experiment to find which settings work best for you.
How did your grass turn out? Tell me in the comments below!
