Transitions are what editors call the effects they apply to a cut between two shots. Adding a transition can help make a cut feel a little more natural, dramatic, or energetic. Transitions can even call attention to themselves for a more disruptive or jarring effect – which sometimes is just what is needed.

After a decade making short films, I have learned how much different transitions can change how a scene is perceived, and wished I knew sooner. So below I will talk about the most common types of transitions and explain how they can change a scene and where or when they often work best.
But before we start, do remember that being an editor is a creative job. Somebody once told me that editing a film is like doing a 2,000-piece jigsaw puzzle, but there are 20,000 pieces in the box, and no picture on the cover.
That is, there are no rules in film editing, just suggestions or conventions that you can use to assemble the clips you have into a movie you love!
Table of Contents
1. Dissolve Transitions
Dissolve and Fade transitions are not clearly distinguished from each other. Some video editing programs may call a transition a dissolve while another may call it a fade. But, all dissolves (or fades) involve one image, well, dissolving into another.
And all dissolves share a similar tone. They are smooth, or soft, transitions. They help the audience understand that we are now going from A to B and (while the dissolve is taking place) are given a chance to catch their breath.
Because of this, dissolve transitions can be a particularly good way to show a change of location, or time, that might be a bit too abrupt if done with just a standard hard cut.
But let’s look at the basic types of dissolve transitions, and I think their typical uses will become clearer.
The Fade Out
In a fade out transition, your image gradually becomes black. Or white. Or any color you choose. The point is to slowly take away the image the audience is seeing.
Which is not normal. Images fading away is not a natural phenomenon. Lamps just switch off. Even the sunset takes so long to go from light to dark that most of us get distracted and forget the light is fading.
So when your audience is watching your movie (and remember they are supposed to feel totally engrossed) a fade out tells them “Relax. It’s over.” And this is why fade out transitions are common at the end of scenes, and very common at the end of a movie. Which means it is best not to use fade outs in the middle of a scene.
But because a fade out is so successful at signaling completion, it can really help the audience handle the next shot being a completely different scene, on another planet, 10 years later – whatever.
Pro Tip: A quick note on fading out to white: This is sometimes called a “wash out” and is a little more ambiguous. You can think of them as saying, “we have to take a break, but we’ll come back to this later”. If any neurologists are reading this and can explain why black and white send such different messages, please comment!
The Fade In
Yes, a fade in is the opposite of a fade out: Your shot slowly appears out of black (or white, or any color).
If it makes sense to think of a fade out as an exhale, a fade in can be thought of as an inhale. If a fade out signals it’s time to relax, a fade in signals it’s time to focus.
Movies, and scenes, often start with a fade in as a way of signaling, “okay, I know you just arrived, but we are in the middle of…” As such, they are a great transition into any scene which may require the audience needing a second to get orientated.
The Cross Fade
I think you probably guessed what this is, but for those just skimming this article: A cross fade is when you fade out and then fade in. It is just using both fades sequentially.
You might think this is obvious, or standard. But it does take a little time for fades to complete, and it may be more your style to fade out of your scenes but jump right into the new ones. Or the opposite.
You can also, for the record, fade in then fade out. An example might be a scene of somebody waking up and slowly remembering bits of what happened last night. (Man sits on the edge of the bed, holding his head in pain. Cut to Black. Fade in to man ordering another Whiskey. Fade out to black. Cut to man shaking his head…)
The Cross Dissolve
The cross dissolve is a cross fade without the momentary black (or white) in between. One image literally dissolves (or fades) into the other one.

These save a bit of time (and thus don’t give the audience a break), but also – for some reason – don’t signal change of location as well as they signal a change in time.
Because of this, cross dissolves can be more effective at signaling that another ten minutes have passed while the boy waits impatiently by the phone for the girl to call, then at signaling he has given up when you cut to him sneaking into the dance club without her.
But note that how long your dissolve lasts (literally – is the whole dissolve done in ¼ of a second, or two seconds?) wonderfully translates into how much time the audience thinks has passed.
For example, say you have a bunch of shots of somebody driving a car and you want to signal that it is a long drive. Lengthen the time the cross dissolves take. But if you want to signal that the whole drive only takes 10 minutes, shorten the length of the dissolves.
Pro Tip: Cross dissolves can be paired with other transition effects to create all kinds of other meanings. For example, add a shifting or swirling effect to a dissolve from a close up of a lady’s face and you can bet that the audience assumes they will now see what she is thinking.
A final comment on all dissolves: Remember that audiences notice them. They are like an instructional message from the movie’s director about how to interpret what you are seeing.
2. Blurs
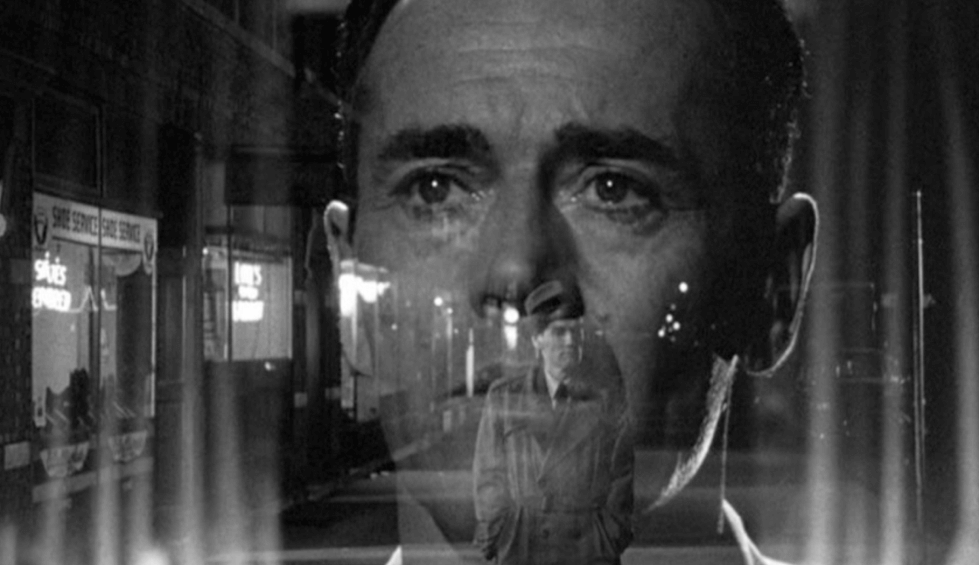
Applying a blur transition literally blurs a few frames of both the outgoing and incoming clip. The effect is similar to a cross dissolve, where one image fades (or blurs) out and another fades (or blurs) in. But depending on the scene, a blur can add a bit more mood.
For example, in a more serene scene – perhaps somebody walking through the woods contemplating the dramatic events that happened to them – blur transitions can signal the evolution of their thoughts, where a cross-dissolve might signal just that more time has passed as they are thinking.
Pro Tip: Combining blurs with zooms or pans or other dynamic transitions can heighten the dynamism of the transition. For example, in a zoom transition, a bit of blur implies the zoom is so fast the camera can’t even stay in focus.
3. Glitches
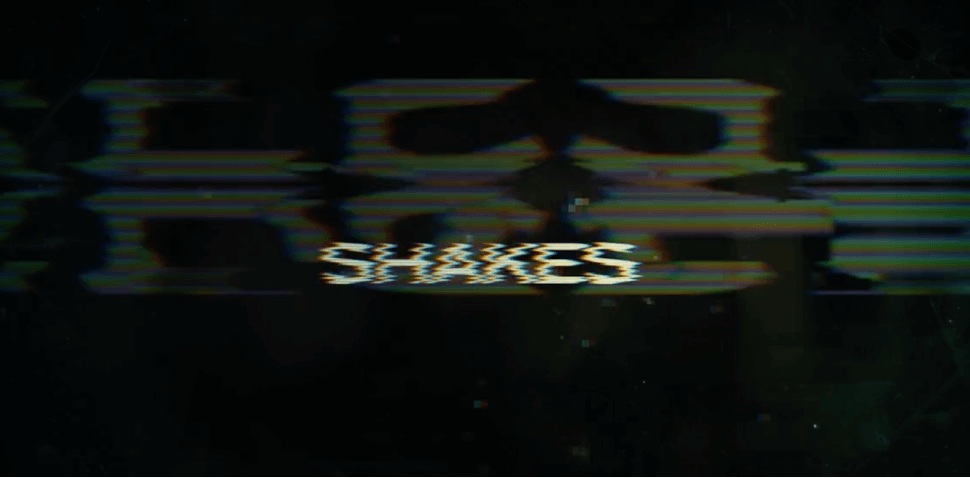
While there are zillions of different glitch transitions available, the basic idea is that the transition happens during a technical or mechanical glitch that disrupts the clarity of the video you are watching.

Think about the astronaut phoning in from her damaged ship, her speech cutting in and out as sparks fly in the background and the video is, well, glitching. Or the dying robot trying to show the mission-critical holograph, but the image is unstable, flickering on and off – glitching.
Increasingly, glitch transitions are used in less literal scenes. Because a glitch is one of those transitions that calls attention to itself, they can be very effective when you just want a fast way to abruptly change the scene or camera angle. In this way, a glitch is (ironically) a natural way to tell the audience that something has changed.
Pro Tip: Adding some audio effects can really help sell the glitch – perhaps some zaps, crashes, or other industrial sounds that signal something is very wrong or happening abruptly.
4. Lights
There is a bit of gray area between light transitions and light effects. But even if it is classified as an effect in your editing program, if you use it to make a transition, well, then I think it’s a transition.
The basic idea of a light transition is to use a light flashing, strobing, or moving across the screen to mask a cut from one shot to another.
A lens flare (when the “sun” hits the camera lens) is the most common light transition. You can think of it as a more dynamic fade to white – because the white is moving onto the screen.
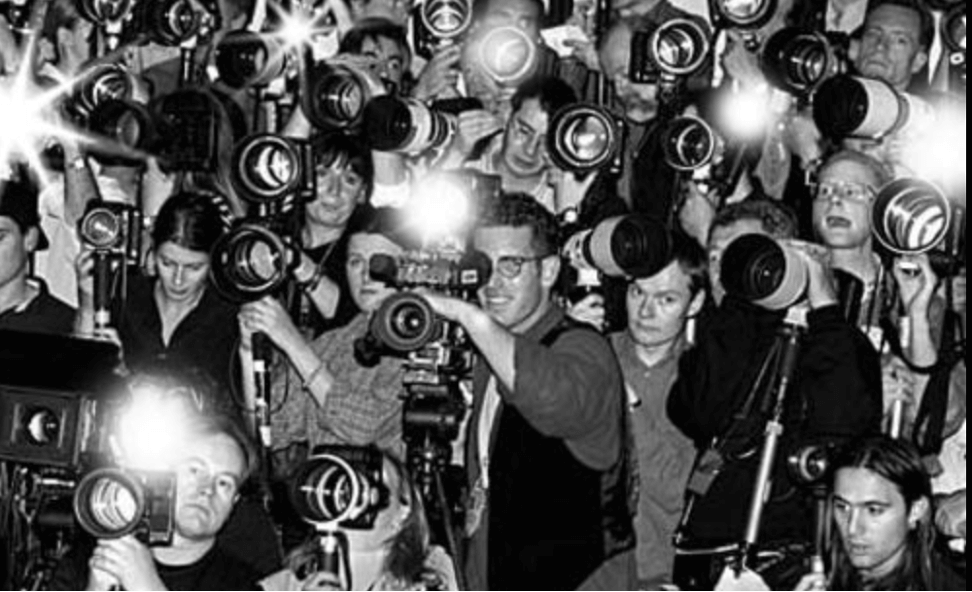
A more extreme example of a light transition behaving like a fade to white is in a flash transition. Here, a light flashes on screen (imagine an old-fashioned camera at a 1940’s Hollywood premiere) and just as the flash envelopes the screen, you cut to the next shot.

Pro Tip: Light transitions are common in wedding videos. Mostly because you want a dreamy feel in a wedding video. But also because (for some reason) they work quite well when cutting to or from still photos, and wedding movies commonly use lots of photos.
5. Wipes
In a wipe transition the incoming shot seems to push, or wipe, the outgoing shot off screen.
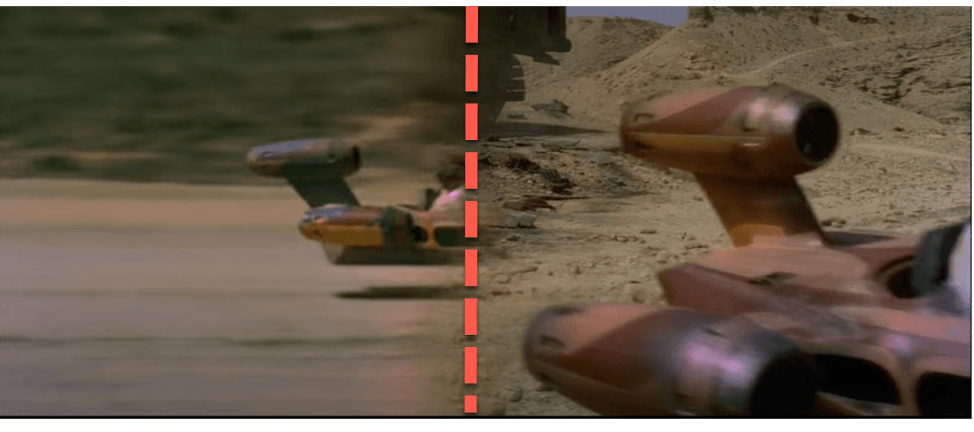
To my eye, they feel a bit gimmicky, even tacky. But they worked famously in Star Wars. So there definitely is a place for wipes but don’t forget just how much attention they call to themselves.
Because they are so obvious, it is probably best to only use them when changes scenes or when you really want your audience to understand that the focus of the story is shifting.
It can also help to combine them with similar camera movement, or at least the same direction of the action in the shot.
For example, in the screenshot below, from Star Wars: A New Hope, the outgoing shot (on the right) has Luke launching his speeder and driving off screen to the right. The incoming short is a wipe from the left, and cuts to a sideview of Luke speeding right.

Shapely Wipes
The most common wipes are the simple left/right up/down wipes used throughout the Star Wars movies. But there are 100s of different wipe transitions available.
A circle wipe (sometimes called an iris in) starts with a dot in the center of the outgoing shot and enlarges with the incoming shot inside until it fills the screen. And the opposite, where the outgoing shot shrinks to a dot, is often called an iris out transition and is commonly used to end a story.
Wipes can also be in the shape of a heart, gun, bowl of soup, or have creative animations. For example, the wipe can follow the movement of a clock, where the incoming shot emerges as the big hand sweeps through the hours.
Then there are swipes, which often use premade templates to slide still photos or videos onto and off the screen. These can be really useful in more commercial videos, or even travel videos where graphics-heavy transitions can feel right at home.
6. Camera Movement
I talk about camera movement in my article on the “12 Most Common Cuts in Video Editing” and explain why cutting when the camera is moving is a kind of cutting on action (the golden rule of cutting).
But camera movement can be a transition itself. Consider the spin transition: The outgoing shot starts spinning (as if the camera was itself was spinning), there is a cut, and the incoming shot appears as the spinning slows.
Another common example is the whip pan transition. Here, the camera is panning across the screen so quickly it creates a kind of blur effect. It is similar to a wipe, but where a wipe is slow enough to help the viewer process the change, the whip pan is intentionally fast and thus great in fast-paced action scenes.
Camera movement, like so many transitions, are often most effective when combined with other transitions. For example, matching camera movement with a wipe is quite effective, as is adding blur to a quick camera pan transition.
7. Zooms
Last but not least, zooms are the bread and butter of dynamic transitions. Zoom-in transitions can quickly draw the viewers’ attention to a particular subject on the screen and zoom-out transitions can give viewers a break, allowing them to take in the broader context or scene in a shot.

As they are generally fast transitions. Like a whip pan, they can be used to convey action, intensity, or just to grab the viewers’ attention or quickly cut to another camera angle, even another scene, keeping the pace fast and furious.
Zooms are also common in talky YouTube videos where they help break up the monotony of a person staring into the camera telling us how great some new product is.
A quick zoom in when the speaker makes a key point or a zoom out when a new paragraph starts can feel just right and keep us engaged.
Adjusting Transitions
There are so many transitions available for professional video editing programs you may not want to hear that almost every transition can be tweaked, modified, or entirely customized. But it is true, and, in time, you will appreciate the ability to make tiny adjustments to get just the effect you want.
The adjustment you are most likely to find helpful will be changing the length of time the transition takes. I mentioned this when discussing how shortening or lengthening the duration of a cross dissolve can really alter its meaning.
And often you may find you just want to adjust the timing a little bit to match the speed of the action on screen or the speed of any camera movement.
Or maybe you want to adjust the rate-of-change in a transition. Maybe you want it to start a little slower and then pick up steam, or just the opposite. Again, it may sound like a minor change but sometimes it can make a transition which isn’t quite working feel perfect.
I won’t go through the mechanics of how you adjust transitions because every video editing program has different options and most third-party transition providers offer vastly different parameters that you can change.
So, I encourage you to just play around with what you have, or compares the same transition from different companies if you find yourself saying things like “this would be perfect, if only it just…”
Fading Thoughts
Transitions can add a lot of motion or emotion to your movies. So, when in doubt, try to keep a light touch. Bold transitions can be exciting or dramatic, and just the right thing at key moments, but try to remember that your number one job as an editor is to keep your viewer believing they are in the story being told.
One more thing: If you feel overwhelmed by the sheer number of transitions available, just get started. Pick a transition and try it in different cuts and see how it changes their feel. Or just pick a cut which you feel is not quite working, and ask yourself, “what mood do I want here?”
In the meantime, please let me know if you have any questions, comments, or tips for transitions you love in the comments below. Thank you.
