If you are familiar with using the Terminal on your Mac, you may be familiar with bash_profile. You may also be familiar with Bash Shells from other operating systems, such as Linux. Bash is an acronym for Bourne Again Shell, after Stephen Bourne, the creator of the Unix Shell.
Up until macOS Catalina, Bash was the primary shell used for Terminal. macOS now uses Zsh in Catalina and newer versions, but bash is still available as an alternate shell.
If you are looking for ways to modify your macOS Terminal, such as changing the text or background color to add your own personal style, you’ll need to be able to access the bash_profile file. But how exactly do you do that?
As someone who has worked with Macs all of my life, I love looking for ways to customize my experience beyond what I get out of the box. This has led me to research ways to modify system utilities such as the Terminal.
In today’s article, I’ll show you a critical ingredient to do this on your Mac: opening, creating, or editing the bash_profile.
Table of Contents
Key Takeaways
- Bash_profile is used on Bash login shells, such as macOS (pre-Catalina) and Linux.
- macOS Catalina and later versions switch to use Zsh, rather than Bash. All pre-Catalina macOS uses Bash.
- Bash_profile is a configuration file for the Bash Shell. You can change text color, background color, and create aliases for functions that you regularly use.
- Bash_profile is easy to create, open, and edit with Terminal.
What is bash_profile?
Bash_profile is a hidden file, making it unable to be seen regularly in Finder. This also means that it is a “dot” file and will be referred to in Terminal as .bash_profile. Bash_profile, as one can assume, is a configuration file for the Bash shell.
This means it stores the startup information and preferences related to your Terminal application. It can be used to change things about Terminal, such as the text color, and the background color, and even add aliases for functions that you regularly use. It is loaded during the startup of your Terminal.
Note that .bash_profile only works on login shells. If you are working with non-login shells, .bashrc is needed
Please be aware that changing bash_profile can cause problems with your Terminal. Only continue to edit it if you are confident in what you are doing or know how to reverse the changes you have made.
How to Create bash_profile
If you try to open or edit your bash_profile before you create one, you won’t be able to find it. So, this is the mandatory first step before going any further.
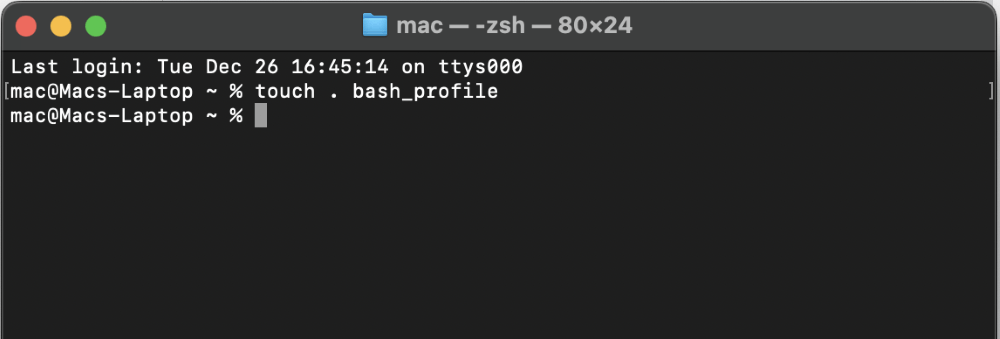
First, to create bash_profile, we will need to open Terminal. This can be done using Launchpad or Spotlight Search.
Enter the following command and press enter to get to your home folder.
cd ~/Next, create the bash_profile
touch . bash_profile
How to Open bash_profile
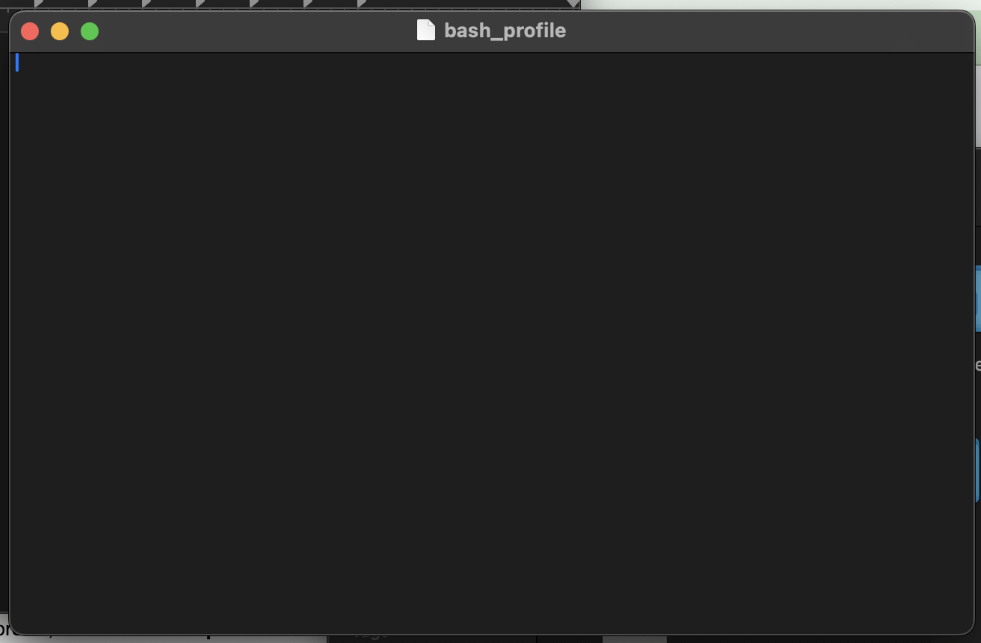
Next, to open bash_profile, use the following command:
open ~/.bash_profileYou should now see a blank file like the one shown below.

How to Edit bash_profile
Sometimes, using Terminal can become too complicated to edit your bash_profile when you have a very large file. In this section, we will show you how to use Terminal to edit the file, but also how to use a Text Editor, which may be easier with larger files.
Using Terminal
Now, to edit bash_profile, multiple commands can be used directly in the Terminal to edit the bash_profile.
The first option, is to use the following command:
vi ~/.bash_profilePlease be aware that vi is a very powerful editing command and could lead to some problems with your Terminal. Only use this command if you are comfortable with the command.
Another, “safer” command to edit bash profile is the following:
nano .bash_profileWhichever command you choose to use to make your changes, when you complete them, make sure that you save your changes using the following keys:
Control and o, then press enter
Exit whichever method you used with the keystroke:
Control and x, then press enter
Lastly, activate the changes:
source .bash_profileUsing a Text Editor
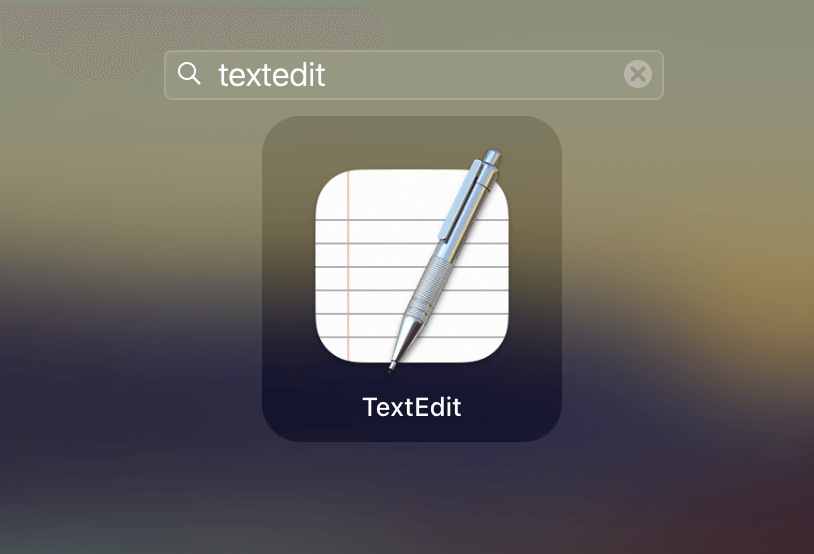
Choose and open your favorite plain text editor. TextEdit is the one defaulted on your Mac. You can easily find it by searching in your Launchpad.

TextEdit will automatically prompt you to open a file, if this doesn’t happen, choose to open a file by selecting File from the menu bar at the top of your screen and selecting Open from the drop-down menu.
Navigate to your home directory, or the directory with your username (In Finder, you can use the Shift, Command, and H keyboard combination to reach it easier).
Since the bash_profile is a hidden file, press the keys, Shift, Command, and . to be able to see it.
Select it, and make the changes you would like to see.
Save the file, and reopen Terminal. If your changes aren’t automatically made, activate them using the command:
source .bash_profileHow to Delete bash_profile
Lastly, if you decide to delete bash_profile, open Finder.
Go to your home directory, this is the file that has the same as your username. You can also reach this by using the keystroke Shift + Command + H.
If you cannot see bash_profile, this is because it is a dot file. Press the keystroke Command + Shift + . (Period) This will make it visible.
Select the file and move it to the trash.
Conclusion
The Bash login shell’s configuration file, bash_profile, is very easy to create, open, edit, and even delete. As a starter who would like to make changes for Terminal, the bash_profile will be a good way to learn!
Start by making smaller changes and working up to larger changes, and continue to work with bash_profile. As you can see from this article, it is very easy to create, open, edit, and delete bash_profile items.
