If you know anything about Photoshop, you probably know that you can work in layers. That is, you can group elements on individual layers so you can work with those specific elements separately.
Hey there! I’m Cara and if you use Microsoft Paint for sketching, you know that it would be super handy to work in layers in this program as well. For example, you might layer down your initial sketch first, then fill in with a more refined sketch on top.
Unfortunately, there isn’t a specific layers tool in Paint like there is in Photoshop. However, you can use this workaround to add layers in Microsoft Paint.
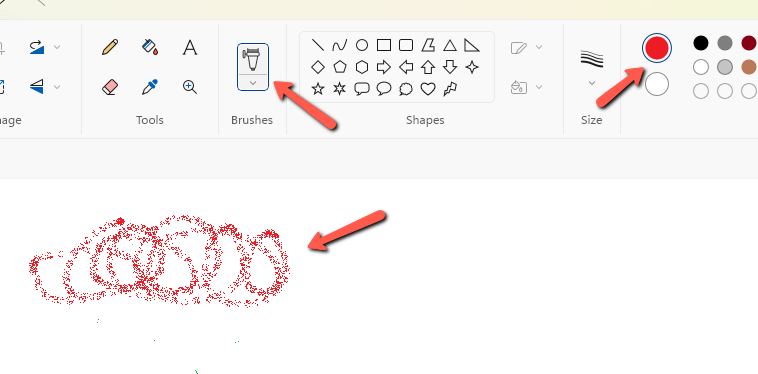
Step 1: Start Drawing
Lay down your initial sketch in any color except black. You can change the color of your brush by clicking on the color squares in the tool panel at the top of the workspace.

Note: I am not a sketch artist so this is what you get for the example!
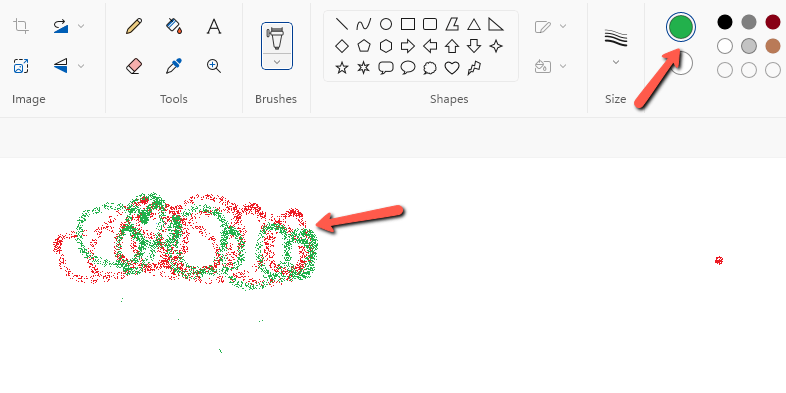
Step 2: Create a New “Layer”
Next, choose a different color for your brush. Make the next pass over your sketch in this new color. You can make as many passes as you want. Just make sure to choose a different color every time.

By using a different color, you’ve created a “layer” of sorts. You can limit paint to interacting with only one color.
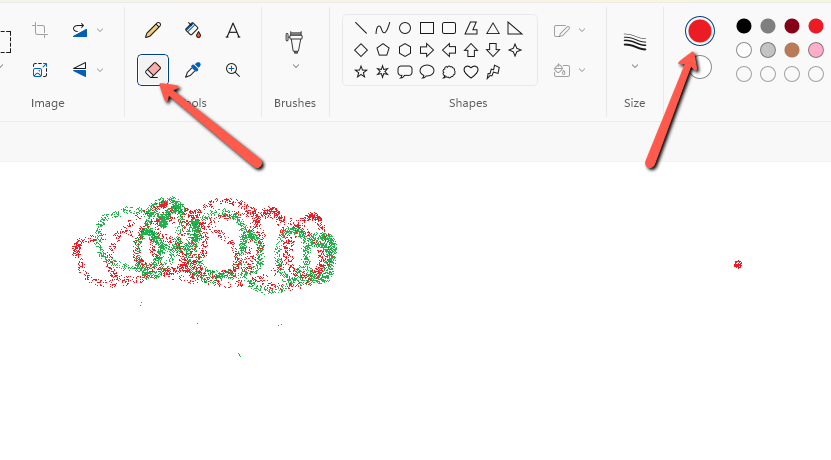
For example, you can limit the eraser tool to only work on the red line. Let’s look at how that works.
Step 3: Erase Your Initial Sketch
Now go back and choose the color of a “layer” you would like to remove once you’re done with it. Then, choose the Eraser tool from the tool tab.

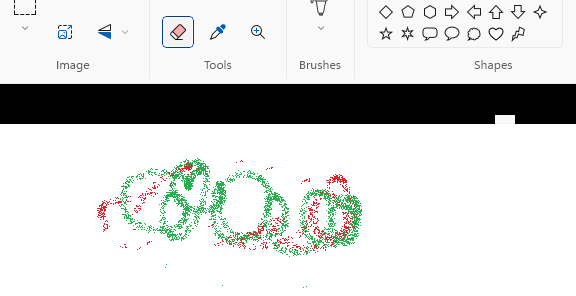
Normally with the Eraser tool, you would click and drag across the image to erase. Instead, right-click and drag. When using the tool this way, it will only erase the selected color. This allows you to lay down and remove “layers” individually.

Not exactly like working with layers in Photoshop, but it’s a useful workaround. What else can you do in Microsoft Paint? Check out our tutorial on how to invert colors here!
