Drawing water in PaintTool SAI is easy with the right tools. Airbrushes, gradients, brush textures, and more can turn a seemingly herculean task into a fun experience.
My name is Elianna. I have a Bachelor of Fine Arts in Illustration and have been using PaintTool SAI for over seven years. As a freelance artist. I have used PaintTool SAI to experiment with various environmental illustrations
In this post, I will show how to draw and color water in PaintTool SAI using a variety of tools.
Let’s get into it!
Table of Contents
Key Takeaways
- Gather references as a helpful drawing guide.
- Create custom swatches to aid in the coloring process.
- Use reference as a guide, but do not copy it unless you are studying. It is important to not plagiarize other people’s work.
How to Draw Water in PaintTool SAI
Before coloring, it is important to create a background sketch for your piece. Gathering references will provide the best foundation for drawing, as it will serve as a visual aid for form, composition, and later color.
Choose images that best represent the mood of your piece. Rough seascapes can be brash and dramatic, while clear tropical waters can add a sense of serenity and peace. Wave size, watercolor, and time of day can all influence the overall feeling of your work.
Here are some reference images collected for this tutorial. I will be using #2 as my composition reference because I like the shape of the waves.

Now let’s begin the sketch.
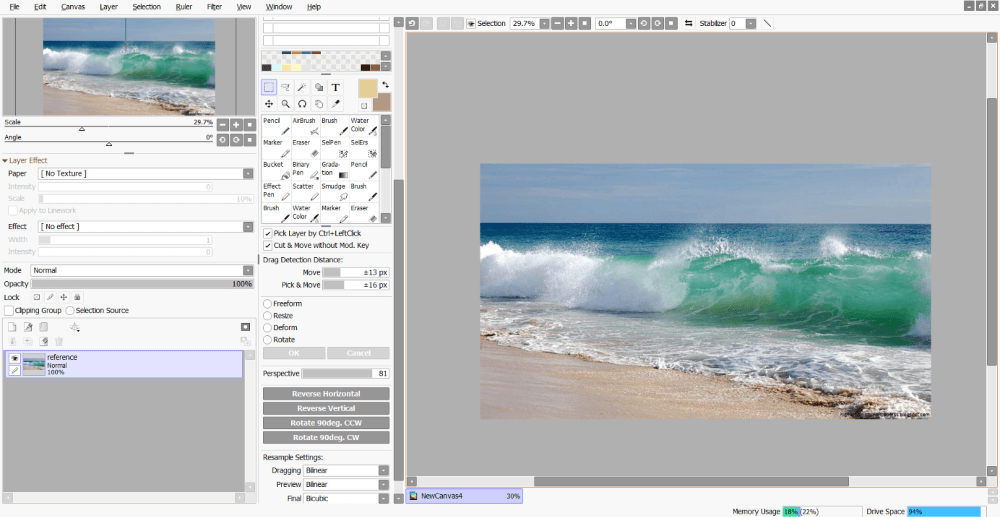
Step 1: Open PaintTool SAI and create a new layer called Reference. Insert your reference image.
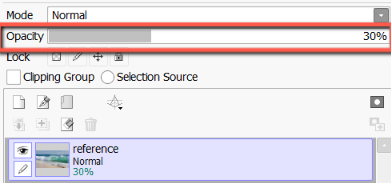
Step 2: Set layer opacity to 30%.
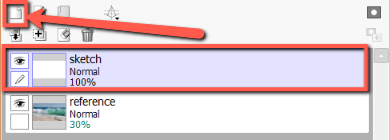
Step 3: Create a new layer above the reference and name it sketch.
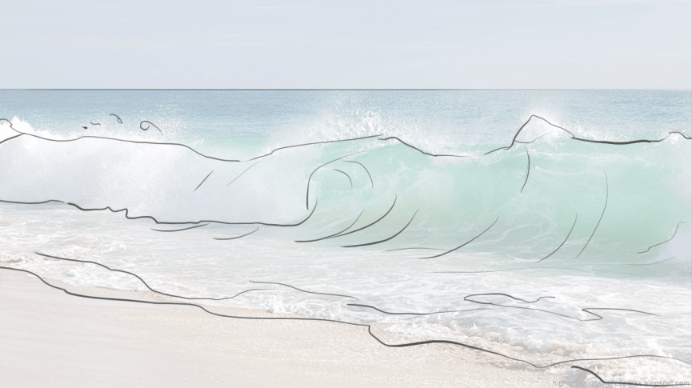
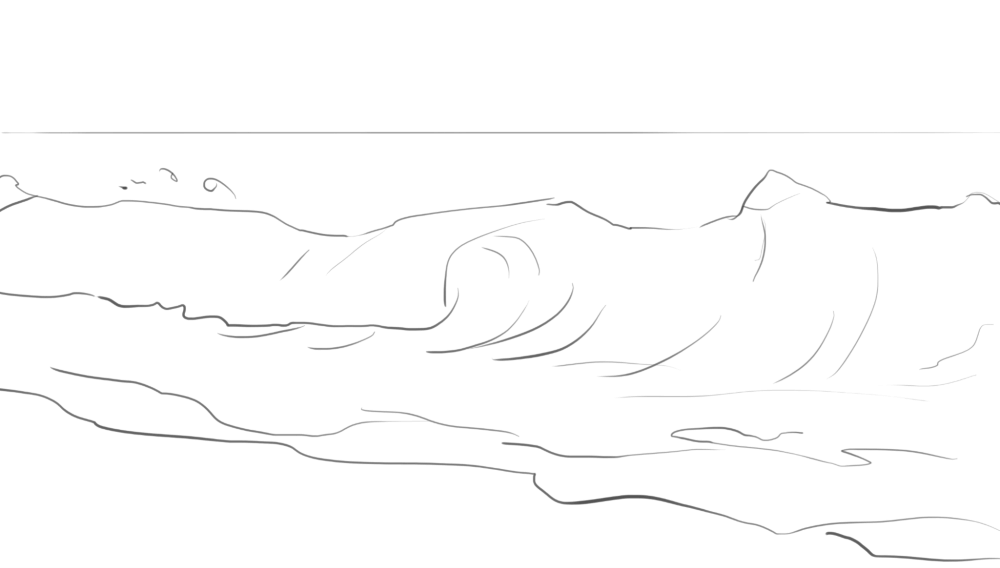
Step 4: Use the Pencil to create a sketch of the water based on your reference image. I will be following the reference, but not copying it exactly. It is best practice for any work that you advertise as your own that you use the reference as a guide, but do not copy it.
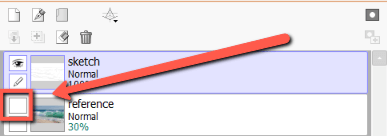
Step 5: Hide the reference layer.
You now have a sketch to work with.
How to Color Water in PaintTool SAI
Now that we have created a sketch, we can move to the color phase. One step I like to take before coloring if I have a reference image is to make a color palette. If you are trying to use this exercise to study color, skip this step.
However, if you find that you struggle with picking the right colors, it can save you both time and frustration.
Step 1: Using the Eyedropper tool, select a color in your reference image.
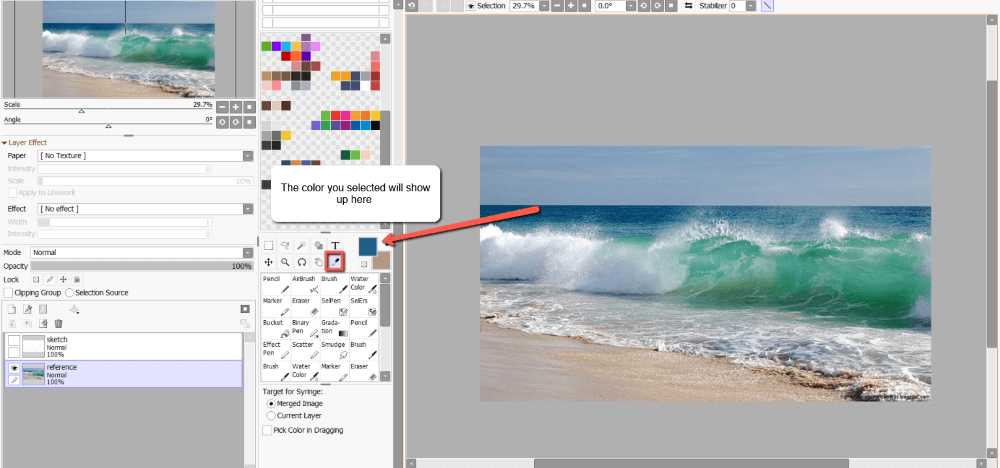
Step 2: Right-click in the swatches panel, and hit register color.
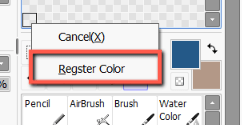
Repeat for all colors in your image.

Now that we have a custom color palette to work from, we can begin coloring.
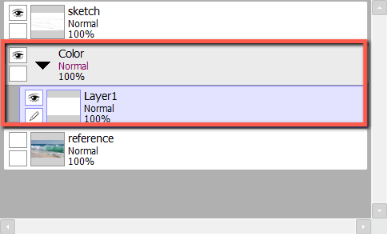
Step 1: Create a New Folder under sketch and name it color. Then create a new layer within the folder. This will help us stay organized.
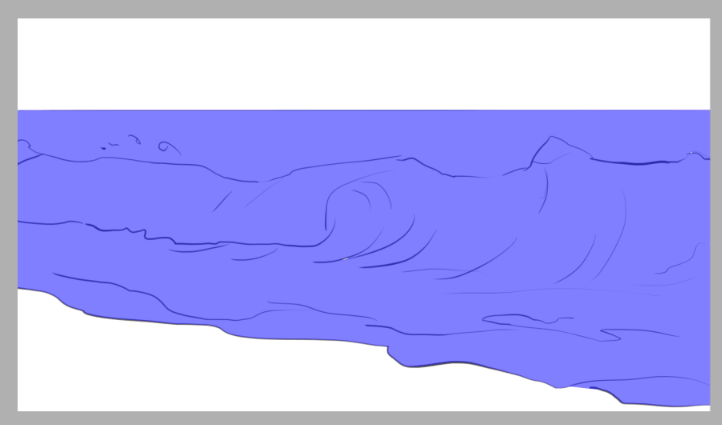
Step 2: Using the Select Pen and Magic Wand select the water area.
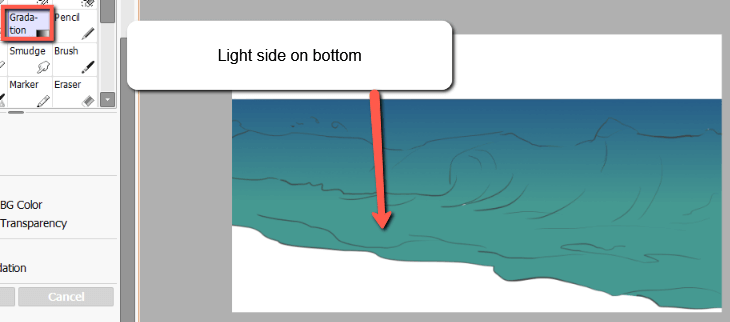
Step 3: Using the Gradient tool, create a gradient with the light side on the bottom.
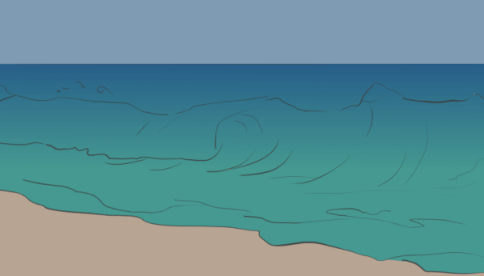
Step 4: On a layer below your water gradient, fill in the sand and sky.
Step 5: Create a new layer above the water gradient. Use the Pencil to block out the white, and other dominant color areas you see in the reference.
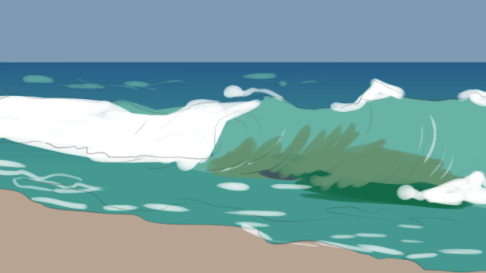
Step 6: Merge the color layers together and hide the sketch layer.

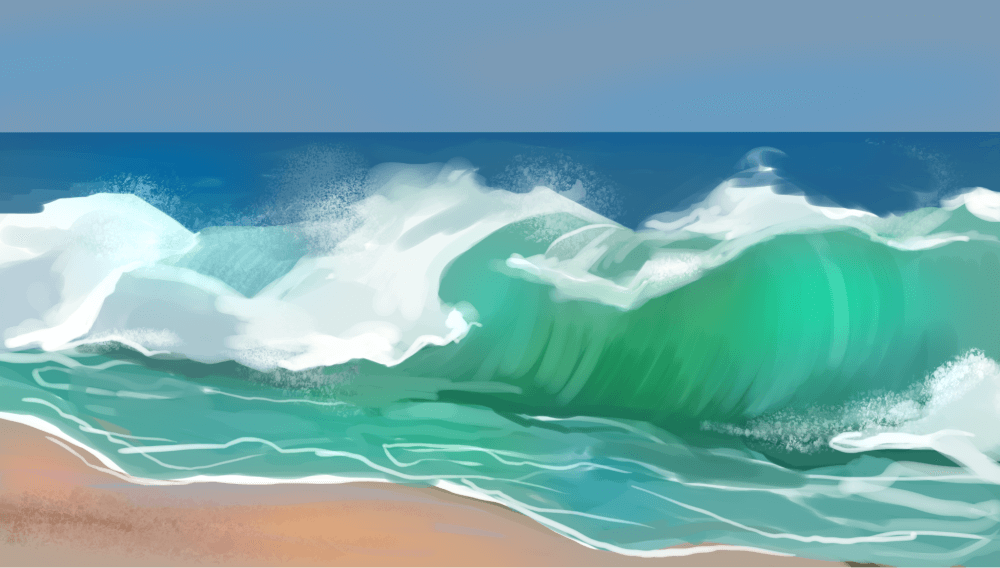
Step 7: Use the Brush tool to blend the colors together. This may take some trial and error. For example, this rendering took me approximately 10-15 minutes.
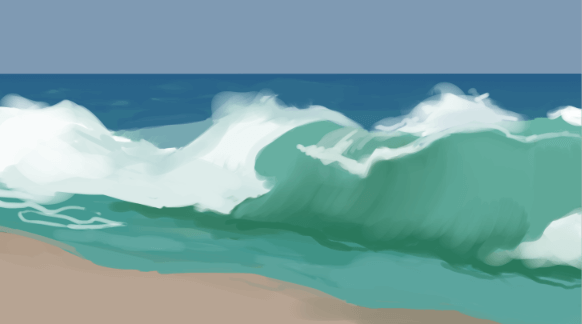
Step 8: Using the Pencil and Brush tool, continue to add color and white. Blend to refine the piece.
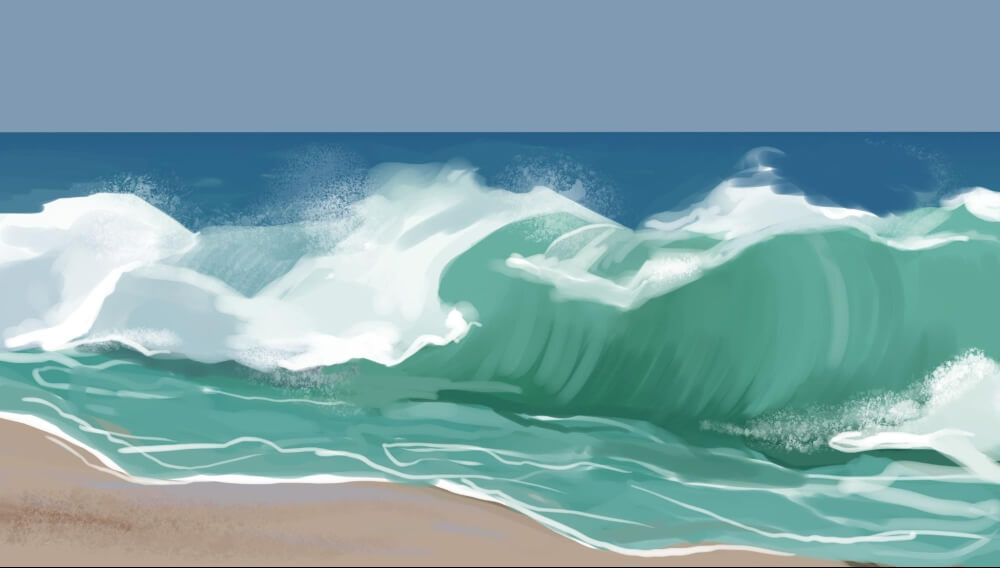
Step 9: Add texture using the Airbrush. I am using the brush texture piso.
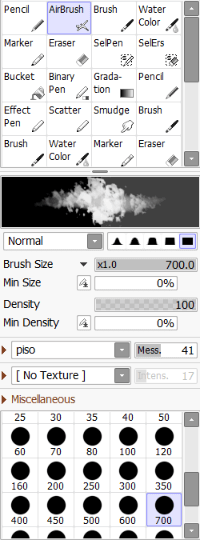
Step 10: Create a new layer and set the blending mode to Shade/Shine.
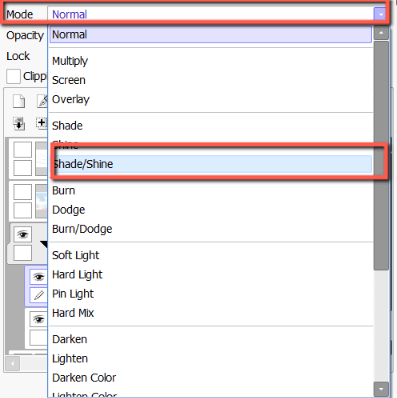
Step 11: Use the Airbrush and various colors to intensify the color in your water.
Final Thoughts
Drawing water can seem like an arduous task but with the right tools and reference images, it is easy in PaintTool SAI. Custom color palettes, brush textures, and blending modes can all impact your experience.
Just make sure to modify any work you will pass off as your own, instead of copying a reference exactly.
How did your water turn out? Let me know in the comments below!
