In order to create the flipped or mirrored effect with text on Canva, you must go through a multi-step process where you first save your text as a PNG file. Then, you can upload that file to a project and flip or mirror it since it serves as a graphic element instead of a text box.
Mirror, mirror on the wall please help me find the best design website of them all! (Okay sorry for that.) My name is Kerry, and while I’ve been in the world of graphic design and digital art for years, it is always fun to play around with traditional design strategies to make them more unique. Canva allows me to do that without much effort!
In this post, I’ll explain the steps to create a flipped or mirrored effect with text on the Canva platform. This is a cool feature if you’re looking to get creative and manipulate your designs to include some interesting juxtaposition.
Are you ready to get started and learn how to create this cool effect? Wonderful- let’s go!
Table of Contents
Key Takeaways
- While you can mirror and flip images and other graphic elements in Canva, there is no button to simply flip text on the platform.
- In order to create a flipped or mirrored effect with text in your projects, you must first create the text in Canva and save it as a PNG file.
- You can upload your saved text file (PNG format) to your project and be able to create the mirrored effect.
Adding Mirrored or Flipped Text to Your Canvas
You honestly may be wondering why someone would want to incorporate flipped or mirrored text in a project, because wouldn’t it make the text difficult to read?
You’re not wrong or the only person who has pondered that question! (Myself included). However, since Canva is used as a graphic design platform, there are many creators out there who are looking for new and innovative ways to set their designs away from others.
The use of this technique can give posts a fresh look or allow for some cool visuals when paired with aligning imagery. It is yet another tool that gives artists and graphic designers the opportunity to express themselves through their work and maintain creative control.
Since this is a multi-step process, I’ll be breaking the steps down into two categories to make it a bit easier to follow.
How to Create a Text PNG File to Use
As I stated earlier, there isn’t a button that can automatically mirror or flip text on Canva at this moment in time. The first piece to adding this effect is to create and save a text file in PNG format so that it can be uploaded and edited later on.
Nothing to be nervous about because it is a simple process, but let’s take it one step at a time!
Follow these steps to learn how to create a text PNG file:
Step 1: Open a new project (or an existing one that you’re working on).
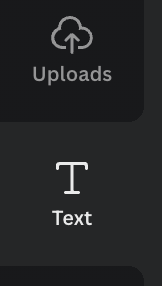
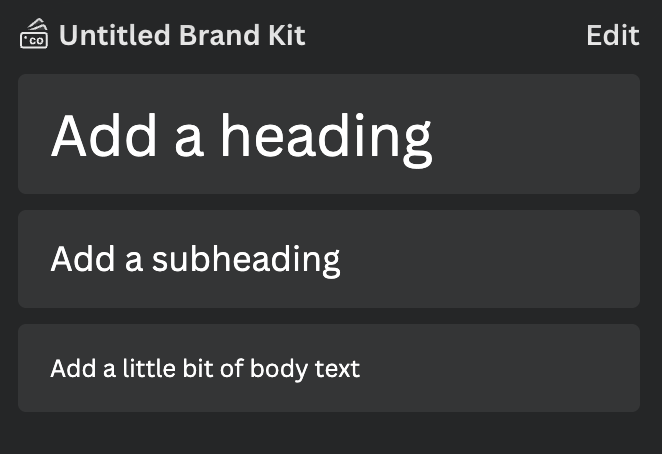
Step 2: Navigate to the left side of the screen to the toolbox. Click on the Text button and choose the size and style of text that you want to add to your project.
The main options for adding text fall into three categories – Add a heading, Add a subheading, and Add a little bit of body text.
You can also search for specific fonts or styles in the Search box under the Text tab.
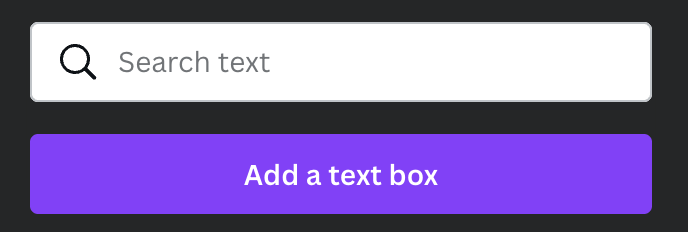
Step 3: Click on the style and either click on it or drag and drop it into the canvas.
Step 4: While the text box is highlighted, you can use your keyboard to type in the text that you want to include. If you accidentally unhighlight it, double-click on the text box to edit the text inside.

Another option for adding text to your project is by using Font combinations. This list holds premade options that are a bit more designed as compared to the regular text boxes. Scroll through and click on the style or drag and drop it into the canvas.
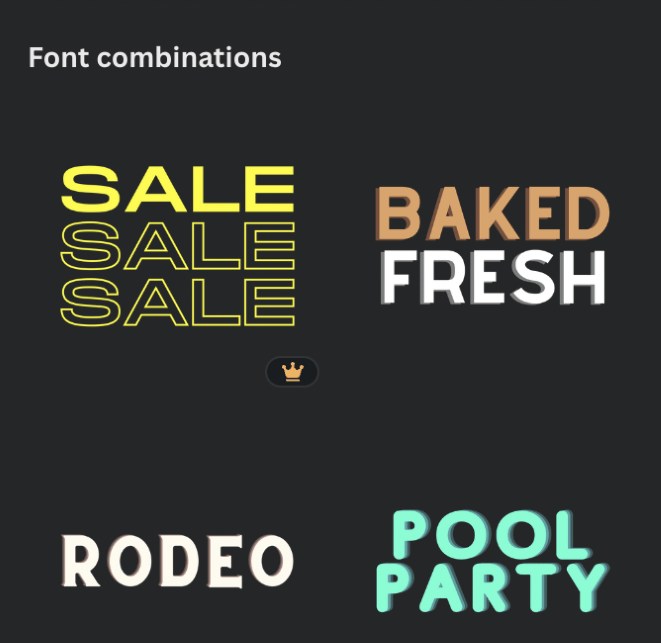
Remember that any option in Font combinations that has a small crown attached to it is only accessible if you have a premium subscription account.
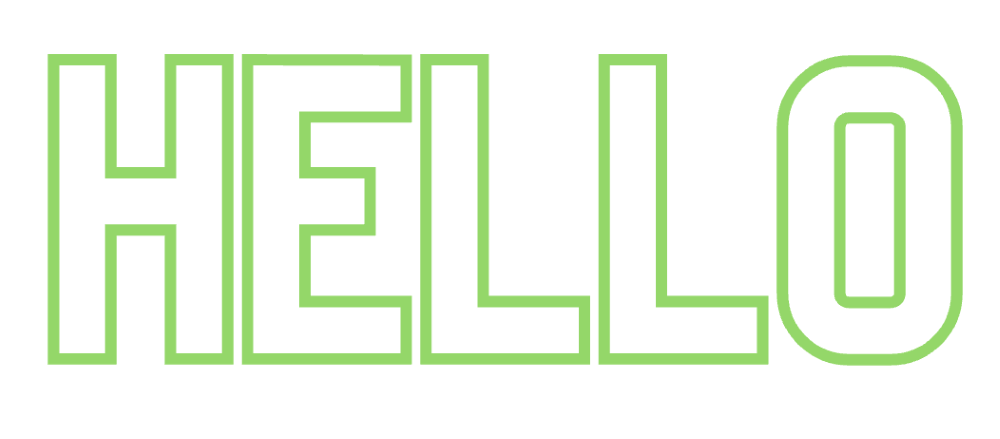
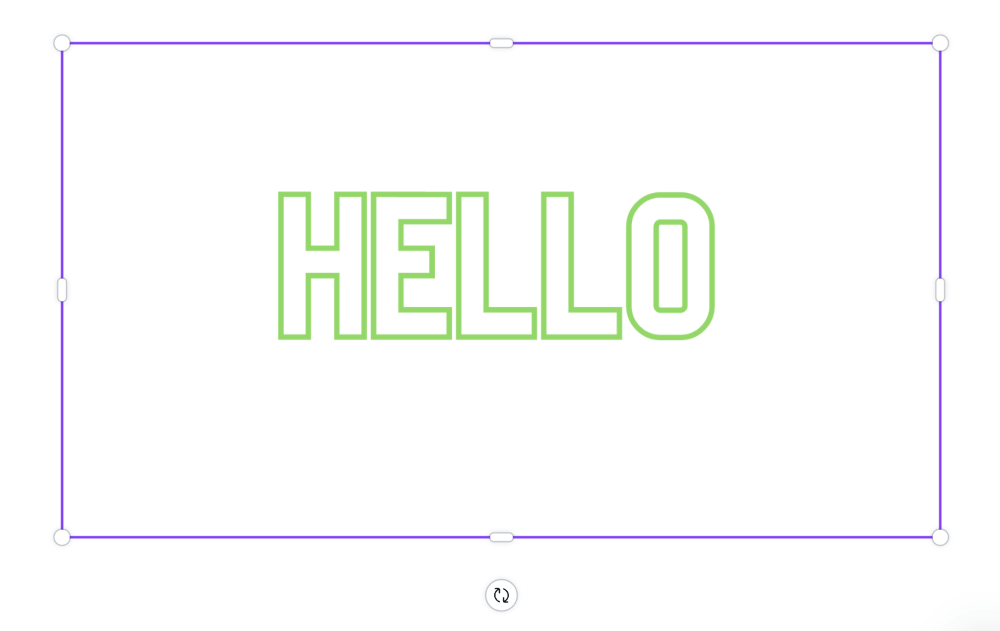
Here is the text that I created for this project:
Step 5: Once you have included the text that you want to use in your project, head over to the Share button at the top right side of the screen. Click on it and the drop-down menu will appear with the options to save.
Step 6: Click on the Download button and make sure that you are saving your text as a PNG image with a transparent background. (The transparent background is only available with those Canva Pro and Premium accounts as well.)
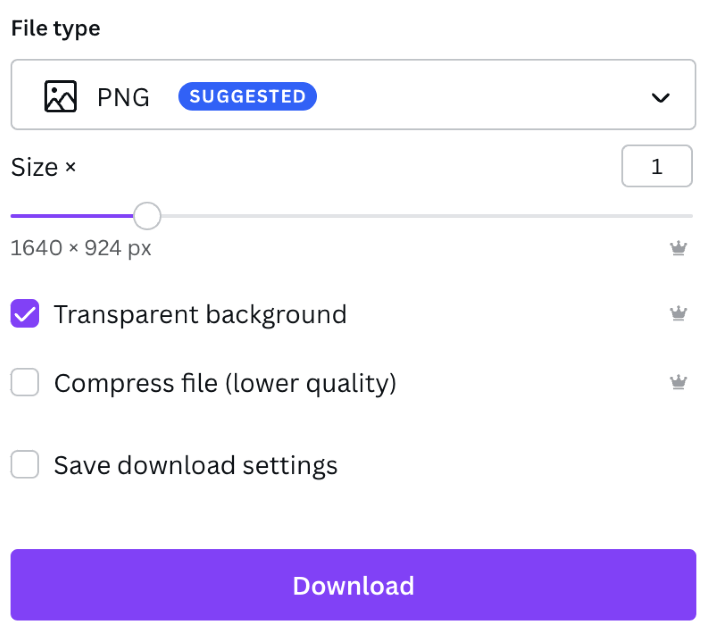
This file should be saved on your device as we head to the next portion of this process!
How to Create the Mirrored or Flipped Effect with Text
Now that you were able to create and save the text that you want to use as a PNG file, we’re ready to head to the second portion of this process!
Follow these steps to learn how to upload and flip or mirror your text:
Step 1: Open up a new or existing canvas that you want to use as a base for your text.
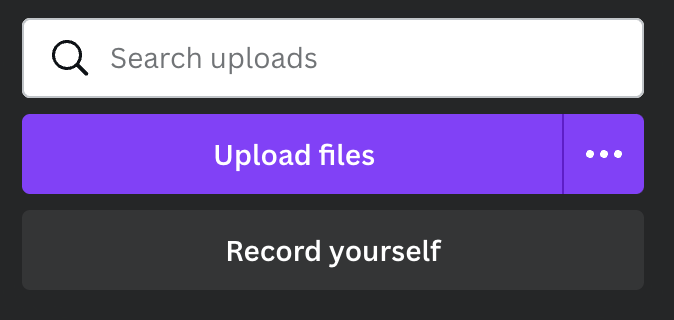
Step 2: On the left side of the toolbox, find and click on the uploads button. Once you do that, you will be able to select the option that says Upload Files and add in your PNG text file that was just saved to your device.
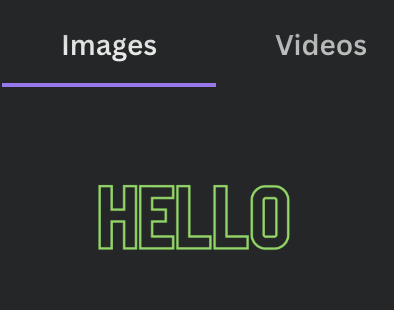
Step 2: Once you upload the text file, it will appear as a graphic element underneath the Images tab of the Uploads section. Click on it or drag and drop the text graphic onto your canvas.
Step 3: Click on your text element to make sure that it is highlighted. A toolbar will appear at the top of the canvas with options for you to edit that element.
Step 4: Click on the button that is labeled Flip. You’ll have the option to flip the text either horizontally or vertically.
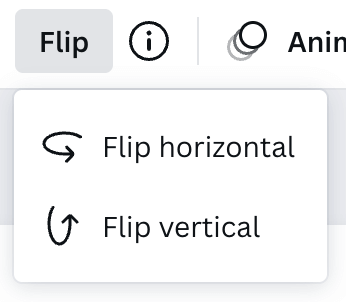
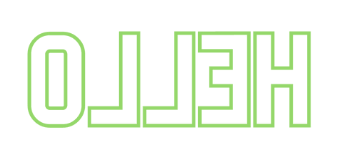
When you click vertical it will turn the image upside down.
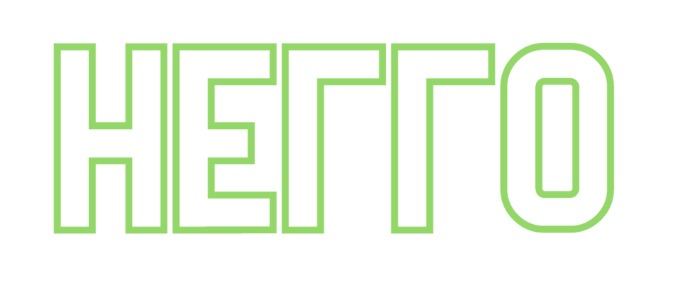
When you click horizontal, it will change the orientation of the text based on left or right.
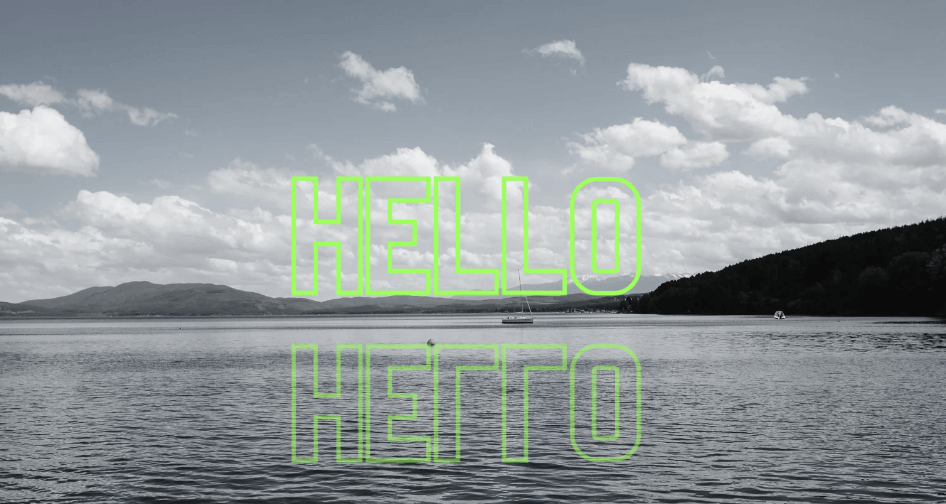
Step 5: To really obtain that mirrored effect, make sure to have the original text graphic and then a copy of it with the flipped effect! (You can add as many of these files as you need since they’ll be stored in your Uploads Image folder!)
If you’re looking to get really fancy, try overlaying these text graphics over other imagery and designs!
Final Thoughts
While adding in the mirrored or flipped effect on a Canva project is not the easiest task because it doesn’t have an automatic button for text, it still is a fairly simple technique that can really elevate graphic design processes. (And it wasn’t too difficult to learn, right?)
What types of projects do you find are the best to include this mirrored effect in? Have you found any tricks or tips that you would like to share with others on this topic? Comment in the section down below with your contributions!
