
Create a new file and go to File > Place Embedded. Click and drag an image saved on your desktop into a Photoshop file. Combine two images by clicking and dragging one image into the other.
Hello! I’m Jayde. I’m glad you’ve found your way to my Photoshop tutorial. I enjoy making cartoon character vectors and editing my own photographs. Whenever you order a burger off a fast food menu and find that it doesn’t look anything like its photo, that’s because of wonderful programs like Photoshop.
In this article, I’ll show you how to add and insert an image in Photoshop. You can directly open or drag an image to a new document or you can insert an image to an existing file.
Table of Contents
Key Takeaways
- Add an Image by clicking and dragging a saved image onto a Photoshop canvas.
- Go to File > Place Embedded and select a saved image you want to work with.
- Go to File > Open to open any photo in its own tab.
- If necessary, use any Selection tool to select the part of the image you want to add to another image.
Without further ado, let’s get started on this tutorial. Today I’ll be using two photos I edited before.
Note: All screenshots from this tutorial are taken from the Adobe Photoshop CC Windows version. Other versions can look different.
Method 1: Add an Image to a New File in Photoshop
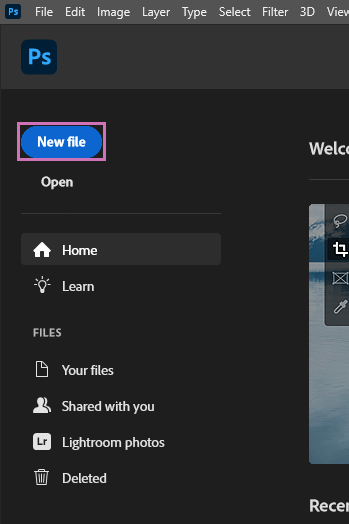
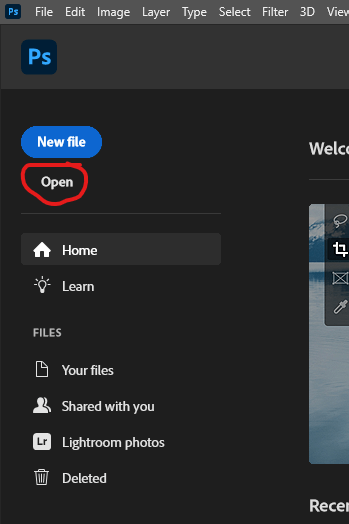
Step 1: When Photoshop opens, click on New File.
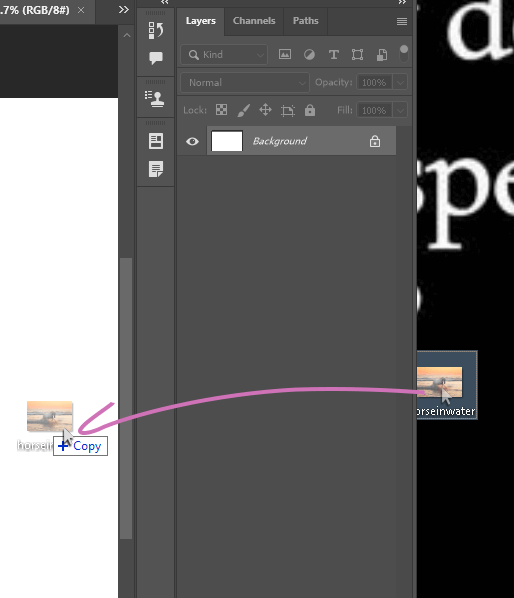
Step 2: Click and drag an image saved on your desktop into the new file.
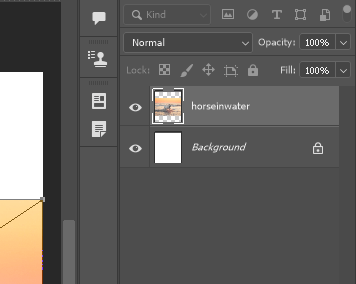
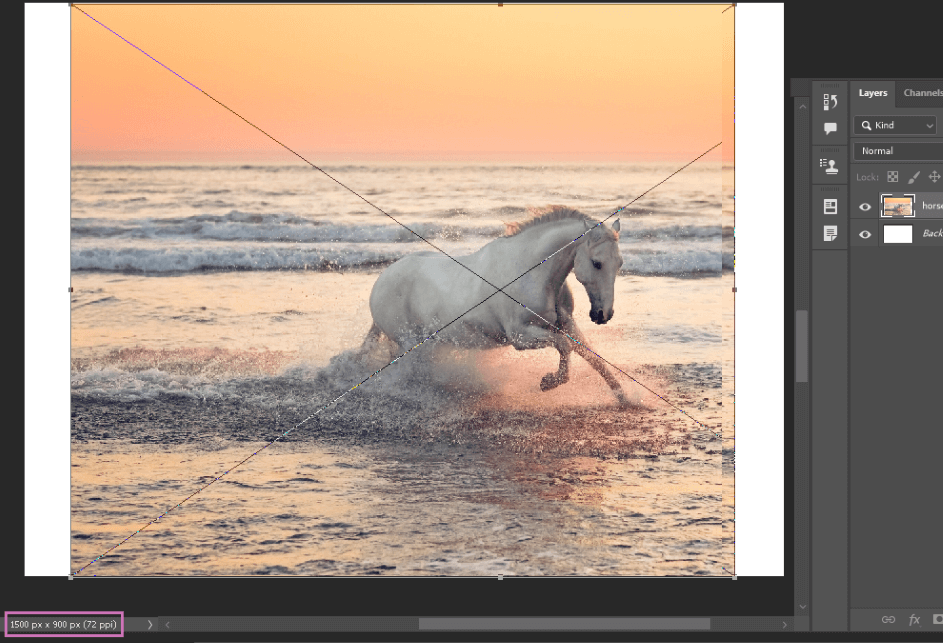
Step 3: Your image is added on top of the background layer. My new file canvas was too small, so I took the following step.
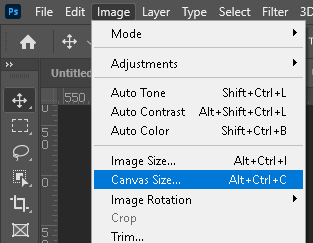
Step 4: Go to Image > Canvas Size with the Move tool. I changed it to be slightly wider than the dropped photo’s width. This changed the canvas size, but not the dropped photo layer.
It was okay for me to scale up because Photoshop converted this into a Smart Object for me.
Images may lose resolution when they’re scaled up. If this is happening, delete the layer and drop the photo in again.
You can see your canvas dimensions in the bottom left corner.
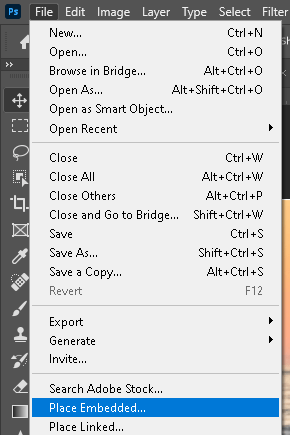
Alternatively, to add an image, you can go to File > Place Embedded and select a saved image.
Method 2: Add Photos to Another File in Photoshop
Step 1: Open the first image by clicking Open or New File, then File > Place Embedded.
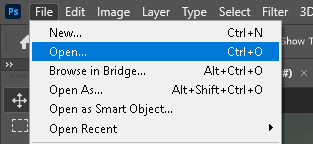
Step 2: Go to File > Open to open a second image file.
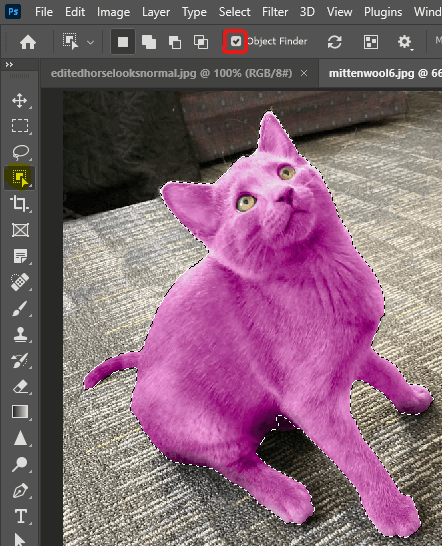
Step 3: If necessary, use a Selection tool to select your subject. I used the Quick Selection Tool with Object Finder checked off. All I had to do was click once on my cat.
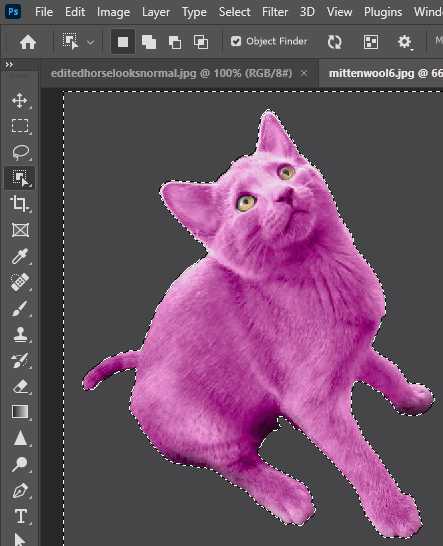
Step 4: Use the shortcut Ctrl/Command + Shift + I to inverse the selection, and press the Delete key on your keyboard. Use the shortcut for Inverse again, to go back to our original selection.
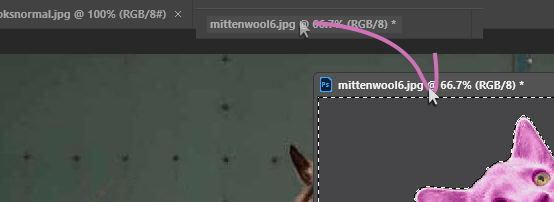
Step 5: Click and drag the cut out image file down from the top to put it in a separate window. You can do this with the other file as well.
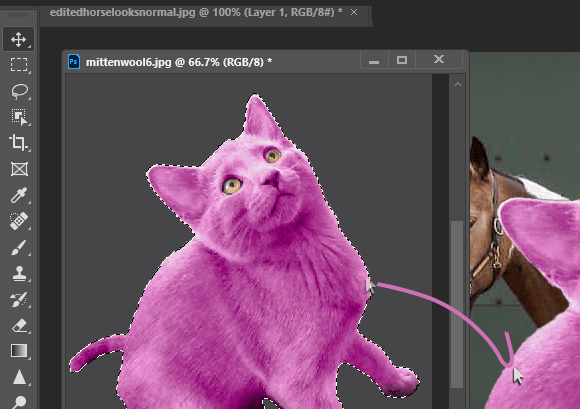
Step 6: Use the Move tool to click and drag our subject onto the other image. This puts our cutout on its own layer.
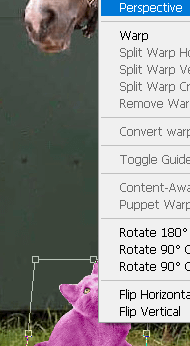
Optional Step: Resize and blend. After dragging it with the Move tool, I used the shortcut Ctrl/Command + T for Transform. This gives the option to scale and rotate. Right-click inside the box for additional transforming options. I used Perspective as well.
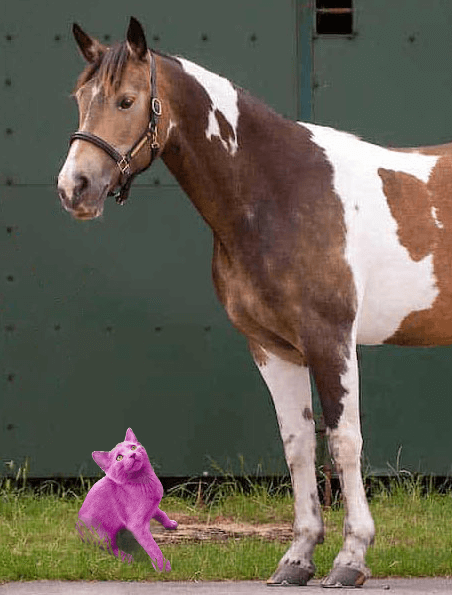
After adding some shadows with the Brush tool, and the Eraser for the grass blades, here is our result:
Final Thoughts
I hope you enjoyed this tutorial and are as impressed with Photoshop’s capabilities as I am. Adobe makes it incredibly easy to insert photos and add images together, creating something to believe in.
Did you learn something new today? Do you have any tips for other artists or graphic designers? Let me know in the comments below.