
Blending modes determine how two layers interact with each other, allowing for a variety of effects, from subtle color shifts to dramatic texture overlays.
Hi, I’m Zoe, an illustrator who has made Clip Studio Paint my main tool of trade. Blending modes have truly transformed the way I approach color and texture in my artwork, and I’m excited to share my insights with you.
In this guide, we’ll explore the basics of blending modes in Clip Studio Paint, delve into some of the most commonly used modes, and provide examples of how they can be applied to enhance your artwork.
Let’s begin!
Table of Contents
Key Takeaways
- Blending modes in Clip Studio Paint determine how colors on each layer interact with colors on lower layers.
- Understanding blending modes allows artists to create depth, shadows, highlights, and other effects in their artwork.
- Use Multiply, Color Burn, and Linear Burn for deeper shades and depth.
- Add, Screen, and Glow Dodge are best for brightness and glow.
- For enhancing colors, adjusting saturation levels, and creating contrast, the recommended modes are Overlay, Soft Light, and Vivid Light.
This guide explains how to use blending modes in Clip Studio Paint to improve shadows, highlights, and colors in your art.
What Are Blending Modes in Clip Studio Paint?
Blending modes, found in the Layer palette, dictate how the colors of one layer affect those of the layers beneath it.
Blending modes originate from traditional photography techniques where multiple images were combined for different effects. As digital art tools developed, these methods were integrated, giving artists new ways to mix layers and colors.
Today, their versatility and ability to mimic real-world interactions between light and colors have made blending modes essential in digital art, bridging the gap between traditional and modern design techniques.
In this guide, I’ll provide practical tips and common uses of different blending modes. However, the true power of blending modes lies in experimentation. By trying out different modes and layering them, you can discover unique effects and styles that elevate your artwork.
Different Types of Blending Modes in Clip Studio Paint
Now that you’re familiar with the technique, let’s look into a variety of blending modes available in Clip Studio Paint. While we won’t delve into every single mode, this overview will provide a glimpse into the creative possibilities blending modes offer.
Normal Mode
The Normal blending mode is the default mode in Clip Studio Paint. In this mode, the color on the top layer is simply placed on top of the color of the layer below. When using Normal Mode, fully opaque pixels of color will completely cover the pixels below them with no color mixing.
Darkening Modes
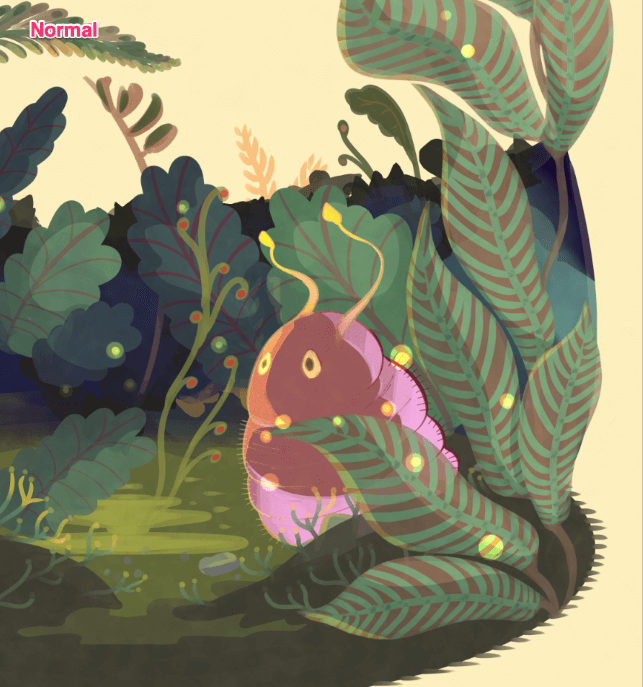
Darkening modes in Clip Studio Paint are ideal for creating shadows, moody lighting effects, and adjusting colors to achieve a darker tone.
To explore darkening modes, we’ll use the image below. Here, the shading layer is set to Normal Mode. Although the shading color seems too light, you’ll see how darkening modes interpret colors in unexpected ways.
- Multiply: By multiplying the color values of the top layer with the bottom one, this mode darkens the outcome, making it a staple for shading and crafting lifelike lighting effects.
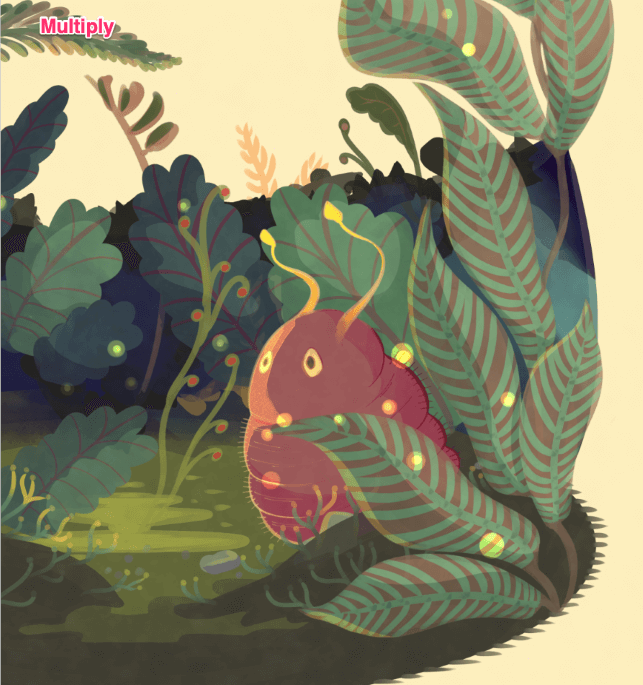
- Color Burn darkens the colors and increases the contrast of the base colors. It adds a dramatic effect to your artwork and can be used for creating intense shadows or for adding contrast.

- Linear Burn blends the colors of the blending layer by darkening the colors of the base layers. It produces darker and more saturated blended colors, making it suitable for creating rich shadows and adding depth.

Lightening and Glowing Modes
Lightening and glowing modes in Clip Studio Paint are useful for creating highlights, glowing effects, and adding a sense of illumination to your artwork.
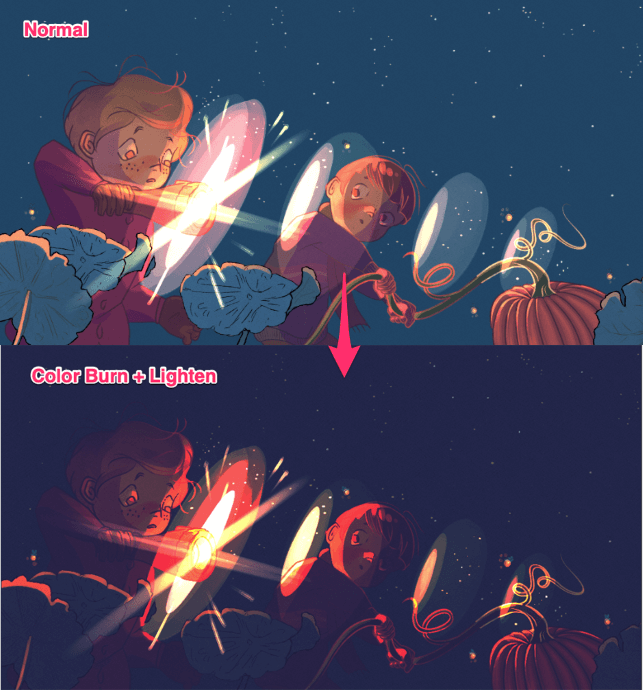
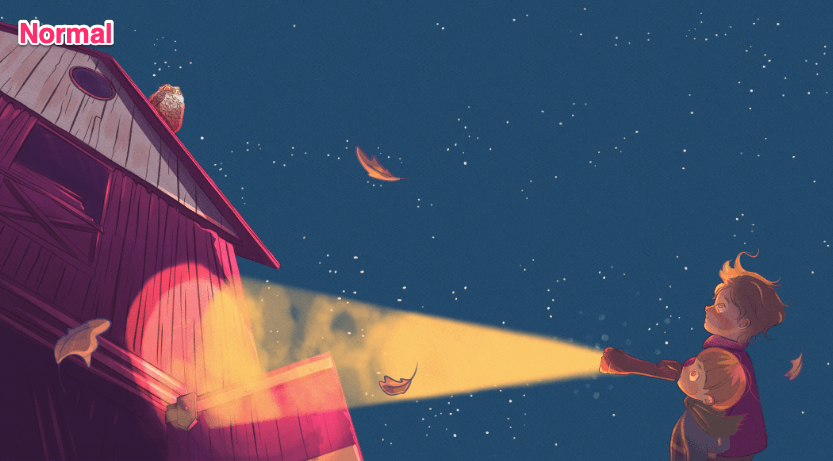
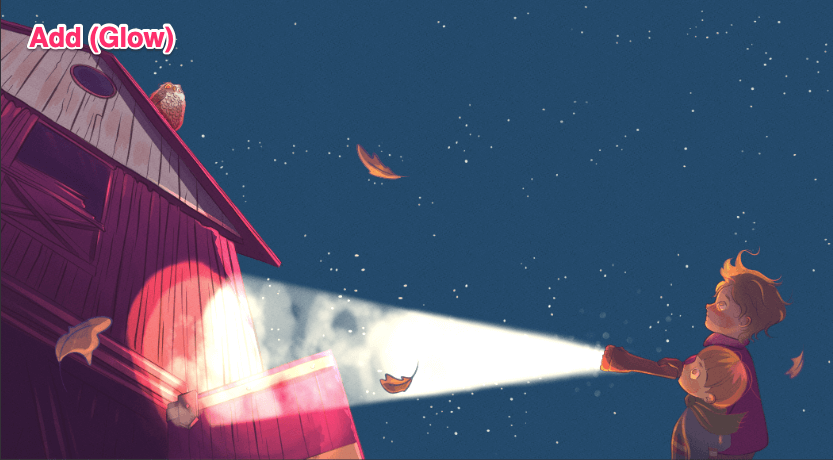
Let’s explore some of the lightening and glowing blending modes available. As a starting point, here’s our sample image with the flashlight beam set to the Normal blending mode for comparison:
- Screen: By inverting base colors and multiplying them with the blending layer’s colors, Screen mode offers a brighter outcome, perfect for adding light sources and a radiant glow.

- Color Dodge & Glow Dodge: Both modes lighten base colors, with Glow Dodge offering a more pronounced radiant effect.
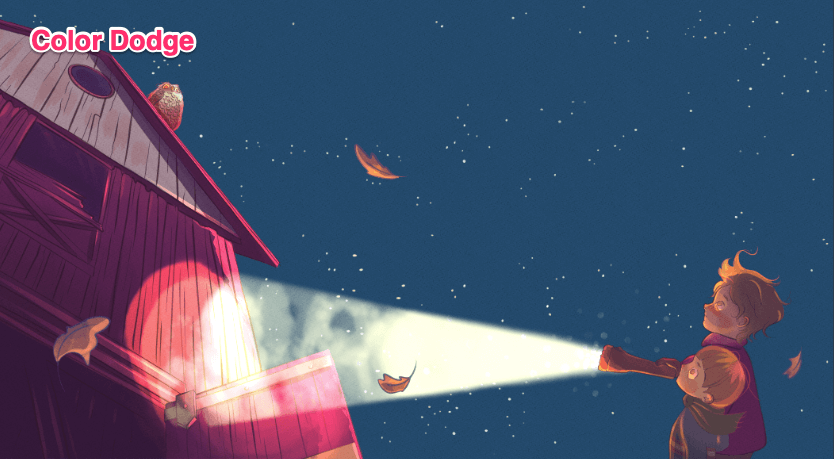

- Add & Add (Glow): Both these modes amplify brightness, with Add (Glow) taking it up a notch by intensifying the brightness and saturation.

Saturation and Contrast Modes
Saturation and contrast modes in Clip Studio Paint can help you enhance colors, adjust saturation levels, and create striking contrast in your artwork.
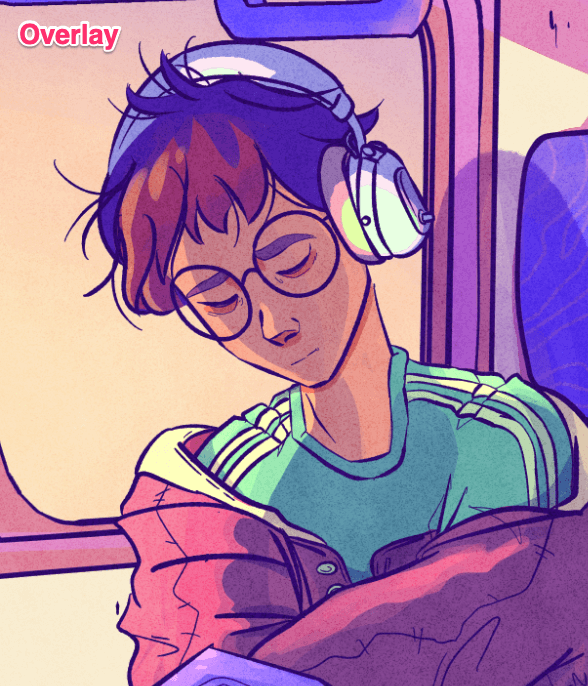
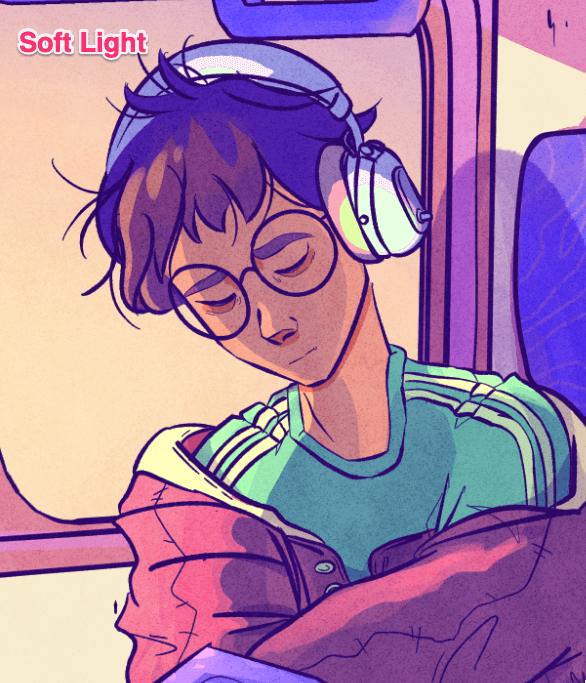
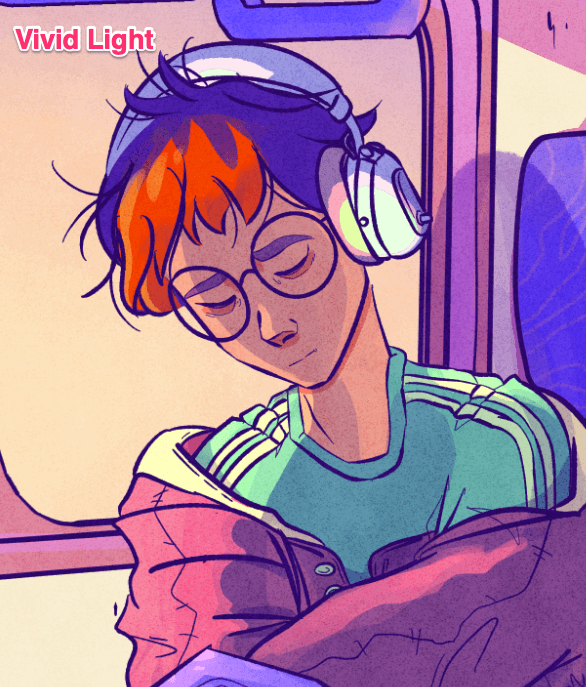
Let’s see how saturation and contrast blending modes affect the character’s hair shine, currently set to Normal Mode:
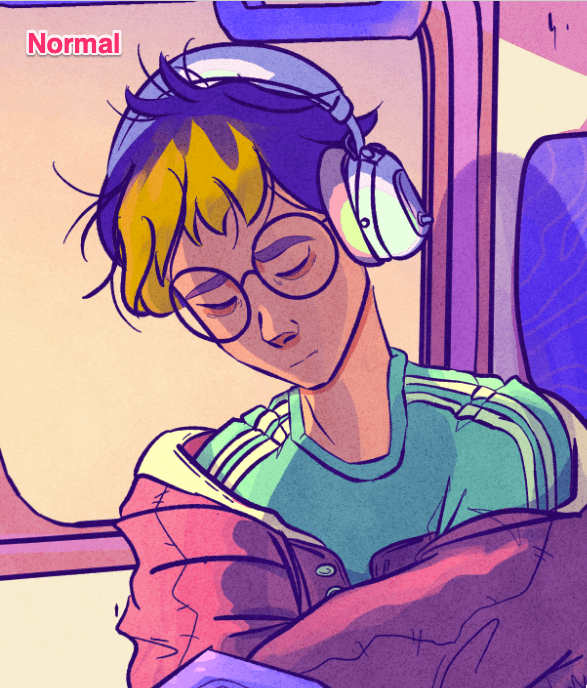
- Overlay behaves like Screen Mode in bright areas and Multiply Mode in darker areas. It boosts contrast by either darkening or lightening colors based on the colors of the bottom layer.
Overlay Mode can be used for enhancing contrast and intensifying colors.
- Soft Light: Depending on the superimposed color’s density, Soft Light can either brighten or darken colors, making it a versatile tool for subtle saturation and contrast adjustments.
- Vivid Light boosts contrast using Color Dodge and Color Burn based on the overlay’s color. It brightens highlights and deepens shadows, making it great for adding drama and enhancing textures.
- Pin Light adjusts colors based on the blend color: lightening if it’s lighter than 50% gray and darkening if it’s darker. It’s less common but can produce unique effects.

Color Modes
These color modes are designed to manipulate specific aspects of color or brightness in your artwork. By isolating elements like hue, saturation, or brightness, these modes allow artists to fine-tune their work in distinct ways.
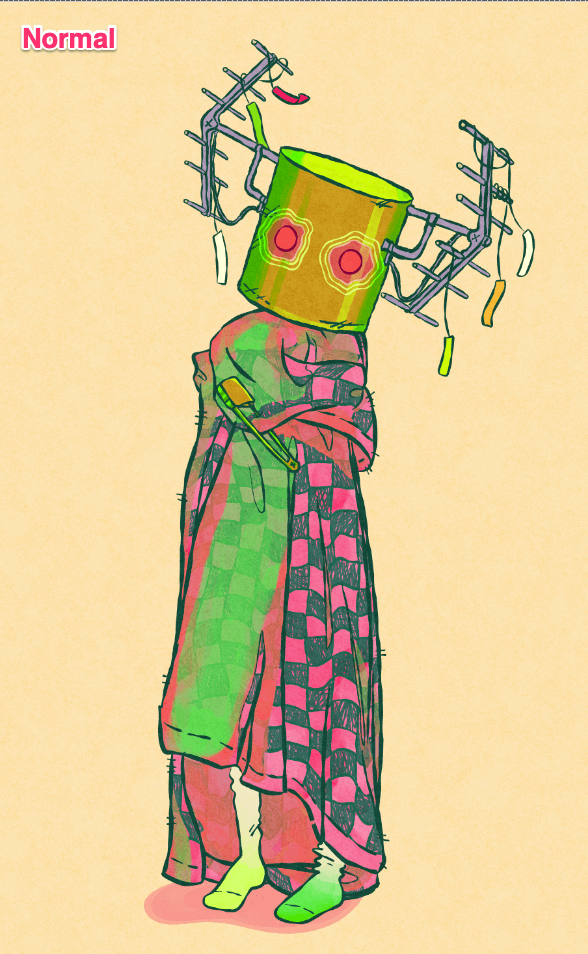
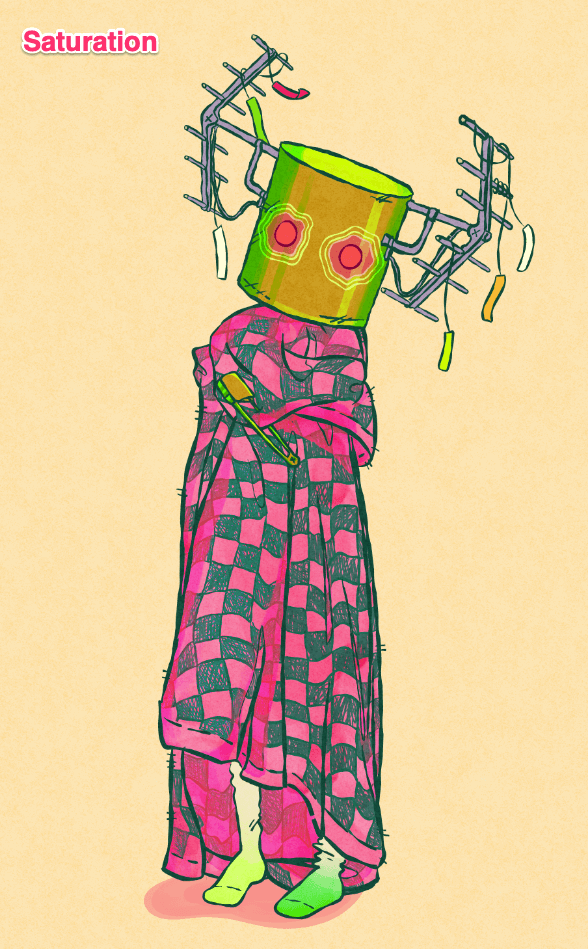
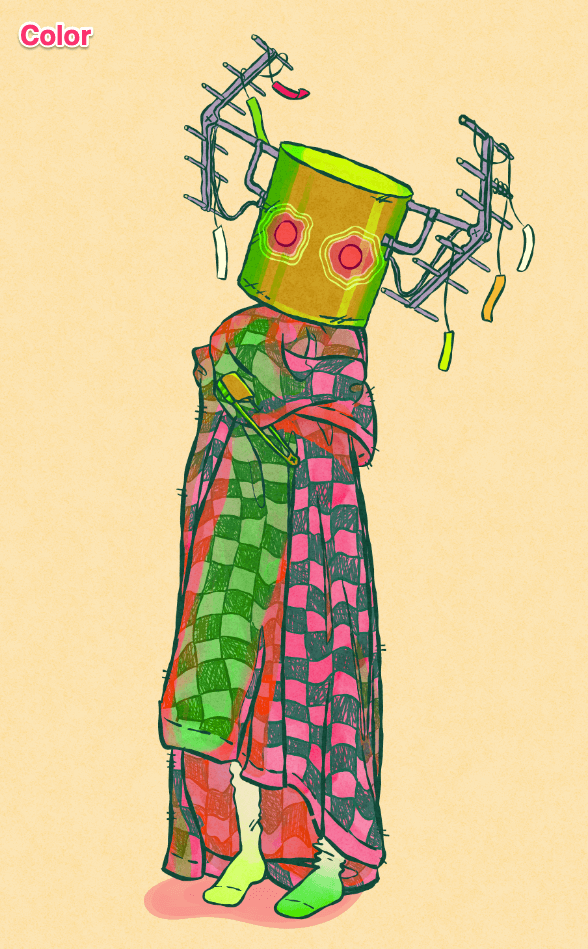
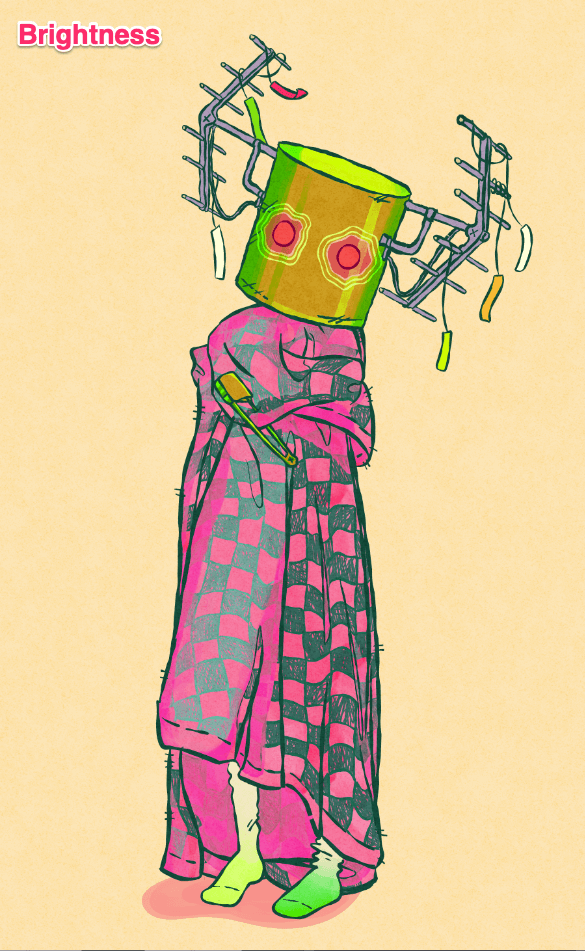
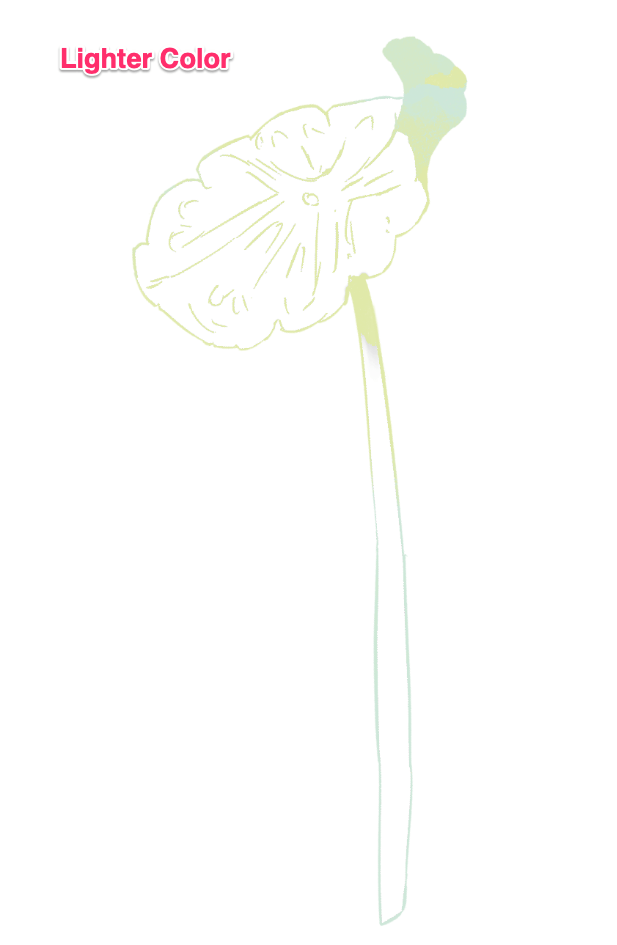
This is the sample illustration we’ll be using, with the green area currently set to Normal Mode:
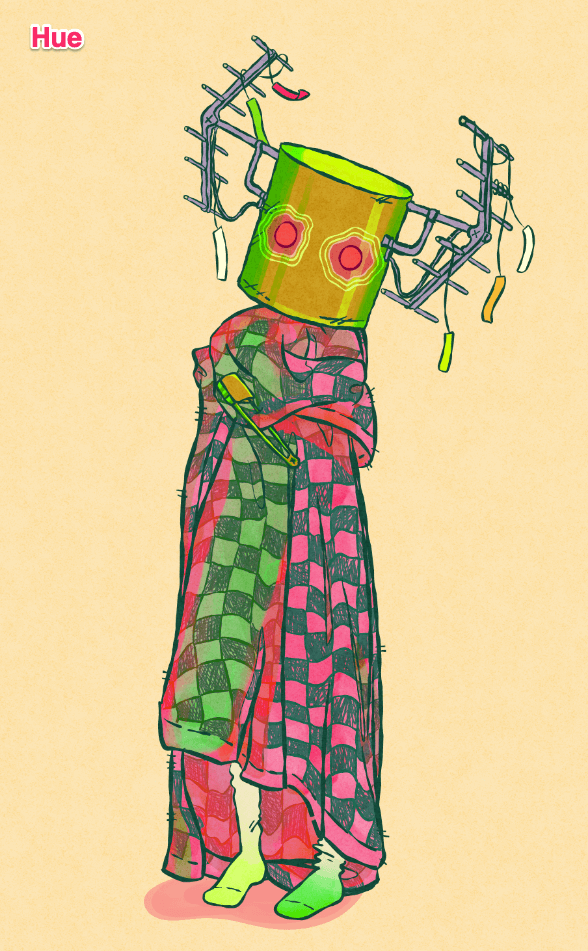
- Hue adds the hue of the blending layer while maintaining the original brightness and saturation. It allows for precise control over color adjustments without affecting other aspects of the artwork.
- Saturation adds the saturation of the blending layer while maintaining the original hue and brightness. It can help enhance or tone down the intensity of colors in your artwork.
- Color adds the hue and saturation of the blending layer while maintaining the original brightness. It is useful for creating harmonious color schemes and adjusting the overall color balance of your artwork.
- Brightness adds the brightness of the blending layer while maintaining the original hue and saturation. It is effective for adjusting the overall lighting and tonal values of your artwork.
Selective Extraction Modes
These modes are great for extracting elements from images, like isolating black lines from white-filled line art. They allow artists to blend elements without cutting.
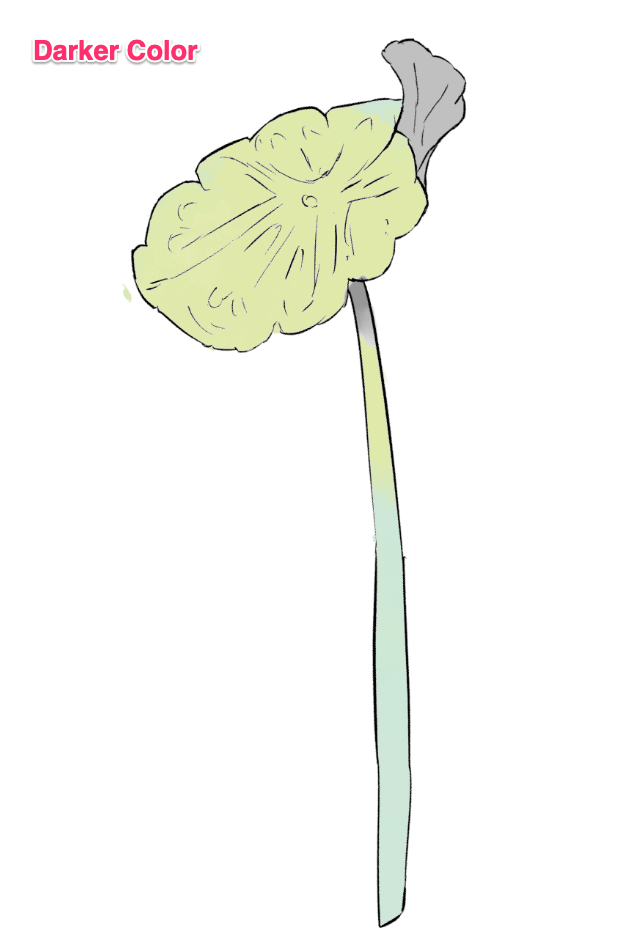
In our example, the lineart layer below is hidden by the color layer set to Normal Mode:

- Darker Color compares each pixel value of the top layer with the corresponding pixel value of the bottom layer and chooses the darker of the two.
- Lighter Color: The opposite of Darker Color, it chooses the lighter pixel value between the top and bottom layers. This allows you to deal with only the lighter parts of your image.
How to Change the Blending Mode in Clip Studio Paint
Blending modes in Clip Studio Paint offer a powerful way to combine layers and create unique visual effects. Let’s dive into how to easily change these modes and enhance your artwork.
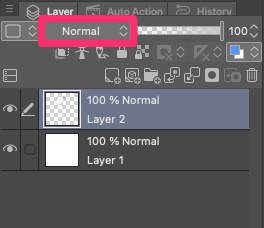
Step 1: In the Layers panel, click on the layer whose blending mode you want to change.
Step 2: Above the list of layers, you’ll see a dropdown menu that says Normal (this is the default blending mode).
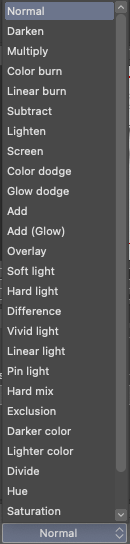
Step 3: Click on the dropdown menu to see a list of available blending modes. Scroll through the list and select the blending mode you want to use.
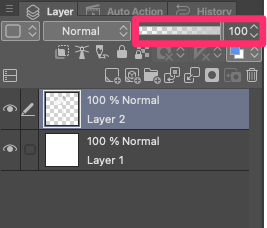
Step 4: Right next to the blending mode dropdown, there’s an opacity slider. You can adjust this to change the transparency of the layer, which can further modify the blending effect.
That’s it! You’ve successfully changed the blending mode in Clip Studio Paint.
Final Thoughts
Blending modes in Clip Studio Paint provide artists with a wide range of options to manipulate colors, add depth, create lighting effects, and enhance the overall mood of their artwork. By understanding the different blending modes and their applications, artists can unlock a whole new level of creativity and achieve stunning results.
So, go ahead and experiment with blending modes, combine them, and explore their possibilities to transform your artwork in unexpected ways.
I hope this article has shed light on blending modes in Clip Studio Paint and inspired you to explore new techniques in your artwork. If you have any questions or thoughts, feel free to leave a comment below!