
The Brush Tool in Photoshop is arguably the most versatile and impactful tool you can master in your creative career! It’s wildly important to understand how and to use this tool if you intend to master the program.
My name is Skyler, and I currently work as a freelance sequential artist while attending my last year at the Savannah College of Art and Design. I’ve got lots of experience applying these methods and techniques to create polished, professional works, and I’m more than happy to share them with you.
In this article, I’ll be discussing how to change your brush color in Photoshop while giving you an in-depth explanation of our Swatches, Color Palette Panels, and Color Models.
Table of Contents
Method 1: Color Swatches
Select the brush, and choose a color from the Color Wheel.
Color swatches allow you to rotate between two chosen colors on demand! You have the Foreground and the Background Swatches to choose from.
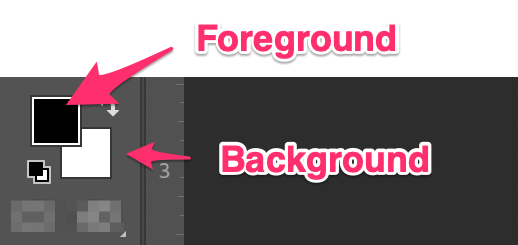
By default, they’re black and white. You can change this by clicking twice on the desired swatch.
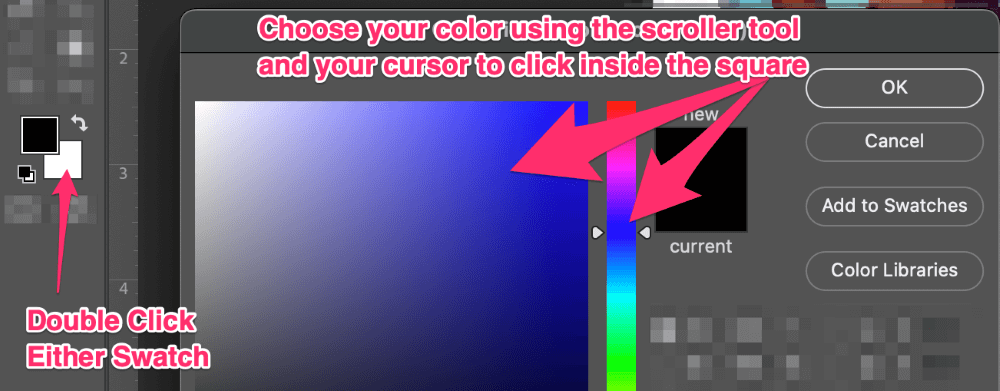
Then you have two ways of selecting your desired color from the menu that pops up. You can scrub up and down using the Scroller Tool or you can click anywhere inside the box. Normally, you’d choose your color from the scroll on the right, and then choose from the left-hand box for a more precise selection.
Once you have your selection, click OK and it’ll be assigned to that swatch. Once you do this for both Swatches, you can take note of the tiny arrow in the top right corner of the swatches.

This button allows you to switch your Swatches on demand, so you can easily rotate between your two desired colors without opening up the menu again.
Method 2: Color/Swatches Panel
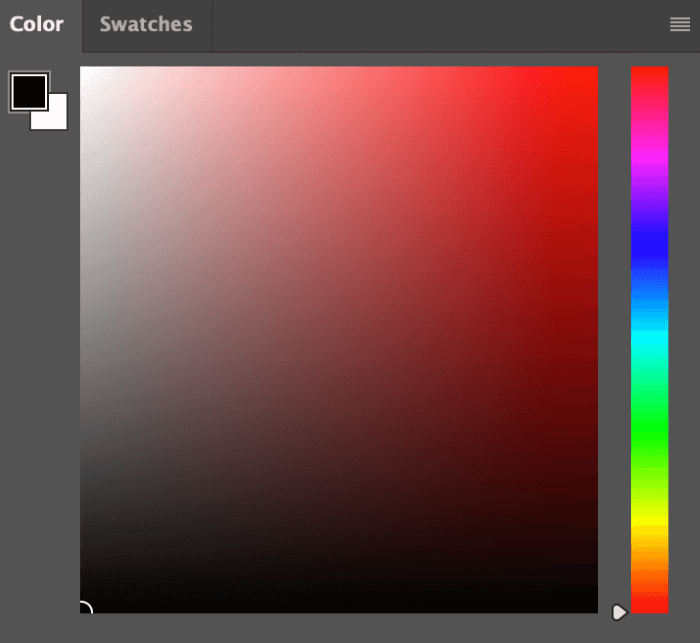
You can also choose a color from the Color or Swatches panel. The Color Palette Panel allows for a larger viewing and a simplified selection without opening up the Color Picker Window. This is nearly identical and can be found on the right-hand side of your screen.
You can open the Swatches panel from the overhead menu Window > Swatches. There are different color swatches you can choose the color from.
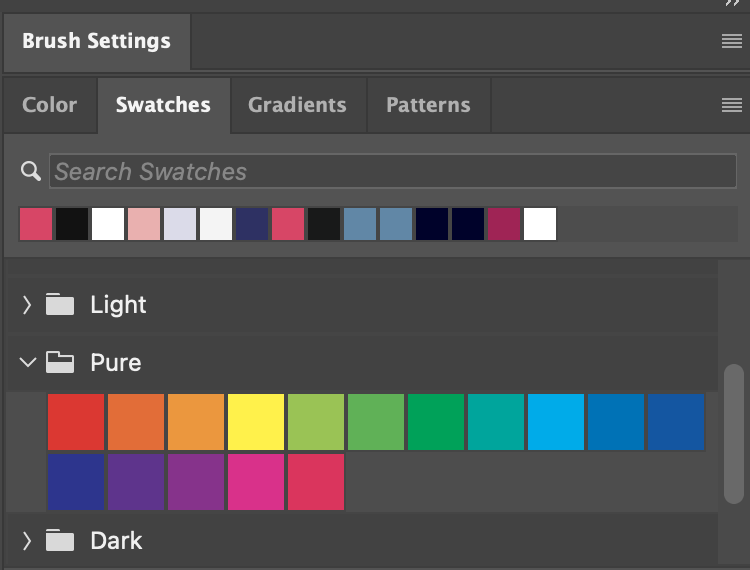
The only thing missing from this simplified panel is the Color Models, which you’d have to double-click on the Swatches again to access.
Method 3: Color Models
If you’re a perfectionist then you’ll want to familiarize yourself with all the Color Models available in Photoshop, as they allow for extremely accurate selections. The most commonly used ones are HSB, RGB, and the Hexadecimal Number.
So you can change the brush color by adjusting the value of the color model you choose.
HSB
HSB stands for Hue, Saturation, and Brightness.
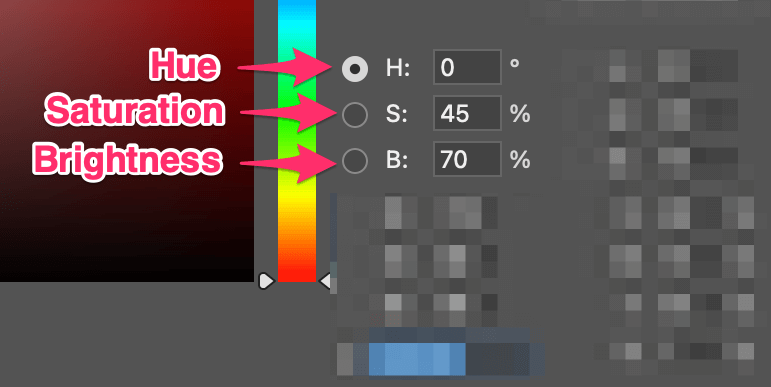
Hue is calculated using degrees, from 0 to 360. This is relative to the position on the color wheel. Saturation is how saturated, or vivid the colors appear in an image.
No saturation in an image or film would be represented in black and white, for example. This is on a scale of 1 to 100 percent. Brightness is also done on the same scale, but the closer to 100 the brighter the color, or the amount of white that is present in the color or image.
RGB
RGB stands for Red, Green, and Blue.

If you’re at all familiar with the color wheel, you know this is the standard for how color is combined and portrayed on our screens every day. Each RGB input can be scaled from 0 to 255.
Hexadecimal Number
The Hexadecimal number input is the least known, as it’s simply a box in blue on our color picker window. It’s based on a number system used to accurately define and translate colors digitally.
This box is used to input Hexadecimal colors – and is typically taken from a list or source code online.
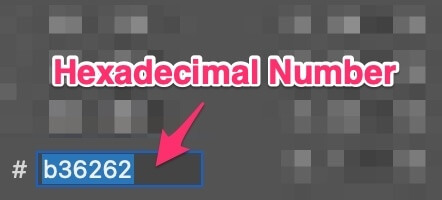
If you want a specific color and don’t know how to achieve it, try looking up and inputting the hexadecimal number for it!
Final Thoughts
Wow! Lots of new information here, so take the time you need to process it by messing around with the color picker window or trying out the hexadecimal number system. Surely you’ll have a favorite way of inputting these colors and changing them, so try them all out individually and see what feels best for you. Maybe even combine a method or two!