
Once you’ve opened Photoshop with a document or new file, you can change your canvas size in the Properties panel. Toggle the link on if you want to retain the same width-to-height ratio.
Alternatively, you can change your canvas size by using the Crop tool. Click and drag the box handles to alter the size of your canvas.
Hi, I’m Jayde. Today I’ll be showing you how to change the canvas size of your Photoshop file, along with some other features and settings you may find helpful to you.
Without further ado, let’s get started!
Table of Contents
Key Takeaways
- Change the size of your canvas in the Properties panel when you first open your document. If you don’t see it, go to Window > Properties.
- Change the size of your canvas with the shortcut Alt/Option + Ctrl/Command + C.
- Trim away access canvas space by going to Image > Trim.
- You can change the orientation of your document in the Properties panel as well.
- Under Quick Actions in the Properties panel, you may change the image size (including the canvas).
- Use the shortcut Ctrl/Command + Z to Undo any mistakes.
Note: The screenshots from this tutorial are taken from the Adobe Photoshop Windows version. Mac or other versions can look slightly different.
Method 1: Properties Panel
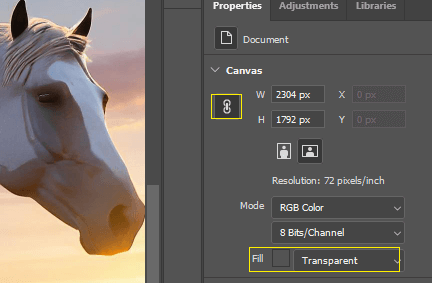
Go to the Properties panel. If you don’t see this panel, go to Window > Properties. Toggle off the link symbol to change the H (height) or W (width) values.
Here you can also change the orientation and color of your canvas. I have the color of my canvas set to Transparent.
Method 2: Change Image/Canvas Size
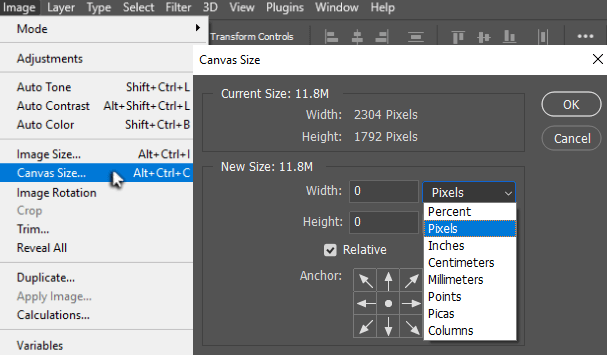
Go to Image > Canvas Size or use the shortcut Alt + Ctrl/Command + C. You can change the unit of measurement here, as well.
The Anchor depicts the center dot as your image or layer, showing that my image will stay centered as the canvas expands.
Tip: If at any time you want to view or center your entire canvas, go to View > Fit on Screen.
Method 3: Crop Tool
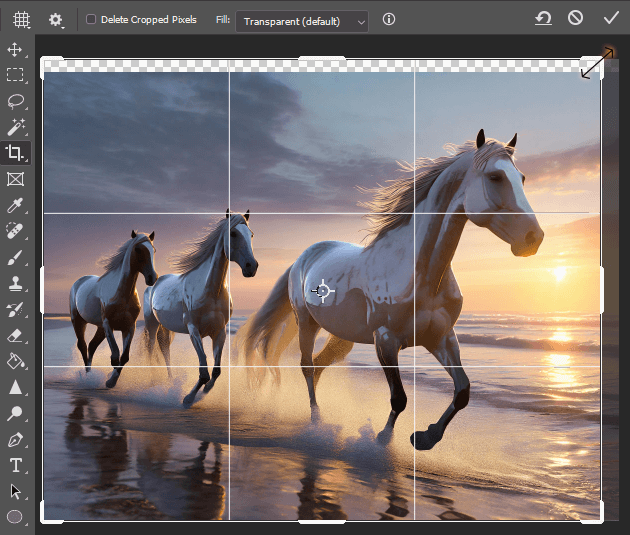
Step 1: Click on the Crop tool from the toolbar or use the shortcut C.
Step 2: Click and drag the handles on the edges of the adjustment box inwards or outwards to change the size of your canvas.
Whenever you’re decreasing the size of your canvas in Crop mode, make sure that Delete Cropped Pixels (in the action bar along the top) are left unchecked. Always elect to hide pixels, as opposed to deleting them.
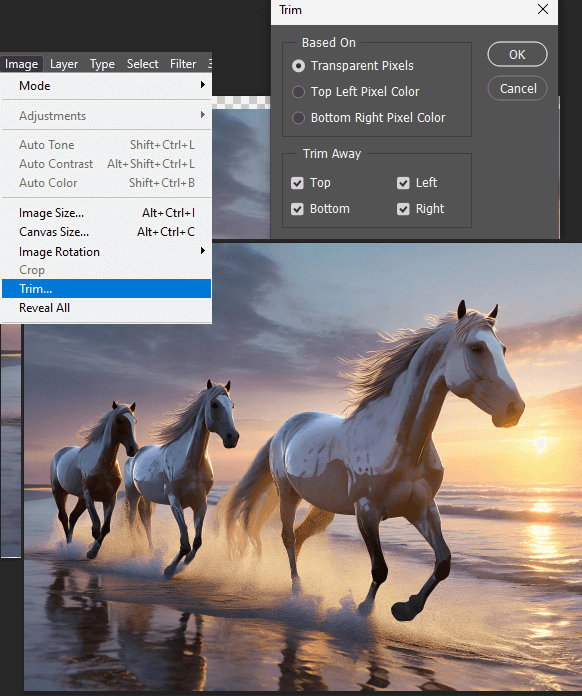
Step 3: Whenever you have unwanted access to canvas space, go to Image > Trim. I will select Transparent pixels and ensure all the edges are checked off. Click OK.
Final Thoughts
That concludes this short and sweet tutorial on how to change the canvas size of your document. Although Photoshop is very user-friendly, learning the ins and outs of this program takes time. Remember to be patient with yourself and never stop practicing.
When did you start your journey to learn Photoshop? Do you have any tips or pointers for fellow graphic designers? Let us know in the comments below.