
Chances are you’ve wondered how you would look with a certain hair color at some point in your life, but you never went through with it after second-guessing. Nowadays Instagram, Snapchat, and other services offer to solve this problem, but what if you wanted more control or a higher quality rendering?
Well, look no further, because Photoshop has all the tools you’d ever need to edit or fine-tune your hair color.
My name is Skyler, I currently work as a freelance sequential artist while attending my last year at the Savannah College of Art and Design and I’ll be showing you how to change someone’s hair color like a professional.
So, there are plenty of reasons you might want to learn how to change someone’s hair color in an image, but how do you make it believable? Unfortunately, we can’t just layer on filters or cartoonish animation for believability.
In our case, we’ll be using Photoshop’s stellar masking tools and HSB values for fine-tuning our color.
Table of Contents
Step 1: Selecting and Masking Hair
The first real step to successfully changing your hair color in Photoshop is selecting an area to mask. The Masking Layer will allow us to alter the color of the hair in a non-destructive way.

So I’ll be using Photoshop’s Quick Selection Tool, but you’re free to use any of the Selection tools the program offers.

The Quick Selection Tool allows you to use the selection feature like a brush, so all you have to do is paint over your subject’s hair.

Once you have your hair selected, navigate to and click the Select and Mask button in the overhead panel.
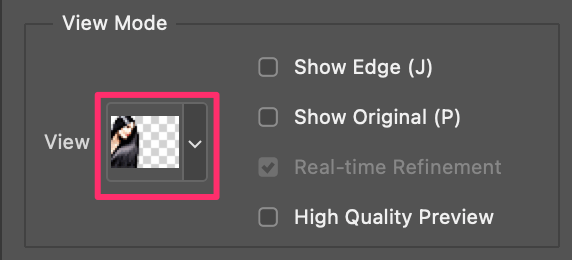
This will open up a properties panel, where you’ll see a preview of your image. From here you can click on the arrow down next to your preview, and a submenu will appear.
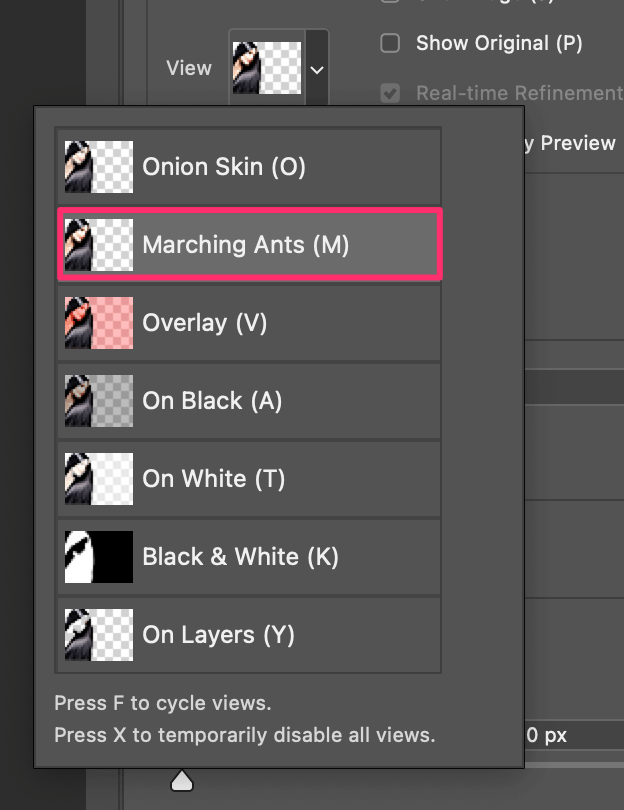
Select Marching Ants from this submenu. It will allow you to better see the selection you’ve made before committing to masking.
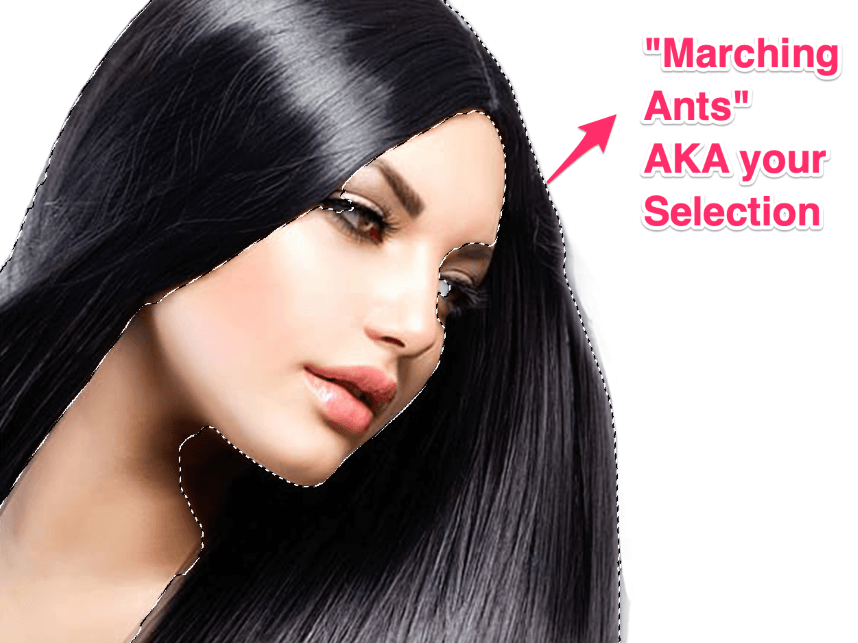
As you can see, you’re now able to see your selection much better. This will allow you to check for any mistakes or misselected areas and edit them. In my Image, I’ll do this around the eyes, where it bleeds over because of eyebrows or lashes that were included during Quick Selection initially.
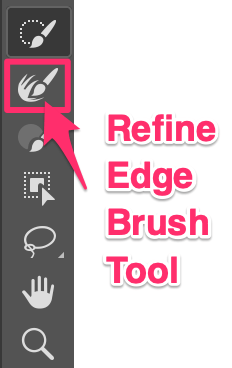
I’ll be using the Refine Edge brush tool, so I can edit those misselections and better mask any strands of hair or wispy eyelashes. This tool is typically associated with masking hair, so it’s the best one for the job aside from tracing each strand by hand.
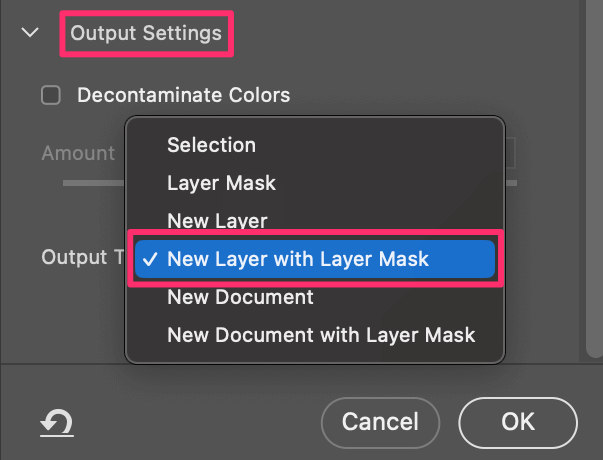
Once you’re satisfied with your new selection, you should double-check that your Output Settings are set to New Layer with Layer Mask before clicking OK.
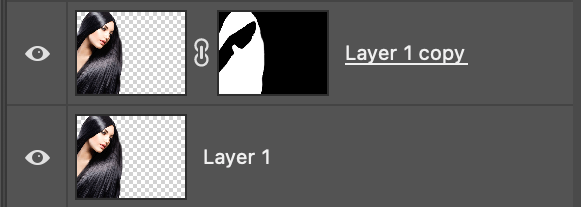
Done! You’ve successfully created your Layer Mask. Now we can add a Hue and Saturation layer to tweak the color.
Step 2: Changing the Hue & Saturation
This part is a bit easier. To edit the Hue and Saturation inside our Layer Mask, all we need to do is press the New Fill Layer button at the bottom of your Layers Panel.
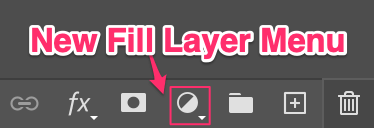
Then choose Hue/Saturation from the menu that appears, and you’ll have your new Fill Layer ready to edit.
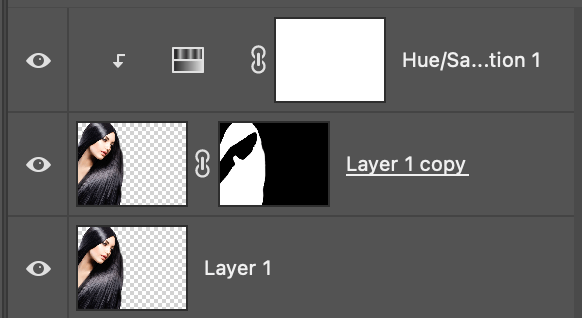
Now your layers panel should look something like this! If everything is in order, highlight the Hue/Saturation layer and a new property menu should become available.
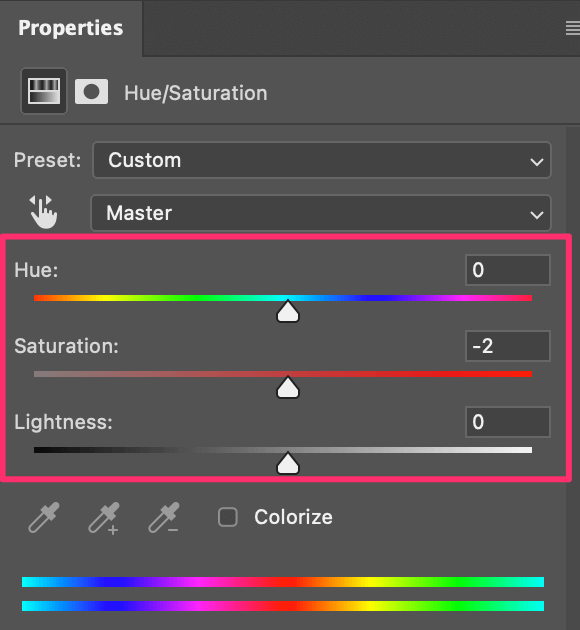
It’s a very busy, colorful menu but don’t be too intimidated. There are really only three main sliders, or inputs we have to worry about. Hue controls where we are on the color wheel, while Saturation is how pigmented your color is, and Lightness is the amount of black or white in said color.
I have personally found experience to be one of the best mentors, so I suggest messing around with the sliders and seeing how each scale affects your Layer Mask.

Before you go too crazy though, be sure to enable the Clip to Layer Icon under this menu. This literally attaches your Filler Layer to your Layer Mask, so it won’t mess with your background or any other layers you may have.
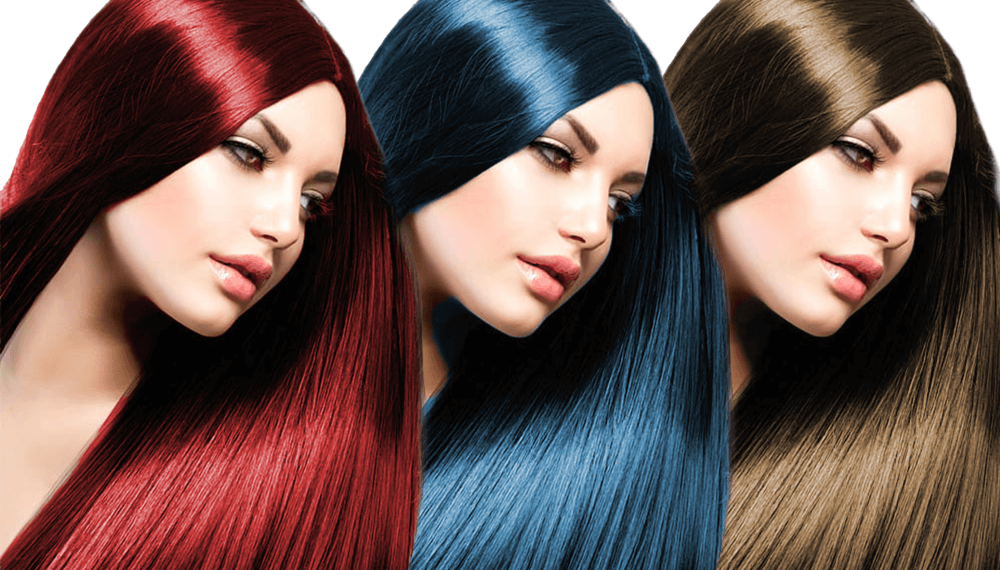
Here are some simple colors I landed on after messing around with our Hue and Saturation sliders. Not bad, right?
Now, if you want to really fine-tune your colors further and don’t want to spend hours messing with the sliders to become an expert you should try understanding how Photoshop uses Hue, Saturation, and Brightness.
HSB Color Inputs
This video goes further in-depth on these HSB values, and how to find and apply them to your projects. If you enjoyed learning how to change your hair color in Photoshop using this tutorial, it’s worth understanding how to use these Color Inputs to further your mastery.
Conclusion
So we can all understand why you might want to learn how to change someone’s hair color in Photoshop, but do you have the skills to learn how to do it yourself, and make it believable? You bet you do! Plus, you didn’t have to resort to using any of those layers or cartoonish filters we so often see.
Congratulations on your new skill and happy editing!