
If you’ve ever tried manipulating images, you’ll know how difficult it can be to make a realistic-looking edit. When you don’t match the colors or the tone of the lighting correctly, the image no longer looks unified, ultimately giving it an unrealistic appearance.
My name is Skyler. Today I’ll show you how to manipulate your images to match a source file of your choosing.
There are many reasons you may be looking to learn how to change or match the color of one image to another. This method is often utilized for product photos, or to create variations on a given theme – even just to color-correct a composite you made by swapping selections and backgrounds in photography.
Follow along below to learn how to utilize this tool for your edits and manipulations in the future.
Table of Contents
Step 1: Add Images to Photoshop
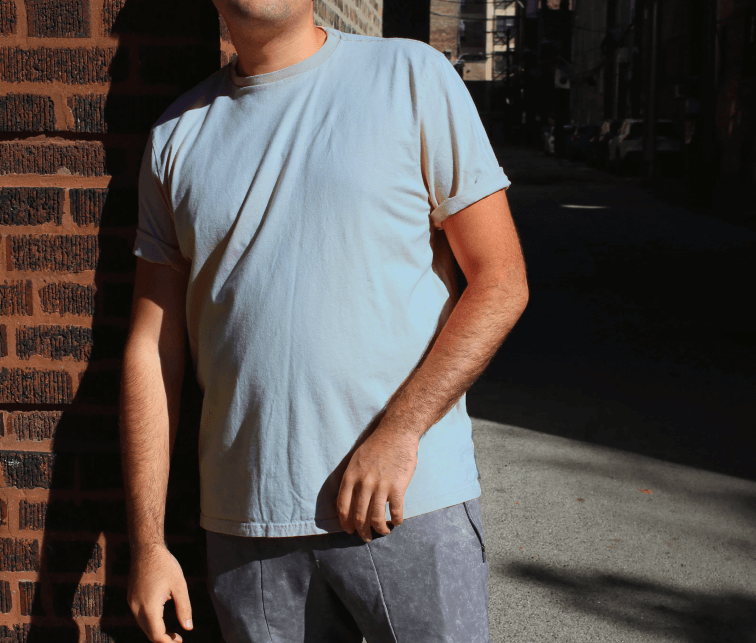
The first step you’ll need to take is to insert your source images as layers into Photoshop.
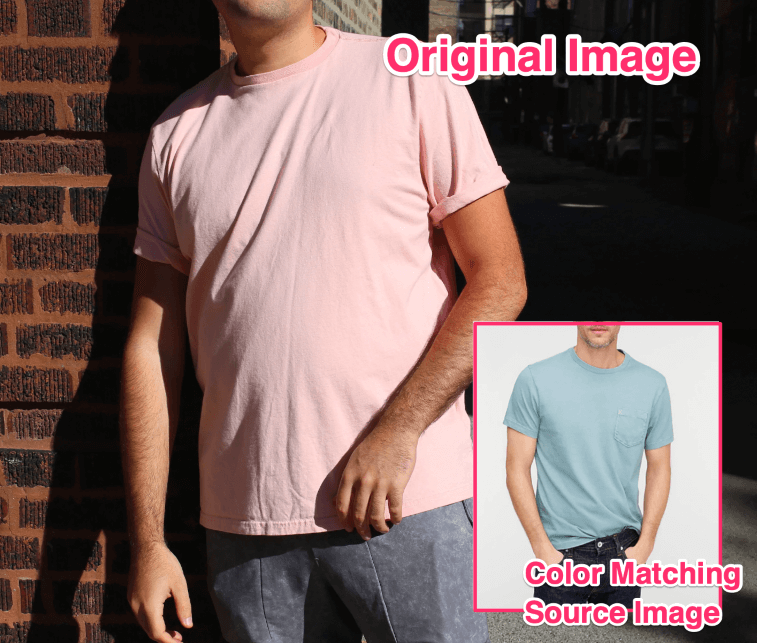
As you can see, I layered the original image and the source image I’d like to use to color match on top of each other for quick reference.
Once this is done, you’ll want to duplicate the layer you intend to color match. This is because the method we’re using calls for working destructively. So if anything were to go wrong during your manipulation, you now have an unaltered version of the original image set aside just in case.
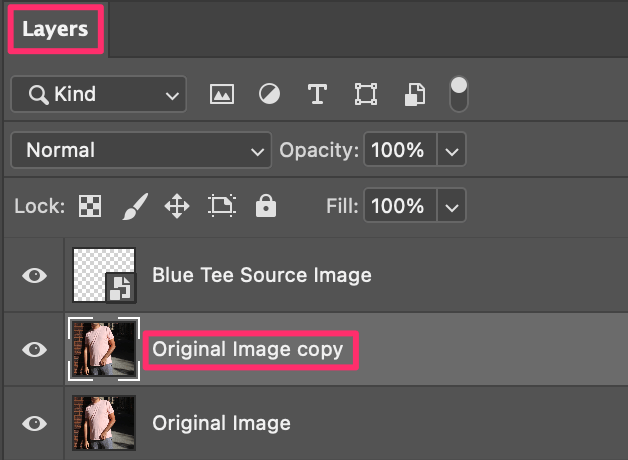
You can accomplish this by navigating to the Layers Panel and right-clicking on your original image. Then you can select the Duplicate Layer command from the popup menu.
Alternatively, you can use the keyboard shortcut Command/Ctrl + C to copy and Command/Ctrl + V to paste the layer.
Step 2: Make a Selection
This step involves highlighting the area of your image you’d like manipulated to color match. You can use virtually any selection tool to get the job done. In this case, the Quick Selection Tool will work best.
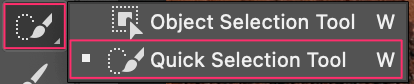
Once you’ve enabled the Quick Selection Tool, all you have to do is click and drag your cursor along your intended selection until you’re satisfied.
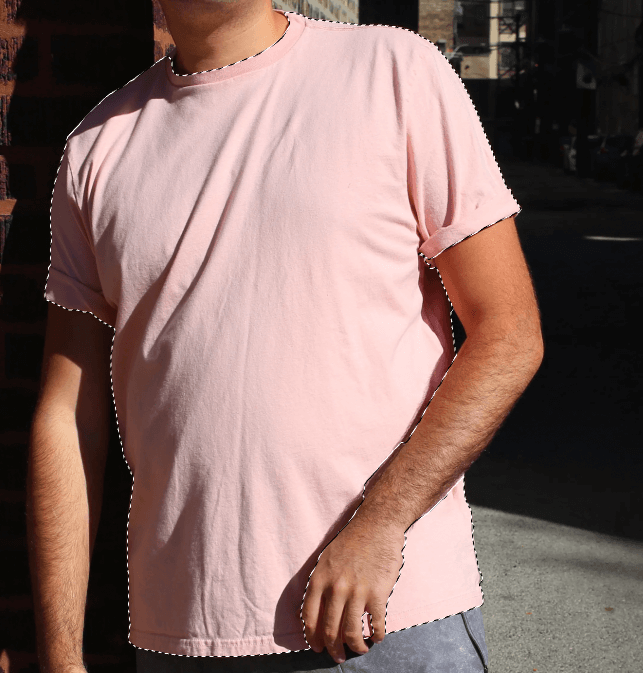
Great! Now we can go ahead and move on to applying the Color Match tool.
Step 3: Applying Color Match
Now that we’ve gotten all that out of the way, we can finally apply Color Matching! Just a few clicks from now you’ll have created a high-quality photo manipulation with ease.
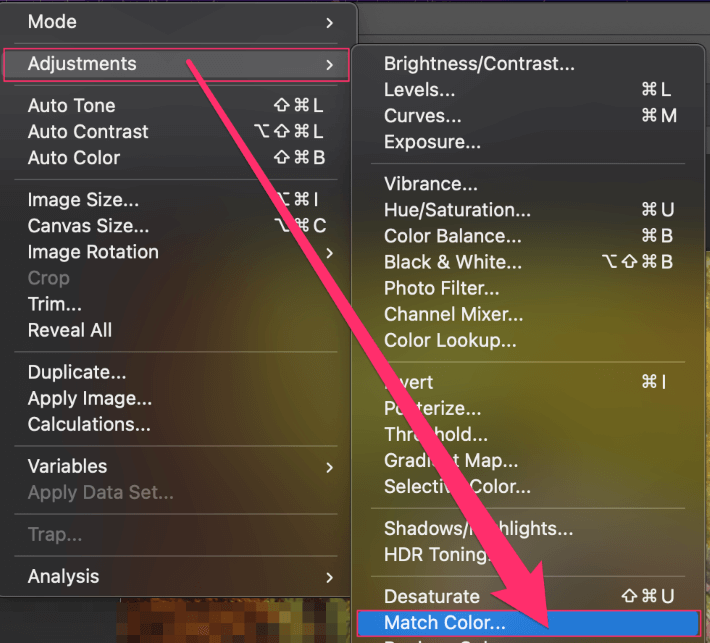
First things first though, you’ll have to navigate to Image > Adjustment > Match Color with your duplicated layer selected. This will prompt the Match Color window to appear.

You’ll want to make note of the Image Options available to you, as well as the Source drop-down menu. These will be the main focus as we begin to make our adjustments.
When ready, choose your JPG or image file from the Source drop-down menu. Then, the Layer menu beneath it will make itself available. Once this is done, you can change the Layer menu setting to the source image you want matched.
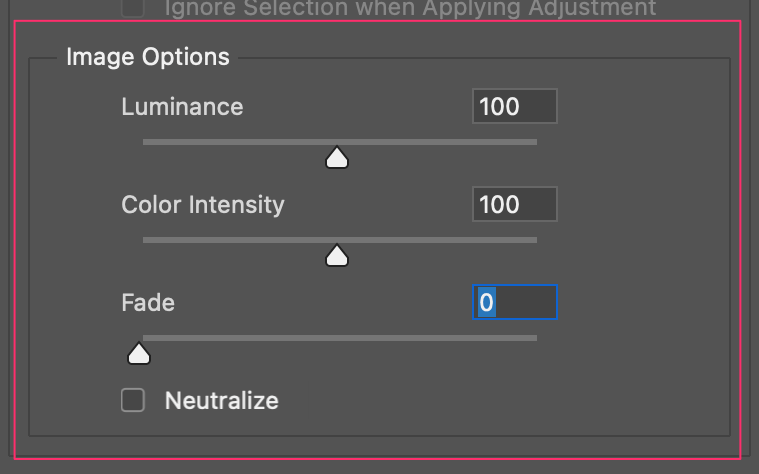
If you backtrack a bit to the Image Options, you’ll also find the Luminance, Color Intensity, and Fade settings are available to adjust on a sliding scale.
The Luminance and Color Intensity sliders will adjust the brightness or Intensity of your color-matching layer, while the Fade will change the general opacity. Feel free to adjust these sliders and play around with the levels until you’re satisfied with your image!
Click OK when you’ve decided and you’ve officially rendered your manipulation.
Wow! A perfect match – and pretty easy, right?
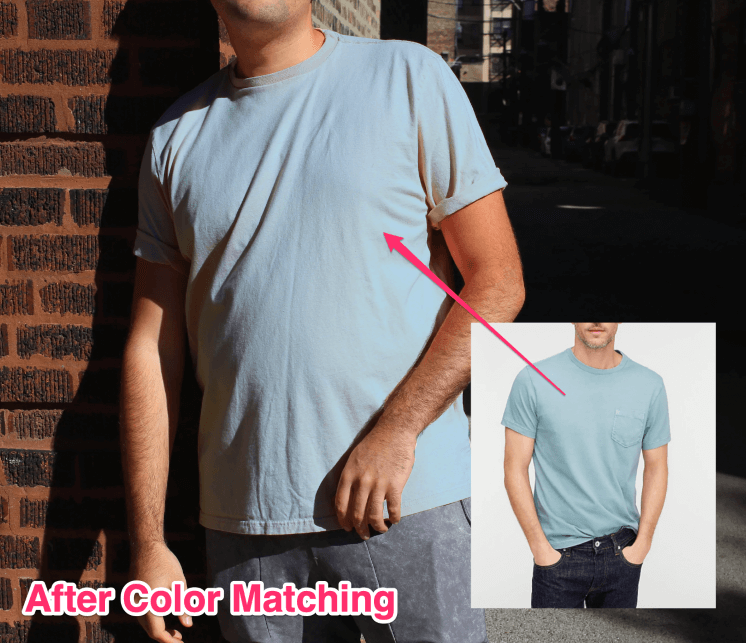
Look at that! Even side by side, the color match stands up well.
Since learning how to use this method, I’ve personally saved a ton of time on editing and compositing. So congrats on picking up this new knowledge that I’m sure will come in handy on future edits!
Conclusion
Job well done! It’s super easy to change T-shirt colors using the Color Match tool in Photoshop. All you need to do is to make a selection of the t-shirt you want to color and use the Color Match tool to add a new color to it.