
If you’ve ever tried compositing images, you’ll know how difficult it can be to make a realistic-looking edit. If you don’t match the colors or lighting correctly, it’s a dead giveaway that the photo has been manipulated. So how do we accomplish this in Photoshop?
My name is Skyler. Today I’ll show you how to create and edit composite images realistically and expertly. So you may be asking yourself right about now – how exactly can we accomplish a professional level manipulation without, well, hiring a professional?
Instead of breaking the bank for a high-quality edit, we’ll be using Photoshop’s Match Color Tool to adjust the source layers and image options before applying the effect for a quick and easily built composite!
Table of Contents
Step 1: Loading Source Files
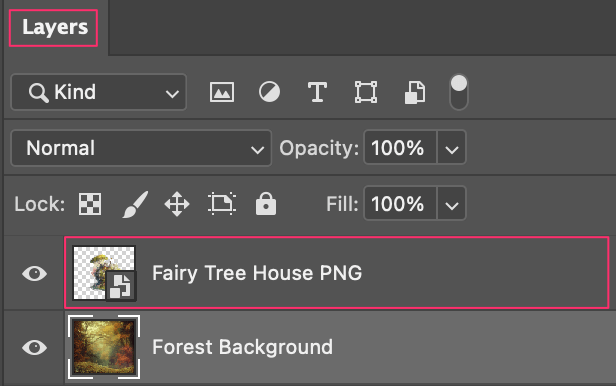
First, you’ll need to load your source images as layers in Photoshop.
Once you’ve selected and arranged them appropriately into the same project, you’ll want to transform or finalize the position of your top layer.
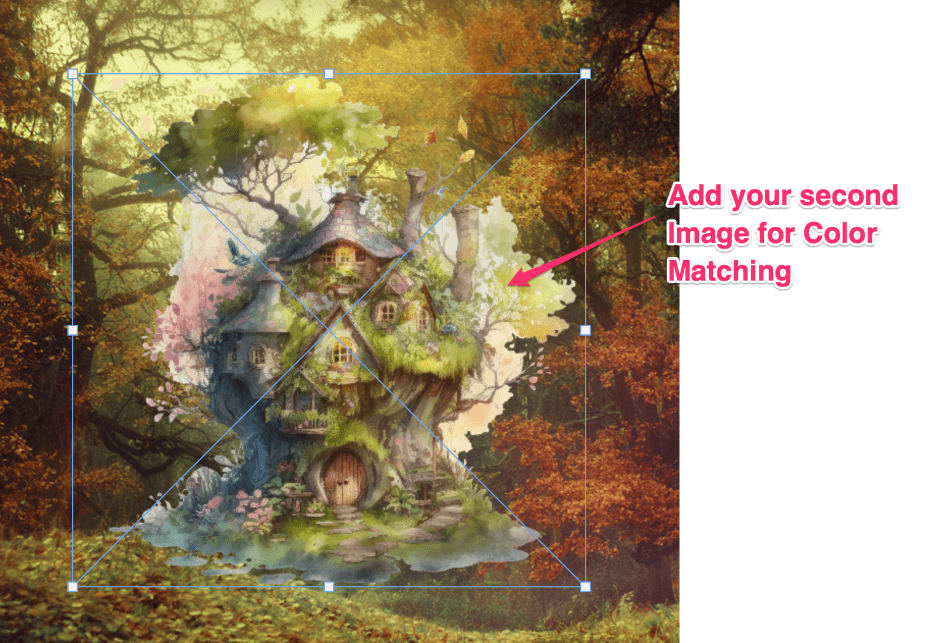
I want the layer I’m color-matching to be the focal point, so I’ll position it dead center against my background.
Step 2: Duplicate and Rasterize the Layer
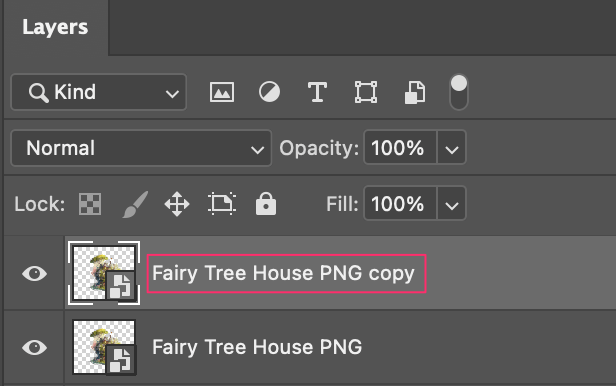
The next step involves duplicating the layer you intend to color match, as this method calls for working destructively. This way we have an unaltered version of the original image just in case.
You can accomplish this by right-clicking and selecting Duplicate Layer from the popup menu. Alternatively, you can use the keyboard shortcut Command/Ctrl + C to copy and Command/Ctrl + V to Paste.
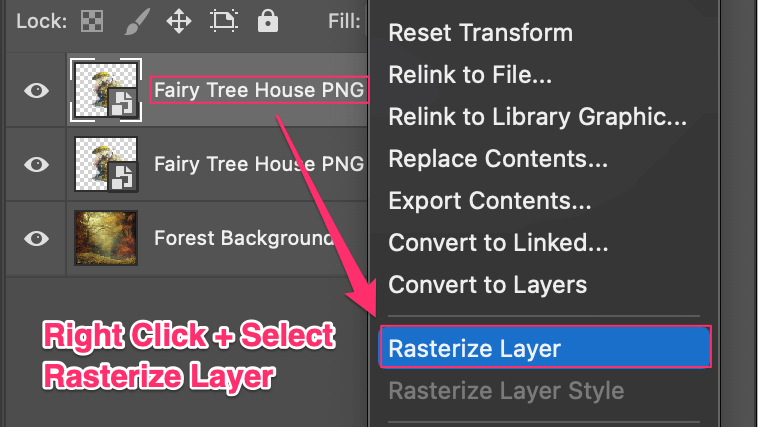
Before you begin applying the Color Match effect in Photoshop, you’ll also need to make sure your layer is Rasterized. This can be found by right-clicking on your Duplicate Layer and selecting Rasterize Layer.
Step 3: Apply Color Match
Now that we’ve gotten all that out of the way, we can finally apply Color Matching! You’re just a few clicks and adjustments away from creating that high-quality composite.
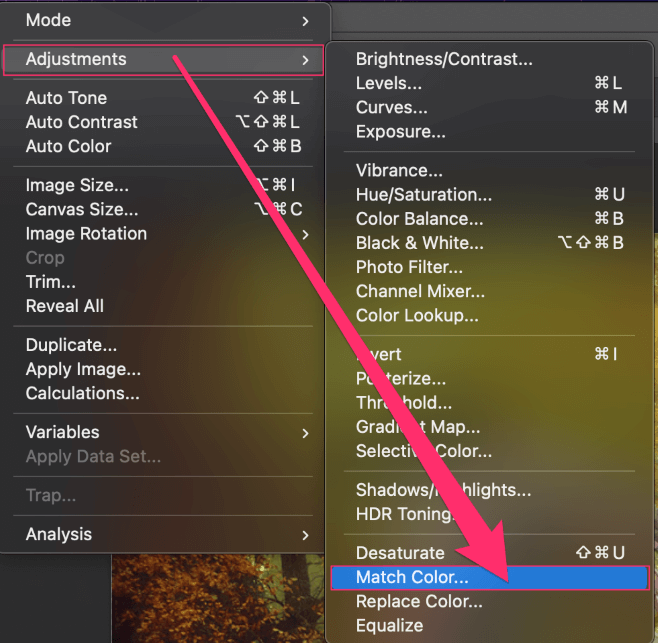
First things first though, you’ll have to navigate to Image > Adjustment > Match Color with your duplicated layer selected.
This will prompt the Match Color window to appear.
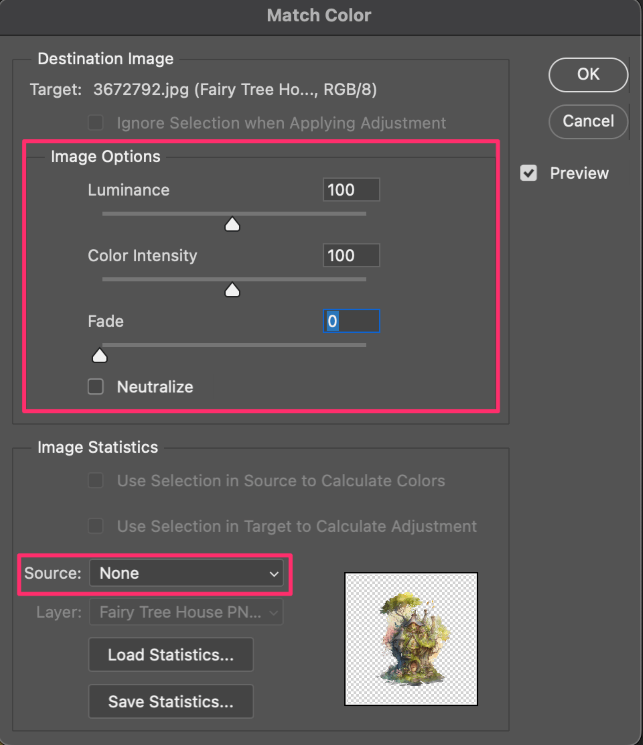
You’ll want to make note of the Image Options available to you, as well as the Source drop-down menu. These will be the main focus as we begin to make our adjustments.
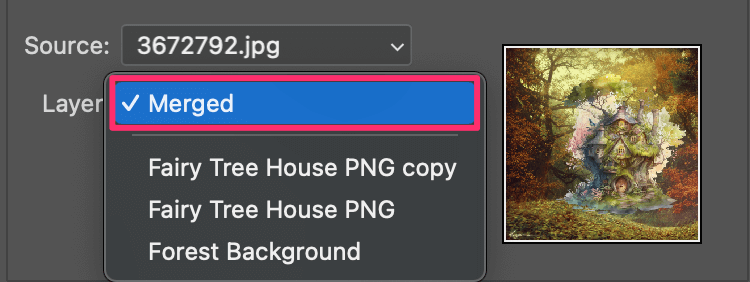
When ready, choose your JPG or image file from the Source drop-down menu. Then, the Layer menu beneath it will make itself available. Once this is done, you can change the Layer menu setting to Merged.
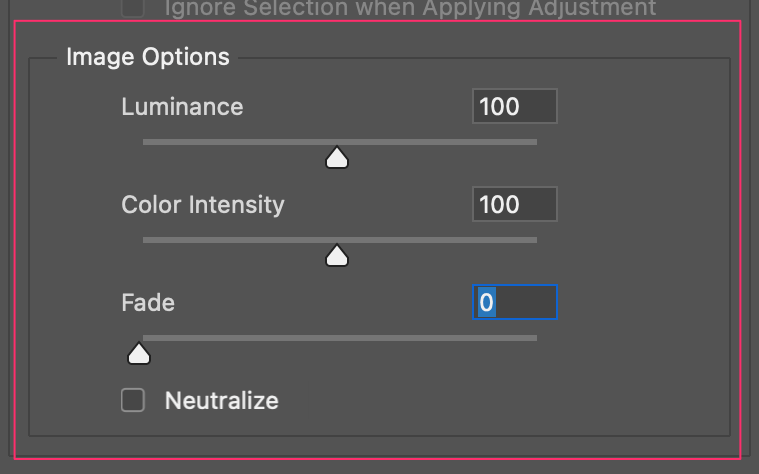
Going back to the Image Options, you’ll find Luminance, Color Intensity, and Fade are available to adjust on a sliding scale.
The Luminance and Color Intensity sliders will adjust the brightness or intensity of your color-matching layer, while the Fade will change the general opacity. Feel free to adjust these sliders and play around with the levels until you’re satisfied with your image!
Click OK when you’ve decided and you’ve officially rendered your composite.
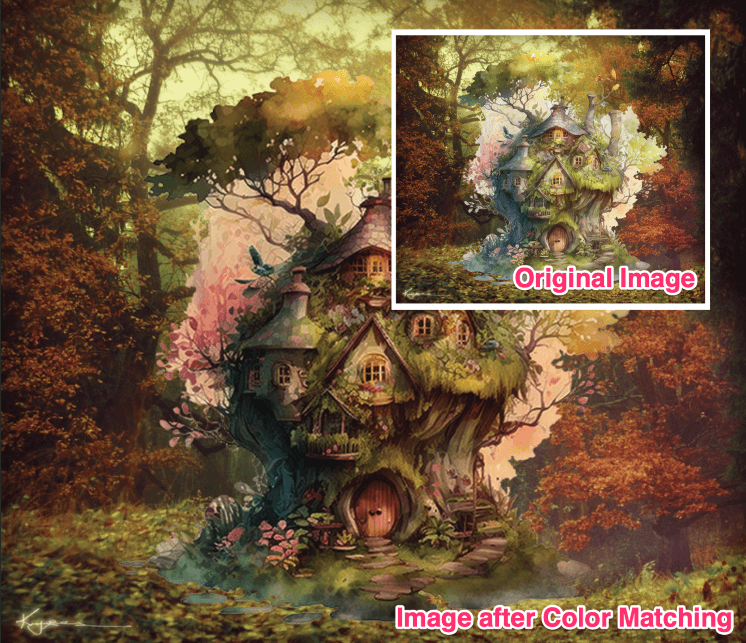
There we go! Pretty easy, right? Plus, the image we rendered after color matching to the background looks virtually seamless! If I hadn’t manipulated it myself, I wouldn’t have ever known.
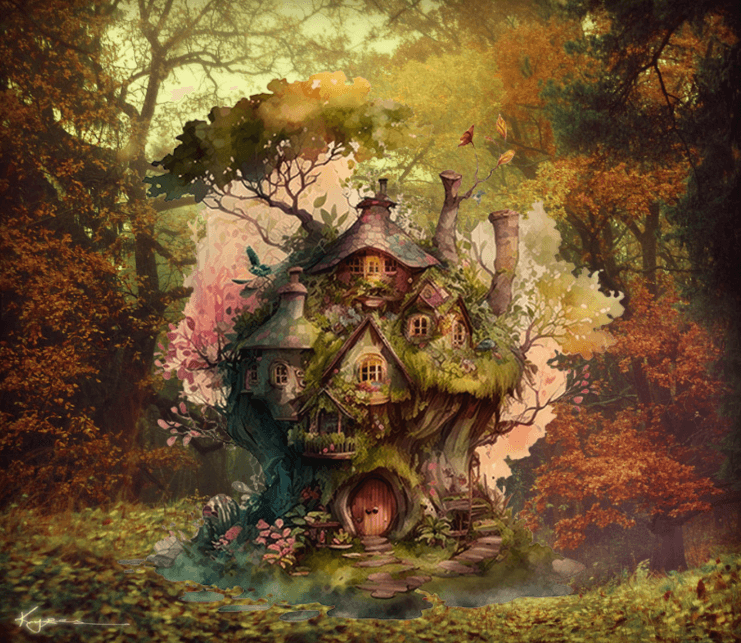
Look at that! I’m sure this will be a huge time saver for everyone out there who had been manually manipulating and color matching before learning this method. Congrats on accomplishing a striking color composite!
Conclusion
When it comes to all the tools Photoshop offers us, the Match Color feature is severely underutilized. Not only does it allow for a seamless and professional level photo manipulation, but it’s an easy-to-learn, quick, and effective skill to have under your belt as well.
I’m confident you’ll be using Photoshop’s Match Color Tool often from now on to save yourself some time on future edits or manipulations!