
Ever wonder how to make your text really pop off the page? Why not add a 3D effect? This can easily add a much-needed selling point to your slogans, brand names, or title pages. Not to mention you can take things a step further by adding 3D textures and filters that are sure to make an impact on your audience!
My name is Skyler, and I’ve been using Photoshop on a personal and professional level for well over a decade. Today I’ll be showing you how to create striking 3D text effects that compliment your designs like a pro!
Not only does Photoshop allow us the ability to edit the textures and patterns we apply to our text – but it also features the ability to transform the roll, drag, slide, and scale of our 3D text! After following along with this tutorial, I’m confident you’ll be able to create polished and presentation-worthy 3D text effects that are sure to impress!
Table of Contents
Step 1: Add Text to Photoshop
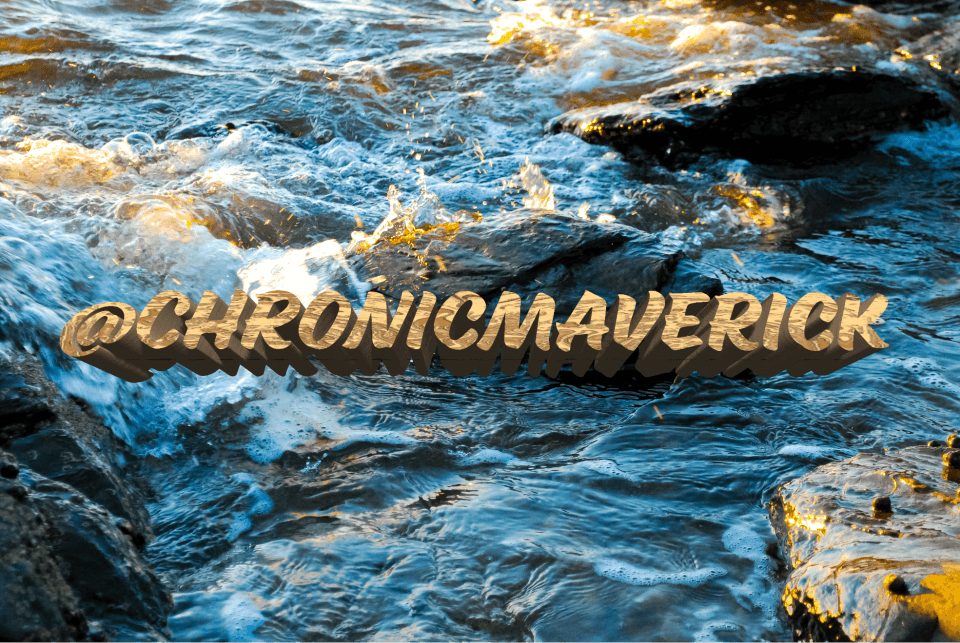
You can begin by opening your project in Photoshop. For this example, I’ll be using a photograph I’d taken previously as my background. Then I’ll add my username, or handle across the image to watermark or brand it using 3D text effects!
First things first though, we’ll need to find the Horizontal Type Tool to add text.
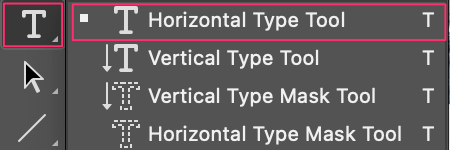
Once you’ve selected your Horizontal Type Tool, You’ll see the Character Panel become available to you.

In the Character Panel, you can edit the text. For example, select your Font, Type Size, and Color. Once you’ve edited and selected these to your liking, you can move on to creating that 3D text effect.
Step 2: Choose a 3D effect
I’ll show you an example of making a 3D extrusion effect.
Go to Window > 3D in the overhead menu to open the 3D panel. Make sure your text layer is highlighted in the layers panel when choosing this, or the option won’t be available.

After selecting this effect, another menu will appear where you can choose your settings before creating a new 3D text object.
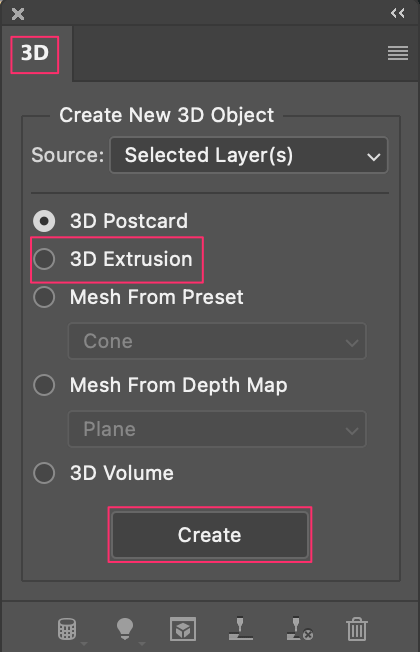
When this 3D menu appears, all you have to do is choose 3D Extrusion and click Create!
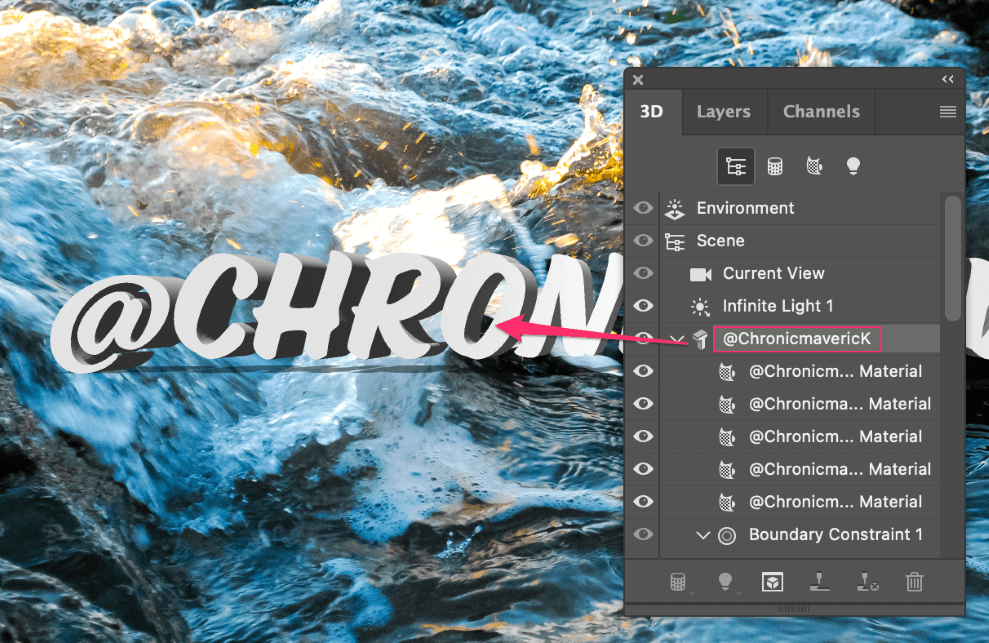
There we go! You’re already well on your way to creating a striking 3D text effect. Now you can dive into editing the properties and adding some flair.
Step 3 (Optional): Adjust the 3D Appearance
In the 3D menu, you’ll see many options available under your 3D text layer. You’ll want to begin by selecting the layer below that reads Front Inflation Material. To open up the properties for this, double-click on the icon directly next to this text line.

Upon doing so, another Properties Menu will appear where you can change the filters or textures that are applied to your 3D text.
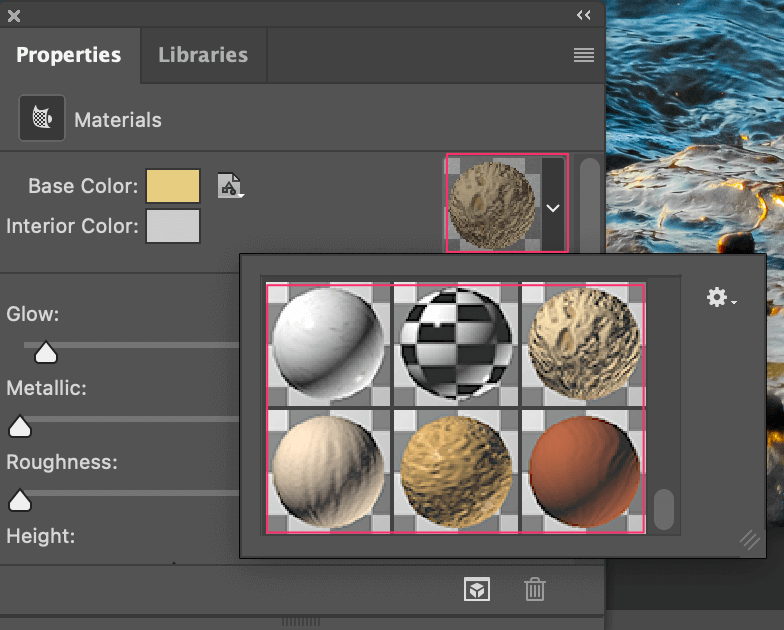
You’ll have lots of options to explore and experiment with, so take your time going through them and seeing how they look when applied to your text. You may have a theme or design in mind already, so try to find something that can serve to complement your background or intentions.

I chose the Wood Grain Filter to be applied as my Front Inflation Material. This I believe, compliments the natural elements already at play in the background of my photo.
Note: You can then repeat these steps with the other underlying layers if you’d like, but I find in most cases you’ll only need to apply filters to your Front Inflation Material and Front Bevel Material to perfect your effect.
More 3D Options to Explore
Great! All of your filters have been applied, and the text looks pretty near perfect already – but what if you wanted to move your text, or make it present itself from a different position, angle, or even scale? Don’t worry! This is what the 3D Options Menu is used for.
You can find this newly available menu in the Options Panel in Photoshop. There are a few unexplained icons here though, so I’ll go over the five functions and all of their applications.
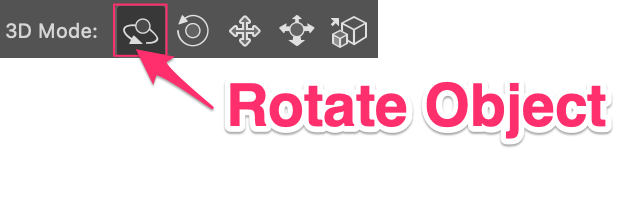
This is the 3D Rotate Tool. Once you click on this tool, your cursor will assume the shape of this icon. You’ll be able to click on your text and rotate it by dragging it across your screen until you’ve found your ideal position.
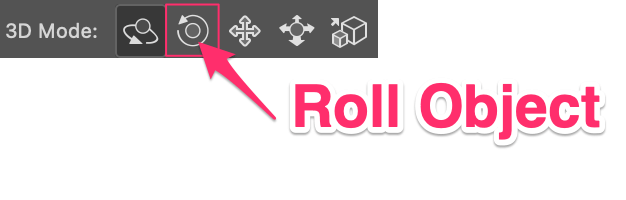
The 3D Roll Tool transforms your cursor to the icon’s shape and allow you to click and roll your text on an x-axis.
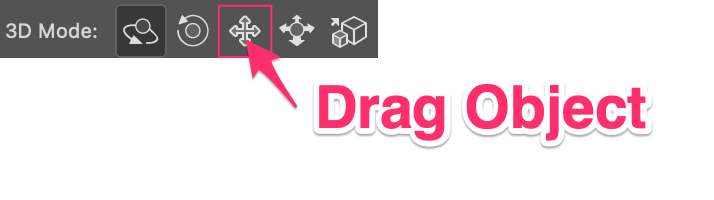
The 3D Drag Tool allows you to reposition your text anywhere on your canvas by clicking and dragging your 3D text.
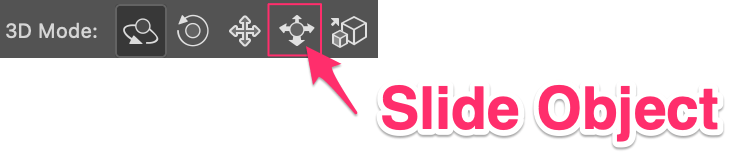
The 3D Slide Tool allows you to slide your object backward, forwards, and side to side. This can give the illusion, perspective, or depth in the cases where it’s needed.
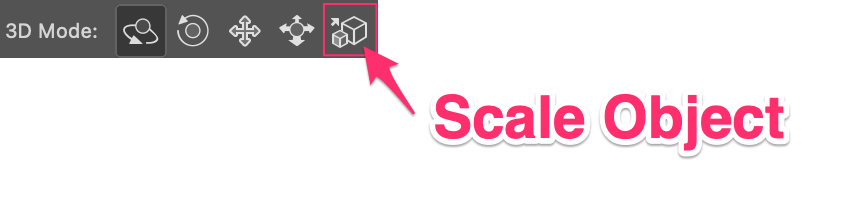
Lastly, the 3D Scale Tool allows you to scale your 3D text up and down in size, similar to how you’d increase or decrease your font size accordingly.
Extrusion, Depth, Twist
Awesome! You’ve nearly gotten all of the tools and features of the 3D text menus and options down. All that’s left is to finalize your Extrusion, Depth, and Twist if desired!
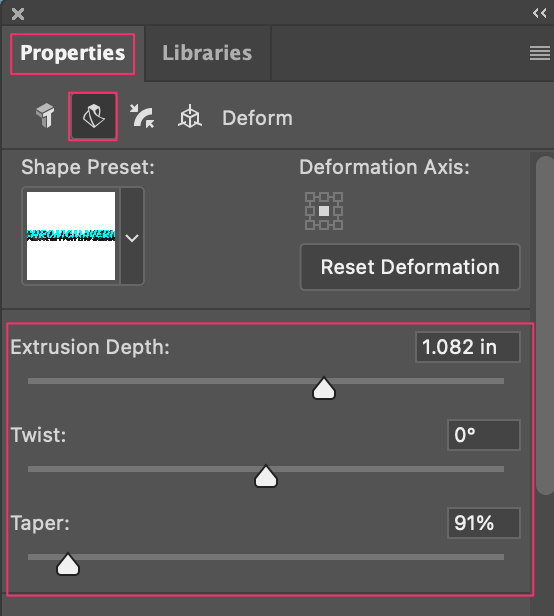
Among the Property Menu, you’ll find the Deform Tab. This is the Icon next to the T under Properties – it resembles a square if it were tapered and twisted. Click on this icon, and you’ll see the extrusion depth, twist, and taper sliding scales.
Once you’ve adjusted those to your liking, you’re good to go!
Perfect! You’ve accomplished a striking 3D effect that you can now apply to all your future projects and branding. Job well done!
Conclusion
The 3D text features and tools Photoshop offers are ever-expanding and virtually limitless! Having the right knowledge and toolset to create and work within this program is a valuable skill to take into any creative career today – so congrats on accomplishing polished and presentation-worthy effects for all your future projects!