
With your Text layer selected, you can use the Free Transform Tool (keyboard shortcut Ctrl/Command + T) to curve text. In the action bar, you can also find Warp options to arch or curve text.
Hello! I’m Jayde, and I’ve been using Photoshop for many years to create fantasy photo manipulations and cartoon characters in the form of digital puppets.
In this article, I’ll show you how to curve text in Photoshop. This program makes it easy to do all kinds of things with text. You could even create a portrait or image out of text alone.
But before we get too carried away, let’s fly through this tutorial.
Table of Contents
Key Takeaways
- You can add text to a shape, so if you want to make text follow around a circle, you can make an elliptical shape.
- Use the Pen tool to create a path before using the Text tool at the beginning of it.
- Go to Window > Character or look to the Properties panel to see more text editing options.
Note: The screenshots from this tutorial are taken from the Adobe Photoshop Windows version. Mac or other versions can look slightly different.
Method 1: Warp Text
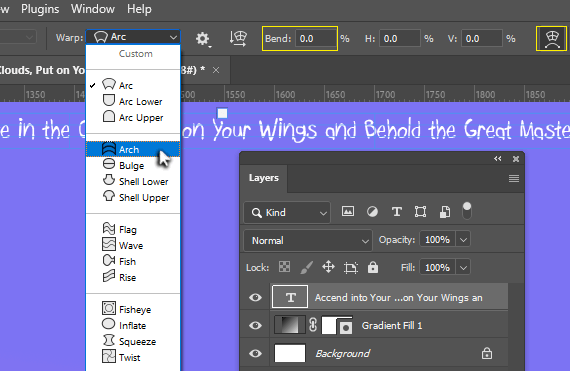
Step 1: With your text typed out, click off of it but keep the layer selected. Use the shortcut Ctrl/Command + T to activate Free Transform. Click on the symbol in the top right corner.
Change the Warp dropdown to whatever you’d like and adjust the Bend value.
Method 2: Using a Circle
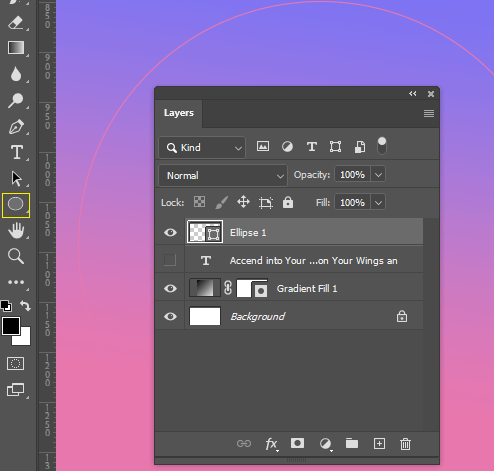
Step 1: Use the Ellipse Tool to create a circle.
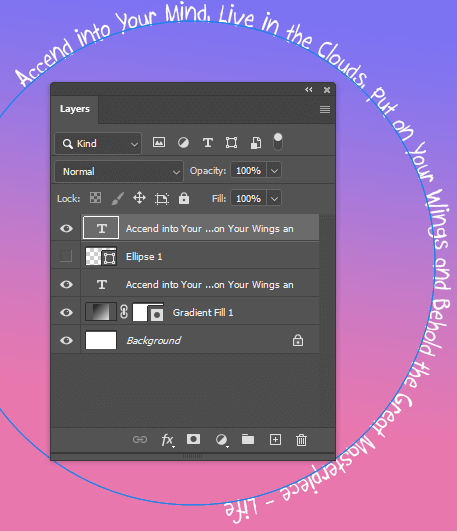
Step 2: Use the Type tool to click on the edge of the circle (when your cursor changes). This will allow you to type on the circle’s edge.
Toggle off the visibility (the eye symbol) of the Eclipse layer to only see the Text.
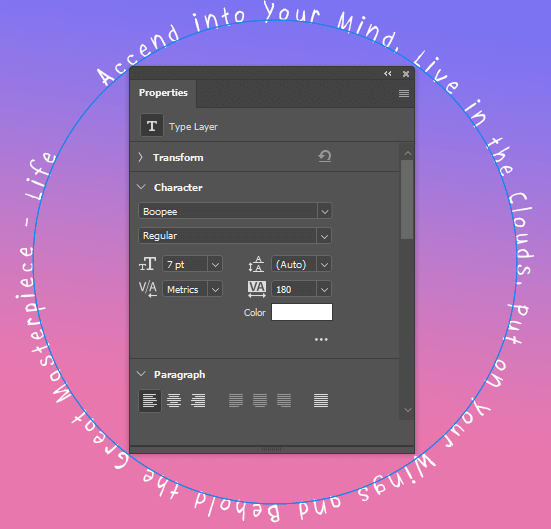
Step 3: Go to Window > Character or look in the Properties panel for more text options, like how spaced out the letters are.
Method 3: Using any Shape
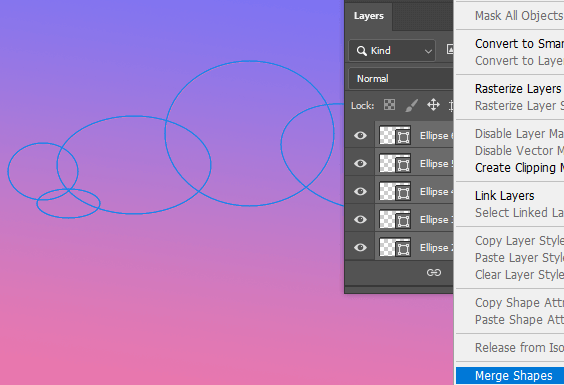
Step 1: Use the Ellipse Tool to create two or more circles, and arrange them in the shape of a cloud.
Select all the Ellipse layers and right-click on them to go to Merge Shapes.
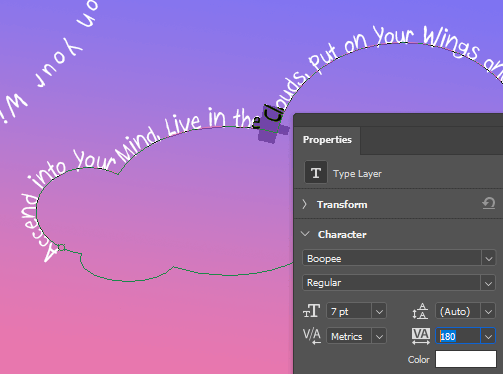
Step 2: Use the Type Tool to click on the edge of the shape just as before and paste your text onto it.
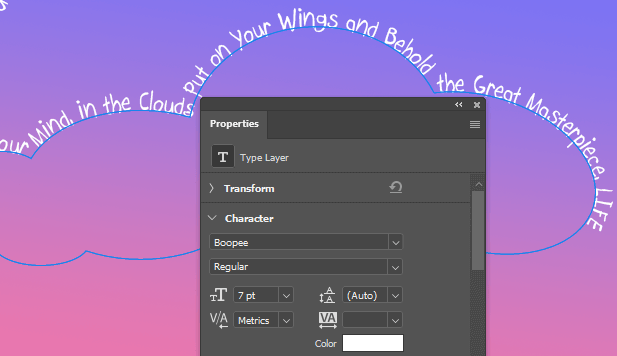
Step 3: Use the Properties panel to select the crammed angles of text and space out the letters where necessary.
Tip: With the text tool selected, hold Ctrl/Command and click and drag one of the points on the line. This expands the visual range of the text. You can also flip the text upside down, depending on whether you drag the point up or down.
Method 4: Using the Pen Tool
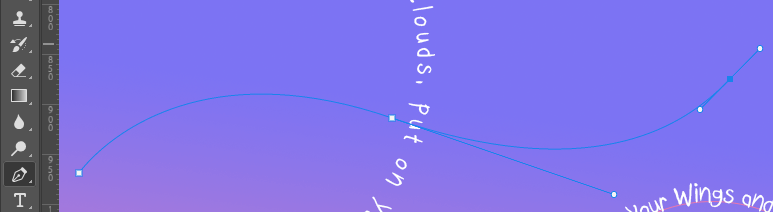
Step 1: Use the Pen tool to click the first point in the path. Then, click and drag a second and third point. To adjust the handlebars or any point in the path, hold Ctrl/Command and click and drag it.
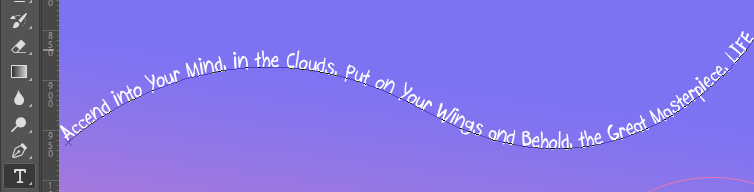
Step 2: With the Text tool, click on the path. This will add text to the curve line.
Final Thoughts
That concludes this tutorial, and now you know how to curve text in more than one way! Always be patient with yourself and continually manifest your destiny. Photoshop can be mastered by anyone and become a source of income and joy.
Did you find this tutorial helpful? Which method do you like most to curve text in Photoshop? Let me know in the comments below.