
Cutting out images in Photoshop is a skill that you’ll use all the time. Beginners and professionals alike can use Photoshop to remove backgrounds from images or cut out unwanted objects without disrupting the realism and quality.
I’m Skyler, and I’ve been using Photoshop on a personal and professional level for well over a decade. Cutting images is a must-have step in creating my own successful product photos as well as editing my photography!
The key to performing accurate image cutouts comes with accurate selections. Keep in mind that you can always undo layer masks if you make any unwanted cuts, so don’t be afraid to start experimenting right away with this new knowledge!
Before jumping into the steps, I’d like to quickly go over the helpful tools for this process.
Table of Contents
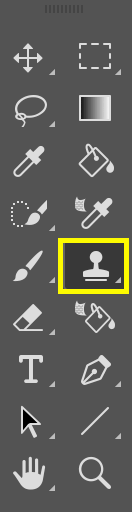
Selection Tools
The most important thing to keep in mind when selecting your cutout is that this tool acts like an X-acto knife! It cuts with expert precision, and the more accurate the cut, the better the cutout.
There are many tools for the job – like the Object Selection, Quick Selection, or Magic Wand Tools.
Layer Masks
Layer Masks allow for nondestructive editing. This essentially means none of the cuts you make are permanent, as you’ll simply be “blocking out” the selection in place of cutting.
You can select using the standard selection tools if you’d like, but Layer Masks also have their own all-in-one tool to do this process. It’s just a matter of preference or circumstance in this case.
Clone Stamp Tool
The Clone Stamp Tool essentially clones your selection and stamps it elsewhere. We can make a selection wherever we intend to copy, then drop that selection in your preferred space. This is where it will be revealed by the brushstroke, giving us full control over how much on the stamp we reveal.
Now, choose one of the methods below to cut out part of an image in Photoshop.
Method 1: Selection Method
Making a perfect selection is the key to making a perfect cut.
Step 1: Select your image
There are different selection tools you can choose but the Quick Selection Tool is the most user-friendly, but that’s not to say it isn’t a very powerful tool. You’ll essentially be using a Photoshop brush tool to color in the areas you’d like to select.
You don’t have to render the most precise selections either since Photoshop automatically identifies the edges of objects or items and adjusts accordingly!
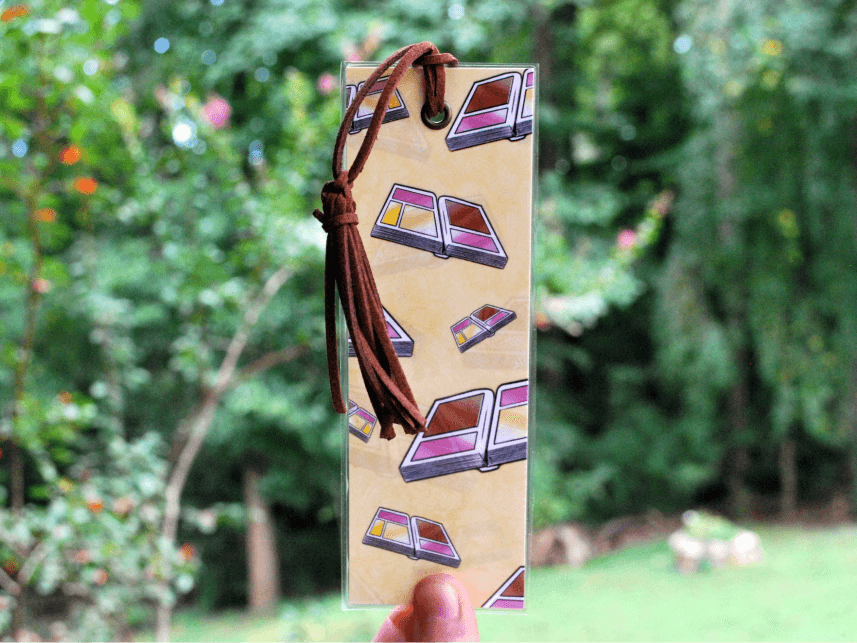
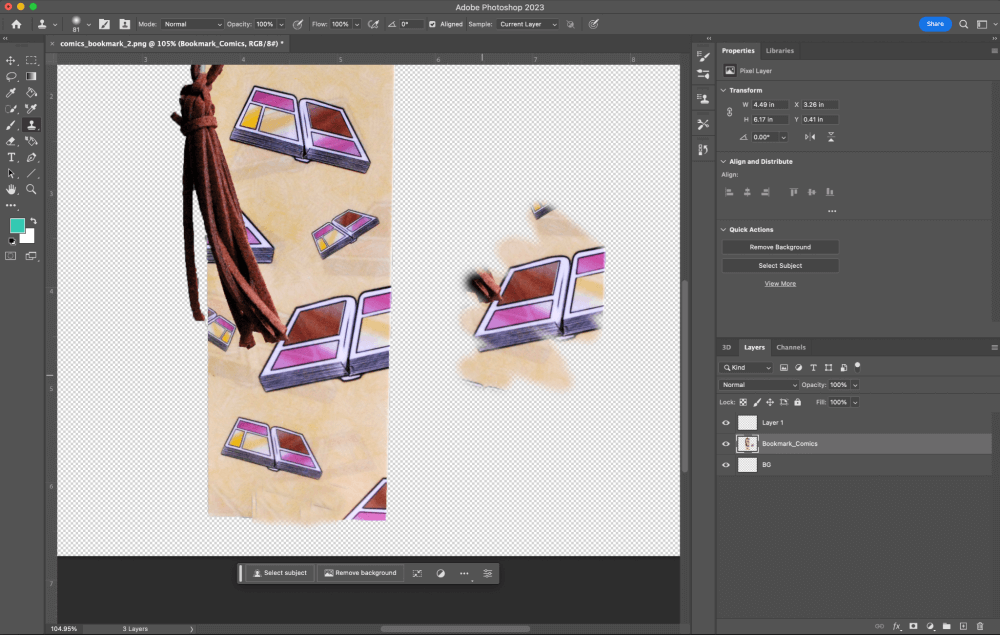
To begin our cutout we’ll navigate to the tools panel on the left side of our screen and select the Quick Selection Tool.
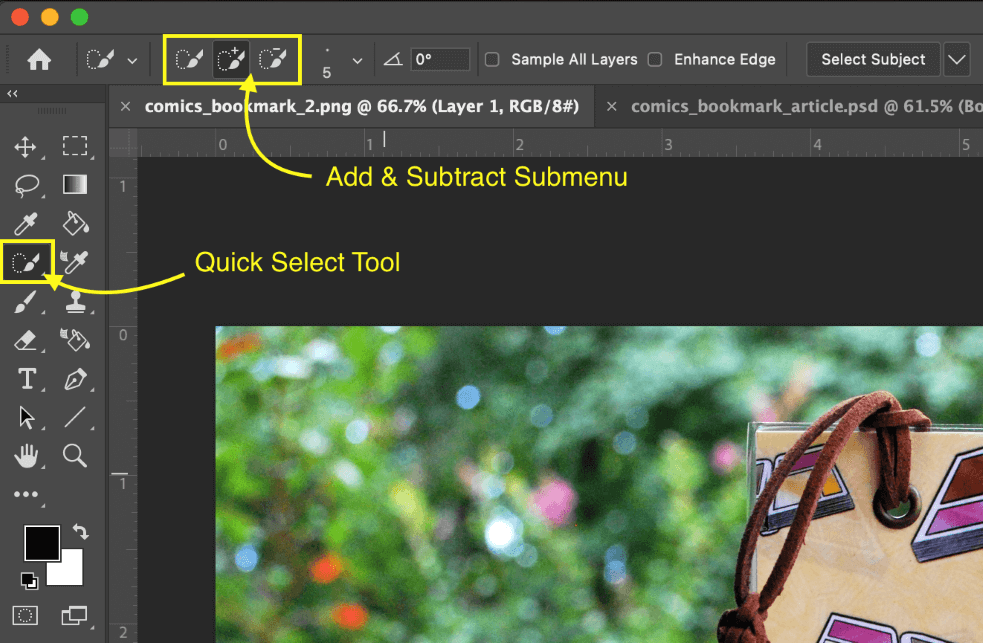
Once the tool is selected, we can adjust the brush size accordingly. Do keep in mind if you select a brush too big, you may also be selecting unnecessary space – so take the time to experiment a bit until you’ve got it just right.
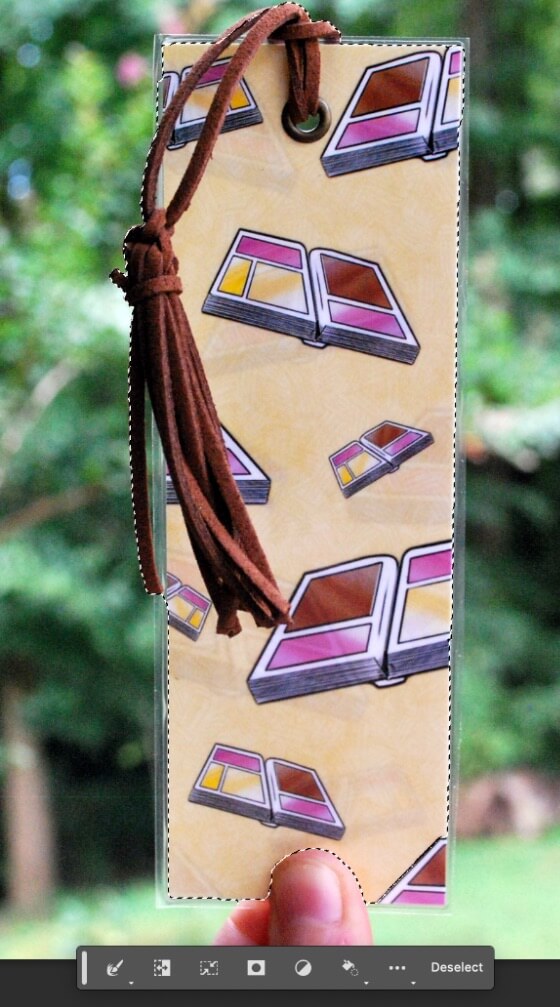
All that’s left to do now is drag along your intended selection that you want to remove/cut out. If you need to undo or edit a selection you’ve made without getting rid of your work, we can switch to the subtraction submenu and use the tool the same way to deselect your error.
Step 2: Delete the selection
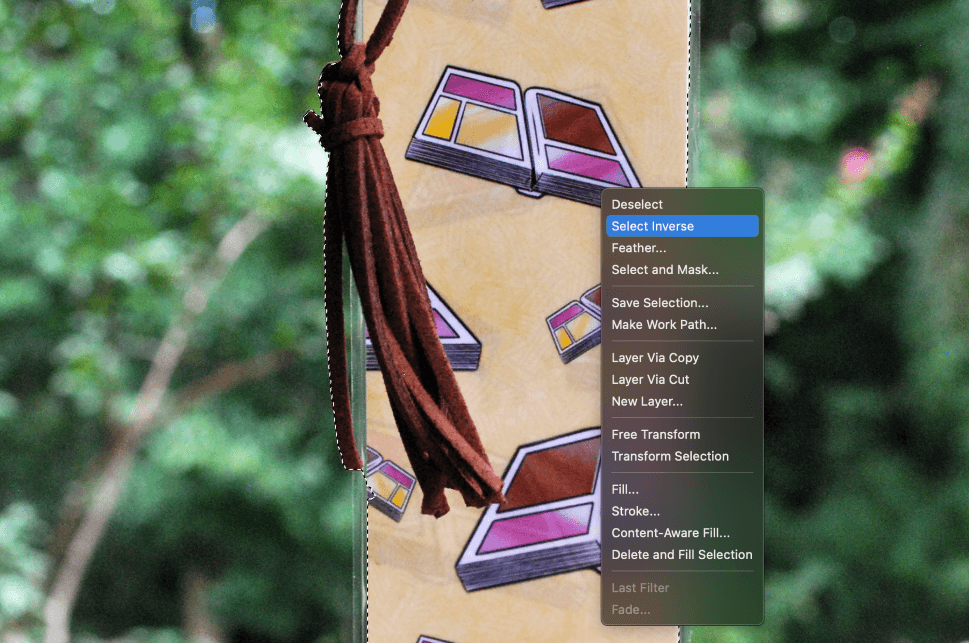
Simply press Backspace/Delete to cut out the object. If you want to get rid of the background, you can inverse the selection, and delete the background.
Simply right-click and choose Select Inverse to select the background instead of the object and hit delete it.
Alternatively, if you want to work non-destructively we can use a layer mask instead!

This will act as a cover for your background, instead of deleting it entirely. You can find the Layer Mask option in the bottom right of the Layers panel.
In our case, we’re going to stick with deleting the background. This will make it easier for me to demonstrate how to replace the imagery behind the part of the thumb we deleted from our photo.
If you accidentally cut out part of the image that you want to keep, you can use the Clone Stamp Tool to recover it.
So choose the Clone Stamp Tool in the toolbar.
Once your tool is selected, we’re going to hold down on the Option Key. Then we’ll navigate to a portion of our image that resembles what we’re trying to fill in or heal from the cut we made.
With the Option/Alt key still held, click in your desired area. Now you’ve stamped your image! To demonstrate this, I stamped a comic book from my bookmark and then colored it into the right of my image with the Stamp Tool!
So from there, I’m going to choose a yellow portion of my bookmark that I can clone and stamp into the portion I cut out.
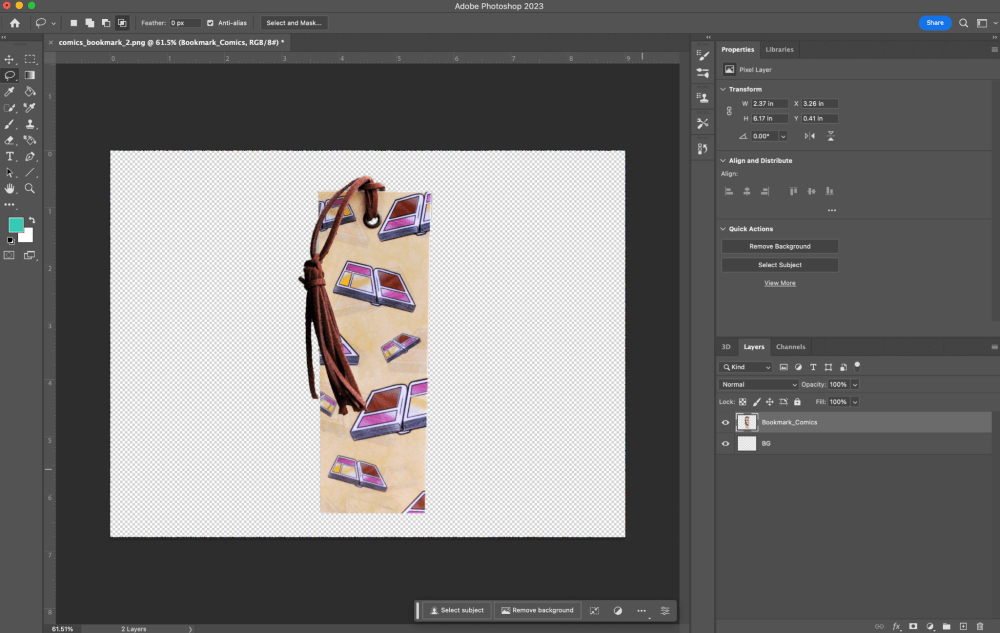
Ta-Da! Now it looks brand new, and we’ve effectively cut out our image.
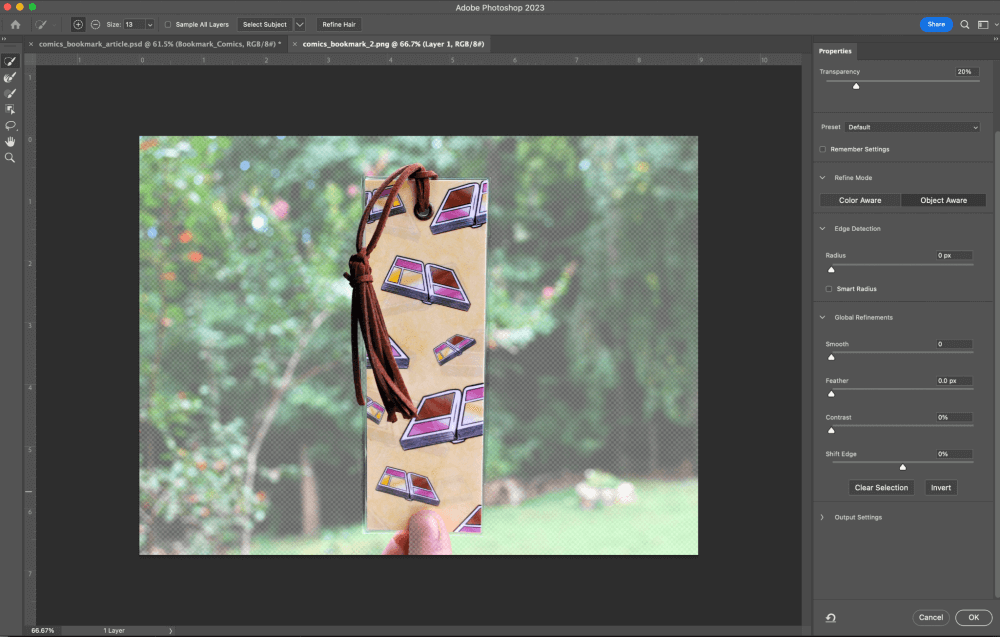
Method 2: Select and Mask
The Select and Mask method may be preferred when working with portraiture or profiles, but it’ll work well in many cases. We can use this Method in tandem with our Quick Selection Tools as we did in the first few steps above, or we can use the selection tools from the Select and Mask menu.
Step 1: Choose your Selection
Make sure to enable the Quick Selection Tool. Then the control panel menu will change to feature a menu with Select and Mask.

As explained previously, we can use any method of selection to choose our bookmark again – so I’m going to use the Object Selection Tool, but use whichever suits your needs best.
Once you’ve got your image selected using your preferred method, go ahead and click the Select and Mask button. The Properties Menu should appear on the right-hand side of our Photoshop window where we can then adjust and refine.
Step 2: Refine Edge Tool
This is exactly as it sounds, it’s used to refine those rough edges or stray hairs (another reason why this tool is favored by photographers or portrait editors!) that were left out of our initial selection.
From the inside of our Select and Mask workspace, we’ll navigate to the left-hand tools panel once again to select the Refine Edge Tool. It should be directly below the Quick Selection Tool we used in the previous tasks.

Once this tool is chosen we can brush over those same rough edges or stray hairs around our selection, and Photoshop will handle the refinement itself. It automatically detects and edits your selection to remove any of the remaining backgrounds from your image.
This function is not meant to be underutilized! Delve deeper into the Select and Mask menu and really master the art of cutting out the imagery in Photoshop.
Conclusion
Learning how to properly cut out images in Photoshop is a huge time saver, and has helped me edit my own product photos more efficiently and professionally for years now. Understanding how to use these tools to cut out backgrounds and manipulate unwanted objects non-destructively is a wonderful skill set to have in any creative field.
Any questions? Feel free to leave a comment below!