
To cut or trim audio in Audacity, use the Edit menu. First, select the audio to cut or trim using the selection tool. Then click Edit > Cut to cut the selection or Edit > Remove Special > Trim Audio to trim your file to the selection.
Hello, I’m Andrew Gilmore, a long-time user of the Audacity open-source audio recording and editing software.
In this article, we’ll take a detailed look at the various cut and trim options in Audacity and the implications of each. In the end, I’ll answer some commonly asked questions.
Let’s get started.
Table of Contents
How to Cut Audio in Audacity
Cutting audio is just like performing a cut in a word processing application. When you cut your selection, the audio is removed from your timeline and placed on the software’s clipboard, from which you can paste the clip to another track or project.
Here’s the simplest way to accomplish a cut in Audacity:
- Activate the selection tool.
The selection tool looks like a capital i and resides on the main toolbar. The tool is Audacity’s default, so it should already be active unless you click on another one.
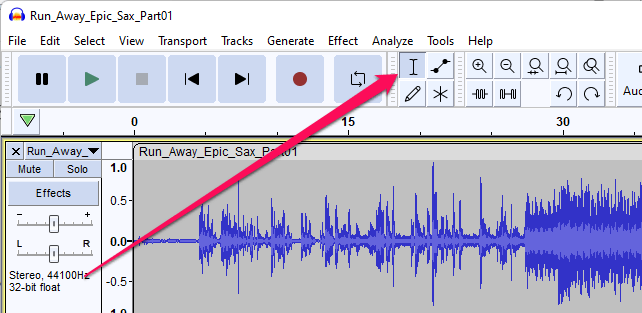
- Place the cursor at the beginning of the audio you want to cut, then click and drag to the end of the audio you want to remove.
- Click Cut from the Edit menu.
You can also use the keyboard shortcut Ctrl+X (Windows) or Command+X (macOS).

Cutting your audio will remove the selection from your timeline and shift any audio to the right of the cut left to fill the void left by the audio you removed.
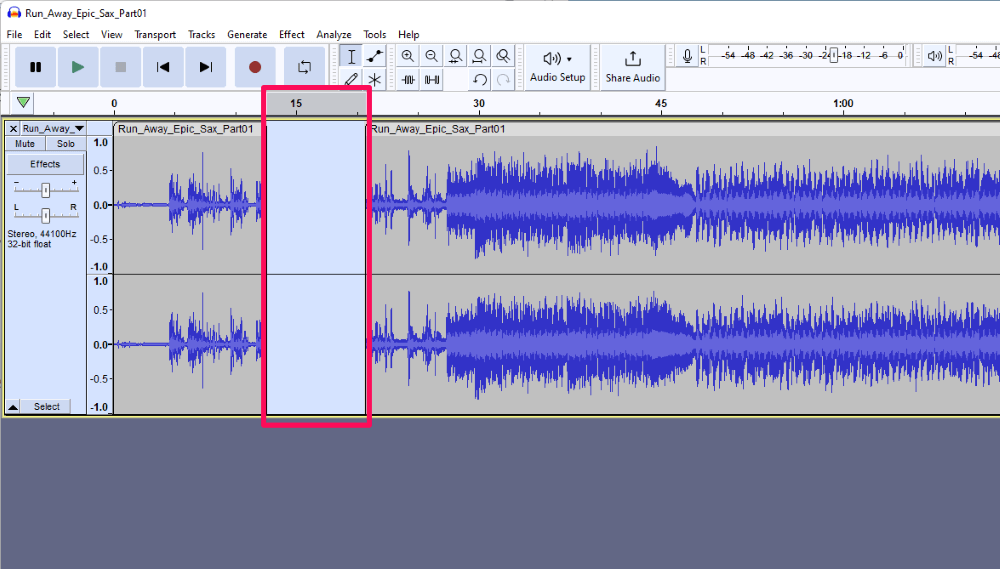
If you don’t want the audio to shift automatically but leave a gap, use the Split Cut function instead. You’ll find this command under Edit > Remove Special > Split Cut.
The Split Cut function will remove your selection and leave a hole where your audio once was.
After a Cut or Split Cut, your removed audio resides on the clipboard until you close out the application or cut or copy something else. With the audio there, you can paste the section into another track, file, or location on the same track.
To accomplish the latter, place your cursor where you want to paste the audio, then click Edit > Paste from the menu bar.
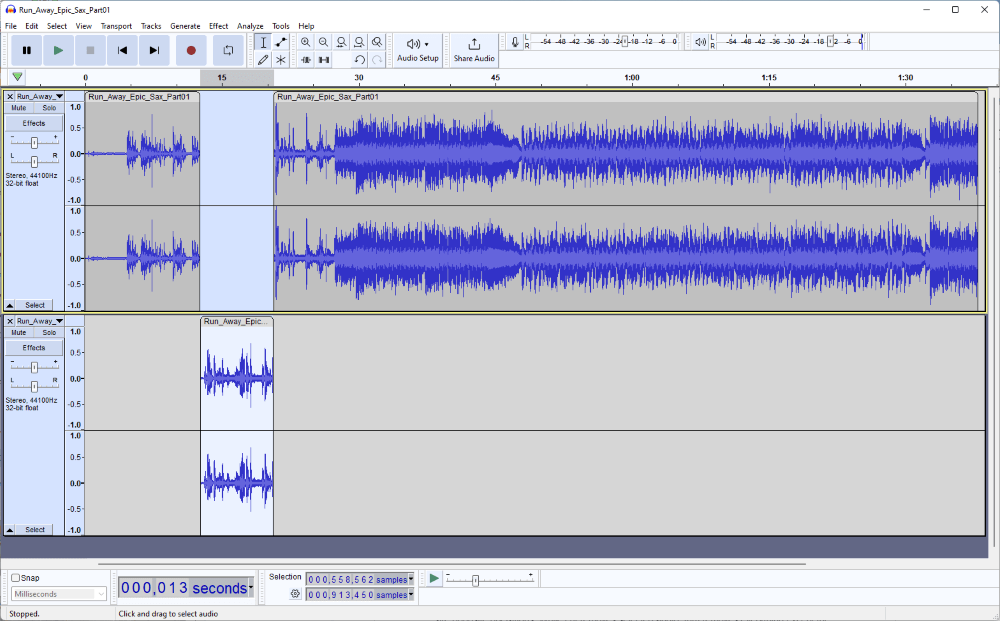
If you want Audacity to automatically move the cut audio to a new track in the same position on the timeline, use the Split New function. Select the audio section to move, then click Split New from the Edit > Audio Clips menu.
If you’re not concerned with preserving the cut audio, use the Delete option instead of Cut. Select your audio and press the Delete key on your keyboard or go to Edit > Delete to shift the audio to fill the gap, or choose Edit > Remove Special > Split Delete to leave a gap.
These options are obviously destructive, so make sure you know what you’re doing when deleting audio.
How to Trim an Audio File in Audacity
Cut and Trim might sound similar, but in Audacity, they are very different functions. In fact, they are opposite operations. While cut removes selected audio, trim removes everything except the selection.
That said, the steps for trimming are similar to cut:
- With the selection tool enabled, click and drag to select the audio to keep.
- From the Edit menu, select Remove Special > Trim Audio.
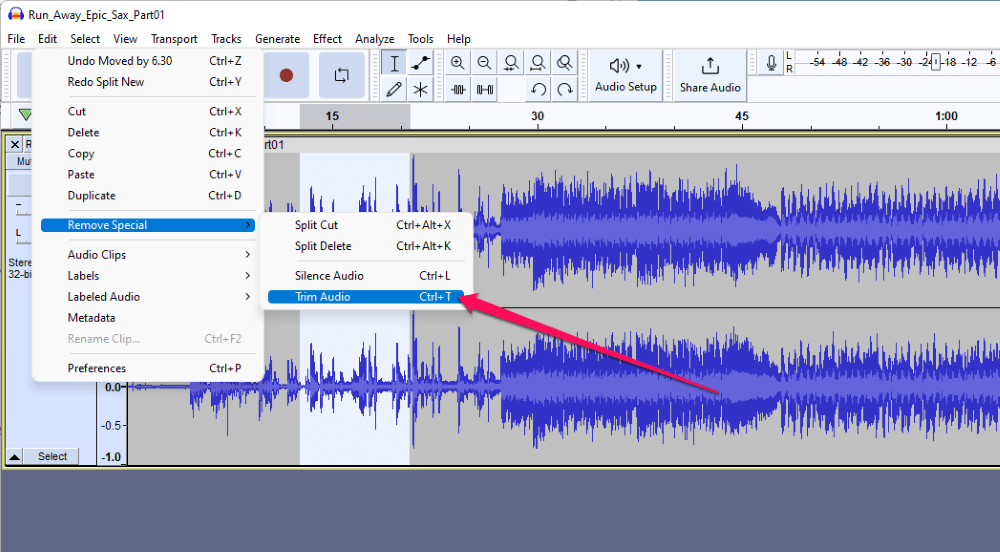
You can also use the keyboard shortcut Ctrl+T (Windows) or Command+T (macOS).
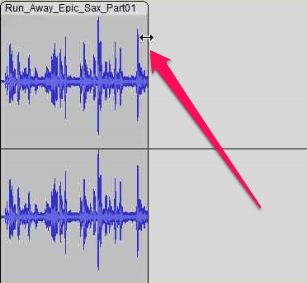
While the Cut function temporarily stores the removed audio on the system clipboard, Trim Audio does not have the same effect. Nevertheless, the trimmed audio is actually still on the timeline and can be recovered by clicking and dragging the edge of the audio clip.
FAQs
Here are some other questions regarding cutting and trimming in Audacity.
How do I crop to selection in Audacity?
Use the Trim Audio command as described above.
How do I cut and move audio in Audacity?
There are various ways to accomplish this task, including the Split command. Still, the easiest way to cut and move audio is to select the portion of your timeline to cut, select Edit > Cut, click your timeline at the location where you want to move your audio, then go to Edit > Paste.
How do I select audio in Audacity?
With the selection tool activated, click and drag the audio you want to select from your timeline. The selection will appear as a light blue background in contrast to Audacity’s standard gray.
If you want to select your entire track, double-click the waveform, but note that this only works if you only have a single clip on your track. The keyboard shortcut Ctrl+A (Windows) or Command+A (macOS) will select all audio from all tracks in your project.
How do I cut part of an audio file in Audacity?
Select the audio you want to cut, click Edit on the menu bar, and click Cut. If you want Audacity to move the cut audio to a new track, click Edit > Audio Clips > Split New instead.
Summary: How to Cut and Trim Audio in Audacity
With operations such as Cut, Trim Audio, Delete, Split New, and Split Cut, Audacity provides several options to quickly get the exact result you want without extra manual steps.
Just remember: Cut and Trim Audio are inverse functions. The first removes selected audio. The latter removes all but your selection. To cut and trim audio in Audacity, use the Edit menu: Edit > Cut and Edit > Remove Special > Trim Audio, respectively.
Now you know how to start splitting, cutting, and moving around audio like a pro.
I’ll turn it over to you. How do you use functions like Cut and Trim to edit your audio?