
You can edit text in a variety of ways by going to Window > Character. With the text layer selected, add effects to it by clicking the fx symbol on the bottom right. To edit or warp the text nondestructively, right-click on the layer to Create a Smart Object.
Hello! I’m Jayde, and I’ve been using Photoshop for many years to create fantasy photo manipulations. In this article, I’ll show you how to edit text in Photoshop. Text is fully editable, with countless possibilities.
Table of Contents
Key Takeaways
- Go to Window > Character to see more text editing options available.
- To warp text without rasterizing, right-click on the text layer in the layers panel and click Create Smart Object. Then, go to Edit > Transform > Warp.
- To create curved text, use the Pen tool to create the curved shape you like. Alternatively, you can use the Shape tool with the dropdown at the top changed to Path. This will create a path you can use the Text tool on.
- Edit created paths with the Path Selection Tool.
Without further ado, let’s get started on this tutorial.
Basic Text Editing in Photoshop
In this section, I’ll go over the options on the Character panel.

Click with the Text tool or click and drag to create a text box. When you move your cursor to the side, it becomes a move tool. When you move it to the very edge of a text box, it offers scale and rotation options. When you move it over the text, it becomes a typing line.
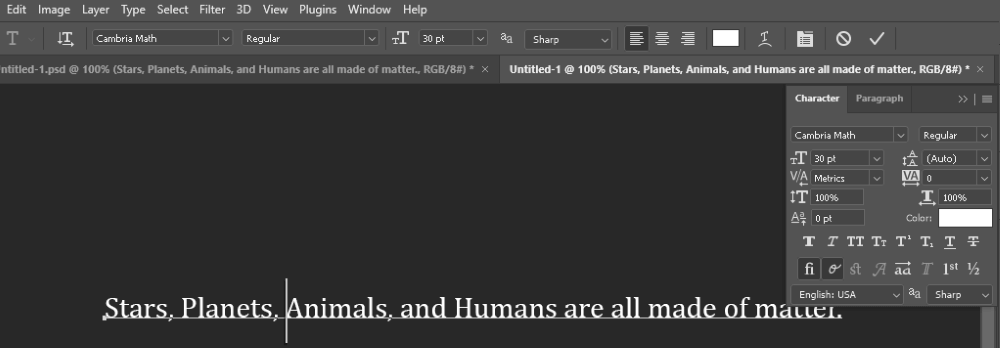
With the text activated, go to the Character panel. This panel offers a multitude of editing options. You can change the text font, style, and size across the top bar and in this new panel.
You can always double-click on the text object thumbnail to reselect it. You can also use Ctrl/Command + A to highlight text.
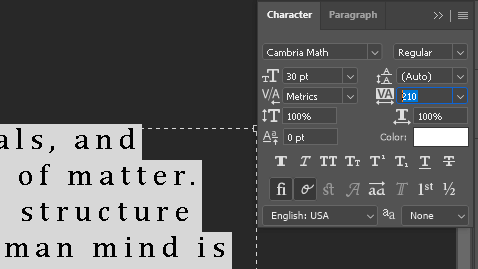
Here you can see the Tracking option. This is the space between the letters. You can also make this a negative number, bringing the characters closer together than the default setting.
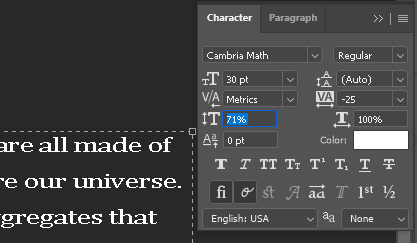
Here you can edit the Vertical Scale of the letters. This literally squishes them down.
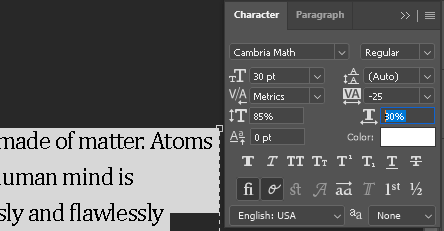
Here you can horizontally stretch or squish the characters.
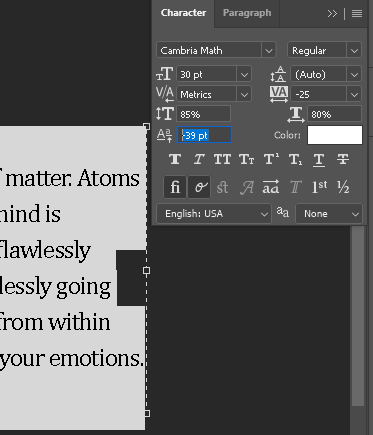
Here you can set the Baseline Shift. This is the space between the text and the line at the bottom of the text.

Highlighted here we have, in order from left to right, Bold, Italic, All Caps, Small Caps, Superscript, Subscript, Underline, and strikethrough.

Here you can change how the text is aligned.
Clicking the highlighted square in the corner aligns the text vertically. I clicked and dragged the left side over to the right to flip the text.
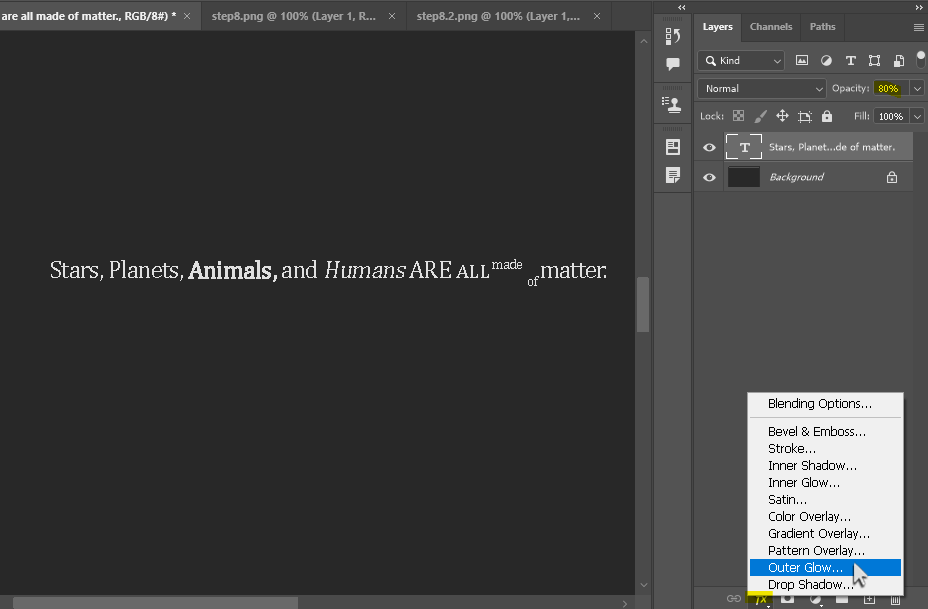
On the layers panel, you can also change the opacity of the text or add effects.
Warping a Vector Text Object
You can also turn your text into a vector in Photoshop.
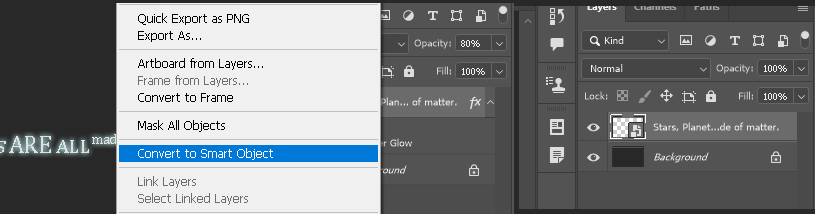
Step 1: Right-click on the text layer to go to Create Smart Object. By doing this, you are able to do the following step without rasterizing the text, which makes it uneditable in the future and lessens the resolution.
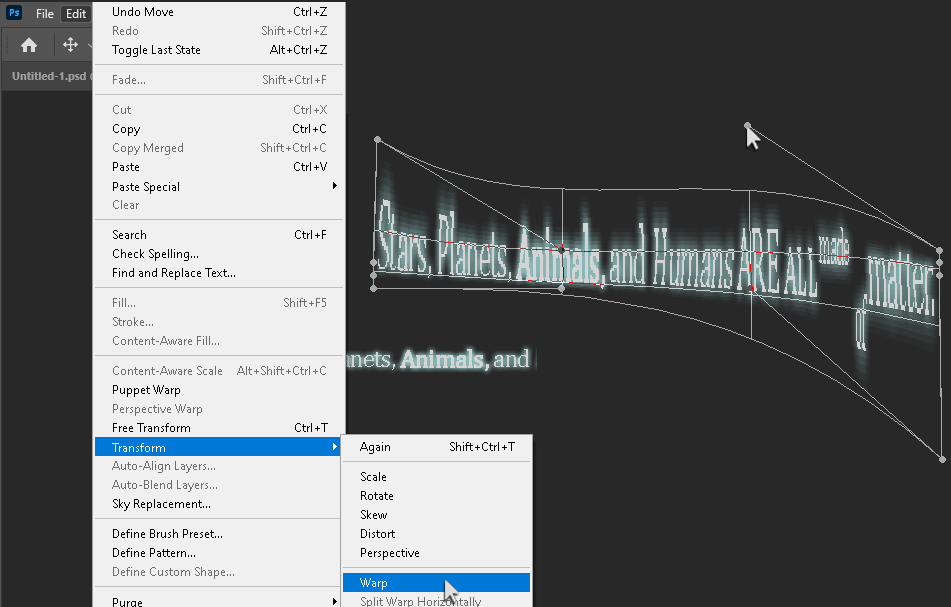
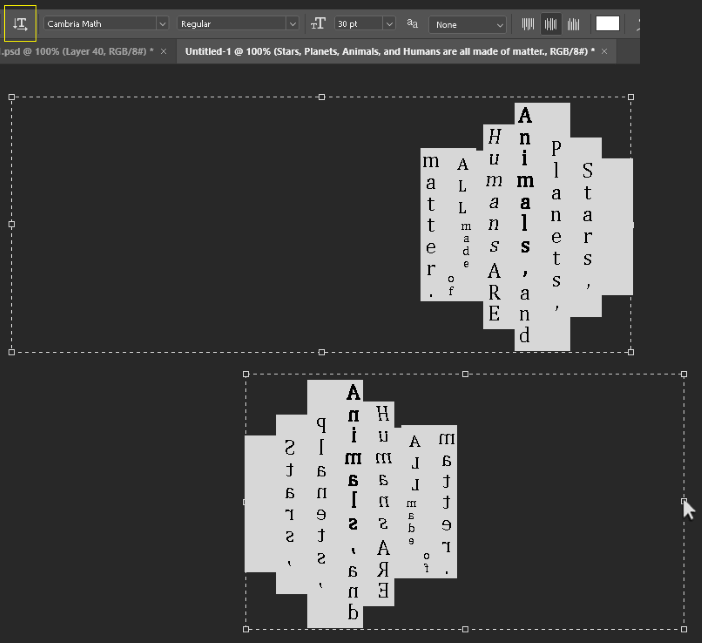
Step 2: Go to Edit > Transform > Warp. Click on any corner or section of text and drag to change its appearance. As you can see here, bars coming from the corners offer a way to curve the text. You can also flip, fold, and bend the text.
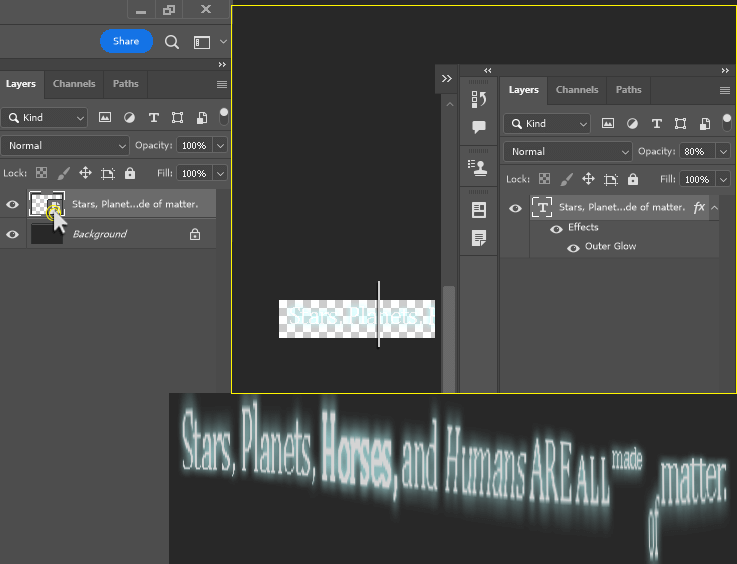
Step 3: To edit text that has been converted into a smart object, double-click on its thumbnail. This will open the text object in its own file. After changing the text, go to File > Save. Your changes will appear in the original file.
How to Add Text to a Curve or Shape Path in Photoshop

Step 1: Use the Pen tool to click and drag the first point in the path. Click and drag a second point, third, and fourth. To adjust the handlebars or any point in the path, hold Ctrl/Command and click and drag it.
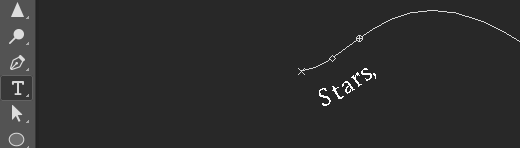
Step 2: With the Text tool, click on the path. This will add text to the line.
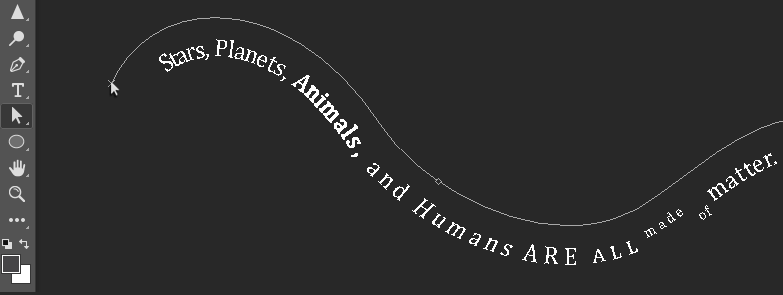
Step 3: Still with the Text Tool selected, hold Ctrl/Command and click and drag one of the points on the line. This expands the visual range of the text. You can also flip the text upside down, depending on whether you drag the point up or down.
You can also do that with the Path Selection Tool. You can change the shape of the path with the Direct Selection Tool, by dragging different points or handlebars.
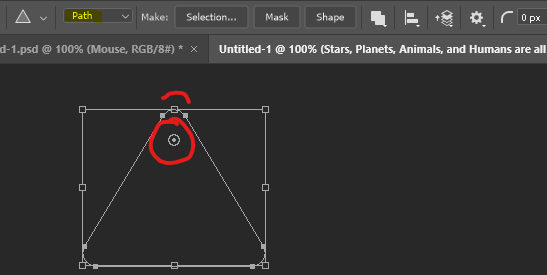
Step 4: Alternative to the Pen tool, you can use the Shape tool. Just change the dropdown at the top of the page from Shape to Path. The circle in the middle can be moved vertically to change how rounded each corner is. Let’s add text to it with the Text tool the same way as before.
Hold Ctrl/Command to move the shape path around.
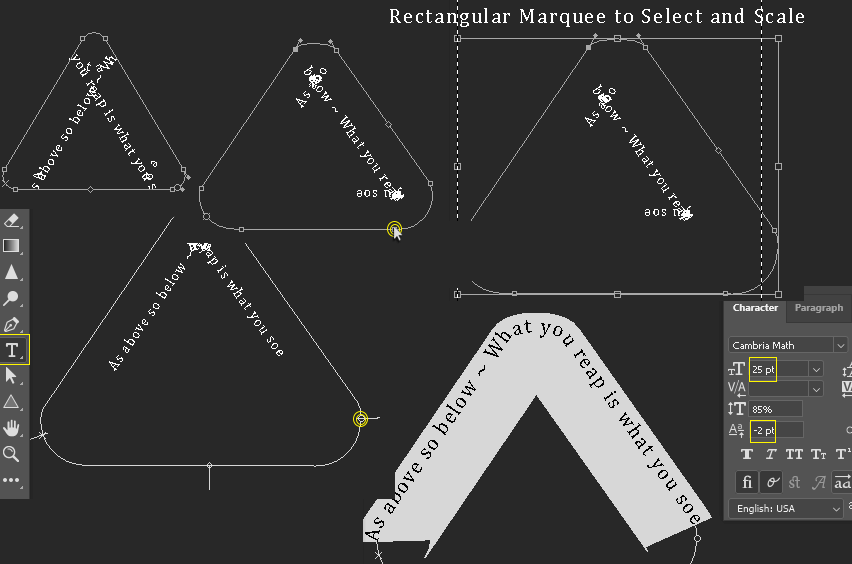
Step 5: When I first added text, it overlapped. I used the Path Selection tool to click and drag points on the triangle to reshape it. I used the Rectangular Marquee to reselect the path and get the option to scale.
With the Text tool, I clicked and dragged the points that slide around the triangle to move the text. Then, I used the shortcut Ctrl/Command + T to open the Character window. I highlighted the text with the shortcut Ctrl/Command + A and changed the size of the text and the distance of it from the path line.
Final Thoughts
I hope you enjoyed this tutorial. Adobe makes it incredibly easy to edit or add unique effects to text, all while maintaining the ability to edit it later. Feel free to play around with your text and make something new!
Have you ever made someone a birthday card in Photoshop? Do you have any text tips for other artists or graphic designers? Let me know in the comments below.