
Adobe Photoshop has not just one – but three Eraser Tools! You might be wondering how and when it’s appropriate to use each one. Don’t worry though, I’ve got you covered!
My name is Skyler. In this tutorial, I’ll show you how and when to use the three different Eraser Tool Modes in Photoshop.
Photoshop is an expert at providing different approaches and solutions to the same or similar problems, and the Eraser Tool is no exception. To understand how to use these modes, we’ll first define each tool and its given purpose so we know what situations to use them in.
Alright! Let’s get things started.
Table of Contents
Keyboard Shortcuts
- Clicking the E key when Photoshop is open will automatically enable the Eraser Tool.
- With the Eraser Tool enabled, you can toggle between Eraser Modes using Shift + E on your keyboard.
Understanding Eraser Modes
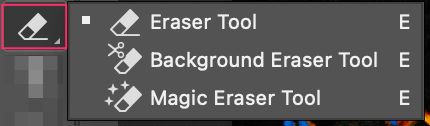
All three Eraser Modes can be found under the default Eraser Tool menu in your Tools Panel.
Original Eraser Tool
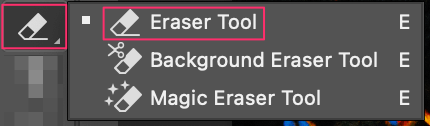
This is the default tool Photoshop provides you with when you first open the program. It essentially works the same as your Brush Tool. You can change the Size, Hardness, and Opacity just as you can other brushes.
It’s the most straightforward and easy to use of the three Eraser Modes, seeing as it’s designed only to erase the pixels underneath your cursor. Once you do this, the only way to get them back is through the Undo function.
Background Eraser Tool
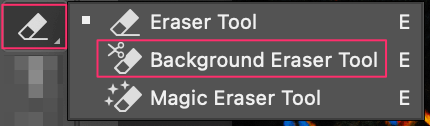
The name of this tool may be a tad misleading for those who are unfamiliar with it. It’s designed to erase pixels based on the Sample Color you provide when you initially click.
This means Photoshop will erase only the areas that match your sample color from your image as you erase, and nothing else.
Magic Eraser Tool
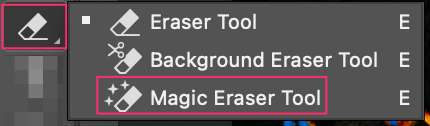
This tool is often compared to the Magic Wand Tool in Photoshop. The only difference is that instead of selecting, we’re erasing. This tool was designed to remove pixels of similar colors in the area you’ve clicked.
Arguably, this tool is more useful in erasing backgrounds than the Background Eraser Tool due to the fact it erases similar or related pixels and not just a single color.
For example, if you were to take a picture at sunset there are different hues and saturations in the sky. The Background Eraser Tool would only be able to choose one of those hues and delete it, whereas the Magic Eraser Tool will delete similar colors as well.
Using the Eraser Tools
Using the Eraser Tool and its different Modes may seem overwhelming, but don’t worry – they all follow the same general process. This makes it much easier to understand, as we don’t have to learn three separate methods for each tool.
Step 1: Unlock and Duplicate the Background Layer
The first step in using any Eraser Tool in Photoshop is to unlock the layer you want to erase. This is as simple as clicking the Lock Icon next to your Layer in the Layers Panel.
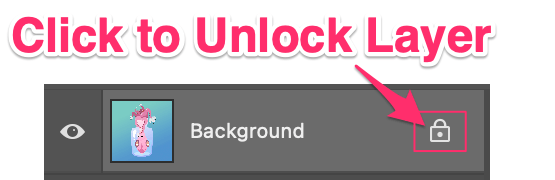
Once this is done, you’ll want to ensure you don’t do any harm to your original image or design. This means we’ll have to duplicate the desired layer so we can work non-destructively.
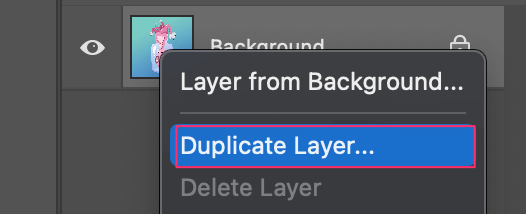
To do this, you can navigate to Layer > Duplicate Layer in the Photoshop menu. You can also accomplish this by right-clicking on your layer and choosing Duplicate Layer from the menu.
Step 2: Select your Eraser Type
You can use any of Photoshops Eraser Tool Modes now that you’re aware of how they function differently. Once you’ve chosen the appropriate tool for the job, we can move on to the setting each mode provides us with.
Step 3: Choose Eraser Settings
Depending on what Eraser Tool you’ve chosen, there are different settings to choose from! Here’s where I’ll break down each one.
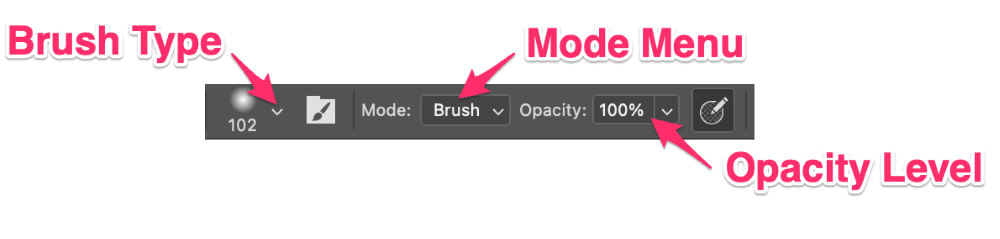
Brush Type:
This functions just like any other Brush Tool in Photoshop, and it’s where you can set the Hardness, Size, and Spacing of your brush.
Mode Menu:
Here you can choose between Brush, Pencil, and Block mode. The Brush Mode is circular and soft, while Block Mode is square with harder edges. Pencil Mode is similar to how a pencil would draw lines.
Opacity:
The Opacity percentage refers to how completely you want to erase pixels. At 100%, it will erase completely – If set to anything lower, then it will only erase the given percentage. This means it will only partially erase pixels.
Background Eraser Settings
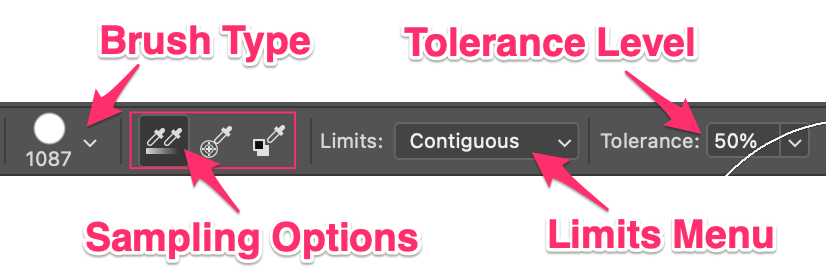
Brush Type:
This functions just like any other Brush Tool in Photoshop, and it’s where you can set the Hardness, Size, and Spacing of your brush.
Sampling Options:
The sampling options Photoshop provides are Continuous, Once, or Background Swatch in that order.
The Continuous option will sample colors as you drag your cursor, while Once will only erase the initial color selection. Background Swatch erases any pixels that contain your background color.
Tolerance Level:
Tolerance refers to the range of colors available. The higher the tolerance, the more colors you’ll erase. The lower the tolerance, the closer it’ll get to selecting only your sample color.
Limits Menu:
The Limit Menu options include Discontiguous, Contiguous, and Find Edges.
Discontiguous will erase the sample color only when directly beneath your cursor, while Contiguous erases colors of similar hues or pixels. Find Edges erases connected areas and pixels based on the sample color, but prioritizes the preservation of the shape of edges it detects.
Magic Eraser Settings
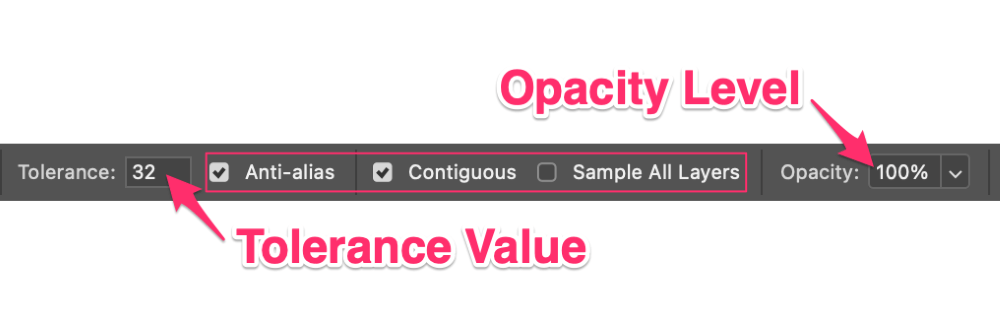
Tolerance refers to the range of colors available. The higher the tolerance, the more colors you’ll erase. The lower the tolerance, the closer it’ll get to selecting only your sample color.
Anti-alias allows you to have smoother edges when erasing.
If you choose to check Contiguous, then it will only erase colors connected to pixels. If left unchecked, then it will erase all similar pixels.
Sample All Layers will provide you with a preview of the colors you erased from your visible layers.
The Opacity percentage refers to how completely you want to erase pixels. At 100%, it will erase completely – If set to anything lower, then it will only erase the given percentage. This means it will only partially erase pixels.
Step 3: Click & Drag
This next step is relatively self-explanatory! Just click or drag your chosen Eraser Tool across the part of your canvas you want to delete. It’s just as simple as that!
Auto Erase: The Pencil Tool
You may be wondering why this method wasn’t included in the Erasor Modes. This is because it’s actually not an eraser, but a Pencil Tool. It provides a way to work non-destructively by painting the background color over areas in the foreground color, instead of erasing.
Once you’ve understood all of the Eraser Tools and Modes we discussed, I suggest giving this tutorial a look as well!
Conclusion
The different Eraser Modes in Photoshop are often underutilized, or unknown. After this tutorial, I’m sure you won’t make that mistake again! Any other tips or tricks you have for applying the Eraser Tool in Photoshop, feel free to comment them below!