
After making your GIF in Photoshop, how do you export it correctly? It’s much easier than you think, but you have to make sure you choose your presets according to your specific GIF beforehand! Animated GIFs are a hot commodity today, so it’s worth knowing how to properly export them by understanding what each option really means.
My name is Skyler, and I currently work as a freelance sequential artist. I’ve primarily used GIF creation in testing frame-by-frame animations, or time-lapse photography. For this example, I’ll be walking you through understanding the export options for a short-expression trial.
I’ll also include some advanced information and explanations of GIF creation by linking you to a tutorial that delves further into exporting GIFs in Photoshop.
Table of Contents
Step 1: The Export Window
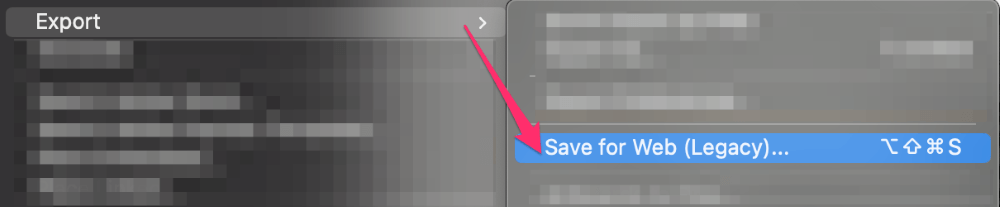
Alright! Let’s begin by bringing up the export window for your GIF. We can do this by navigating to File > Export > Save for Web.
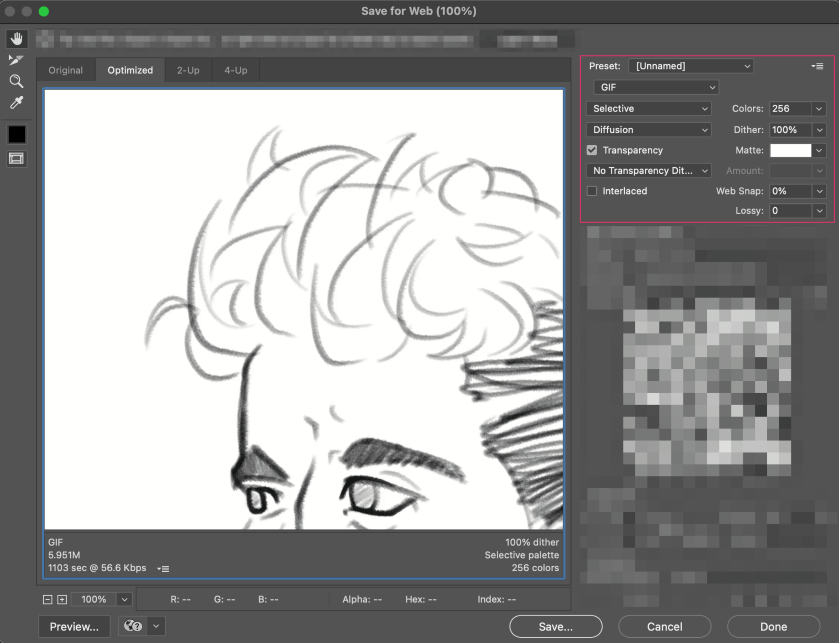
One final window will pop up where you’ll see all of your Presets, including things like Dithering and Color range.
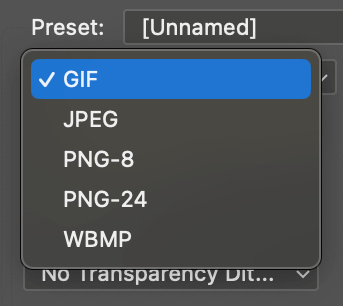
Once you’ve identified the Preset drop down menu in the Export Window, the first thing you’ll want to do is change it to GIF. This will ensure it’ll be exported in the correct formatting.
Now that you’ve changed this, it’s time to focus on the Preset box above it!
Step 2: Selecting your Presets
Great job! You’re well on your way.
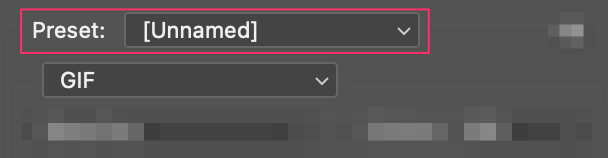
If you open the Preset box menu you’ll see more GIF options followed by the word Dither, or No Dither, and a Corresponding Number Range.
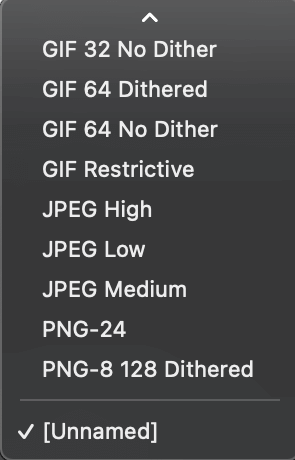
So you’ll have to choose a preset here based on whether you want the GIF dithered or not. Dithering primarily affects the quality. The higher the dither, the more colored or created pixels that Photoshop will manufacture to fill in for any missing or low-quality ones.
If you choose one of the No Dithering options, then Photoshop won’t create or manufacture any different colored pixels, only the same ones that are already available in your GIF.
You also have three corresponding numbers to choose from. These are your Color Ranges. You can choose from 32, 64, and 128. The lower the number, the fewer colors are included in your final GIF. If you have a GIF with lots of colors, then you should choose a higher color range.
Note: Keep in mind when choosing an appropriate Dithering and Color Range that the higher the numbers, the higher quality GIF results. This also means a larger file size as well.
Step 3: Adjusting your Chosen Presets
Now that you’ve gotten your Presets selected, you can start to adjust them to fit your needs. We can find the menu boxes for most of these adjustments from within this same window.
Let’s get started…
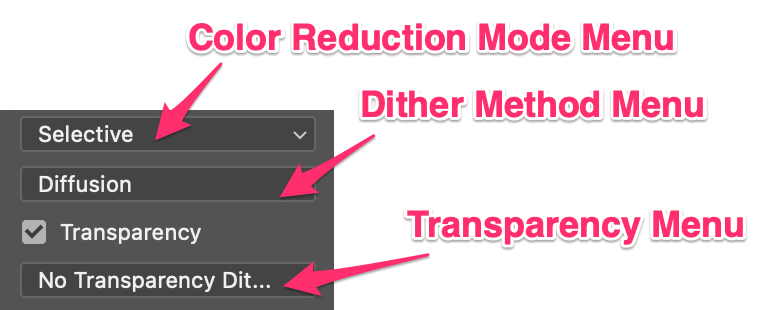
Color Reduction Mode: Selective, Adaptive, Perceptual or Restrictive
For the Color Reduction mode menu, we have Selective, Adaptive, Perceptual, and Restrictive to choose from.
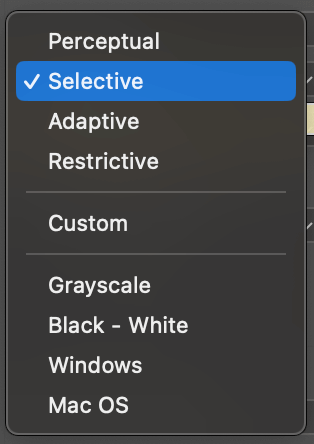
Selective is most commonly used when exporting GIFs, because it is known to be the balance size and quality best.
Adaptive works exactly as the name intends. It reads your GIF for you and assigns pixels based on the determined needs.
Perceptual creates custom colors based on the ones in your image, changing some to meet colors best perceived by the human eye.
Restrictive is based on Web Standards, for both Mac and Windows. This is the option that will likely result in the largest file size as well.
Dither Method: Diffusion, Pattern, or Noise
The Dithering Methods are Diffusion, Pattern, and Noise. These determine how dithering is presented in your GIF.
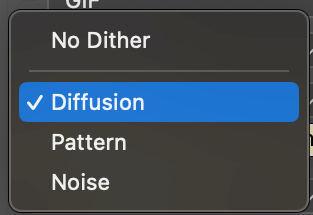
Diffusion creates a randomized pattern that works on most GIFs.
Pattern creates a halftone over your GIF.
Noise adds randomized noise to your GIF.
Transparency and Matte:
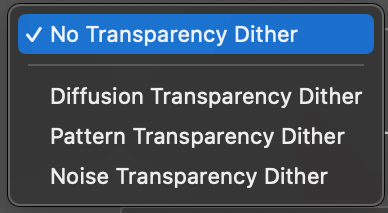
If you have any transparent pieces in your GIF, then you’ll want to check the Transparency Box above the Transparency Menu, and make sure it’s set to No Transparency Dither. If you don’t have or want any transparency, then choose a color from the Matte Box directly across from this menu. This will fill any transparent spaces with this color instead.
Size and Looping:
Typically, you’d only change the size or px of your GIF if you need the file size to be smaller. If you do decide to change this, you can use the Height and Width boxes to manually type this in, or you can change the Percentage Value. Make sure you keep the chain link enabled, so your proportions don’t get wonky.
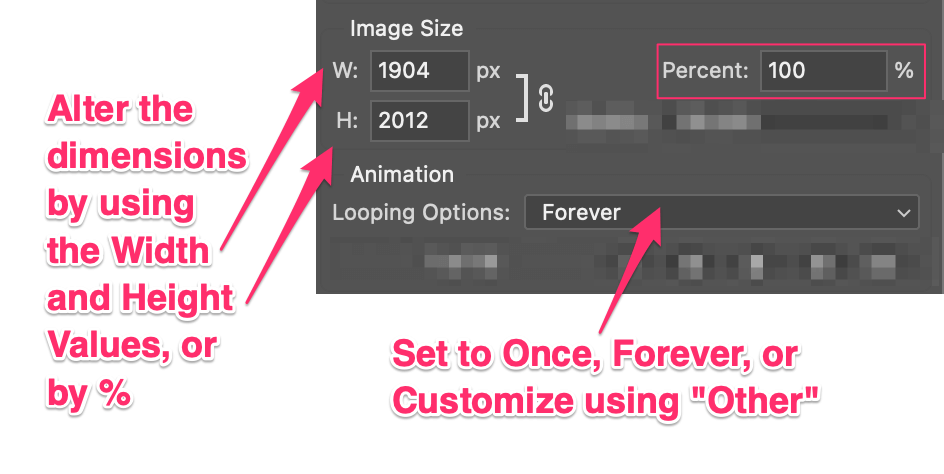
Last but not least, the looping of your GIF can be set to one of three options. Choose from Once, Forever, or customize it to the exact amount using Other.
Directly below your looping options, you’ll see a Video Menu. You can press play and test your GIF before clicking Save. Then you’ll see the standard export window where you can choose a save location on your computer.
Conclusion
So what did you think? Exporting your GIF certainly looks intimidating, but once you’ve got your vocabulary down and understand the menu screen, you’re golden!
I’m sure you’ll be eager to share lots of your new creations with friends or strangers over the internet now that you’ve got exporting down – just don’t forget to add your watermarks or credit any content creators out there as well.
Happy exporting!