
You can extend the background of a photo in Photoshop using Content Aware Scale, Content Aware Fill, or copying what is already in the image. You can extend the canvas of a file in Photoshop by going to Edit > Canvas Size.
Hello! I’m Jayde, and I’ve been using Photoshop for many years to create fantasy photo manipulations, my own cartoon characters in the form of digital puppets, and edit family photos. Extending image background is a basic task that you’d be using quite often in Photoshop.
In this article, I’ll show you different ways to extend the background in Photoshop.
Table of Contents
Key Takeaways
- You can extend the width or height of your workspace by using the Crop tool or go to Image > Canvas Size.
- Increase the size of your background image by going to Image > Image Size.
- Content Aware Scale is a very helpful AI generative tool that fills in the space outside of the original photo. When you use the Crop tool, at the top, there’s a box you can check off for this.
Let’s take a look at different ways by which we can extend the background in Photoshop.
Method 1: Content Aware Scale
You can use the Crop Tool and Content Aware Scale to extend background but the result varies depending on the complexity of your image.
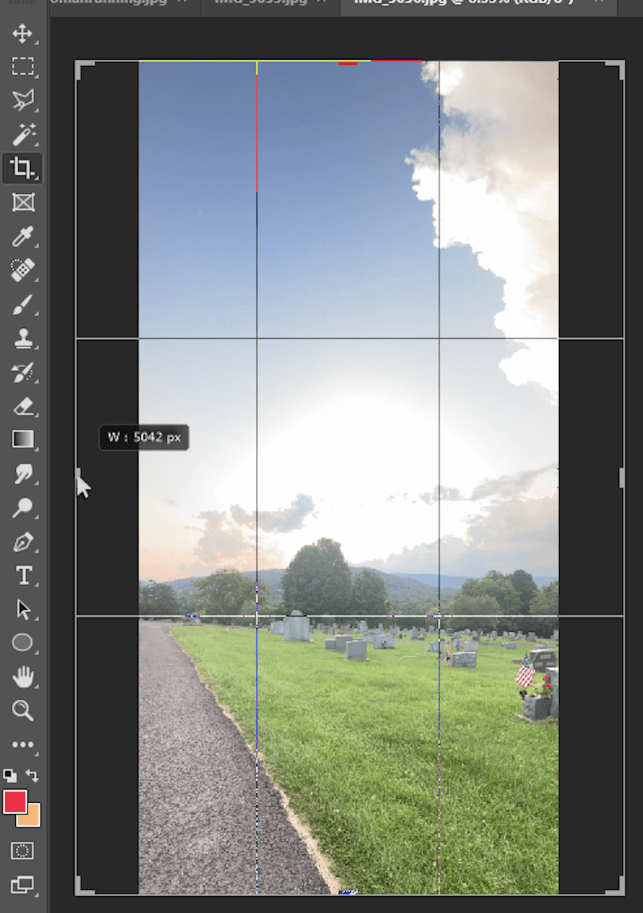
Step 1: Use the Crop tool to click and drag the sides (or top) outwards. Holding Alt extends the opposite side out as well. Holding Shift extends adjacent sides of the photo. Holding Shift + Alt extends all sides of the photo.
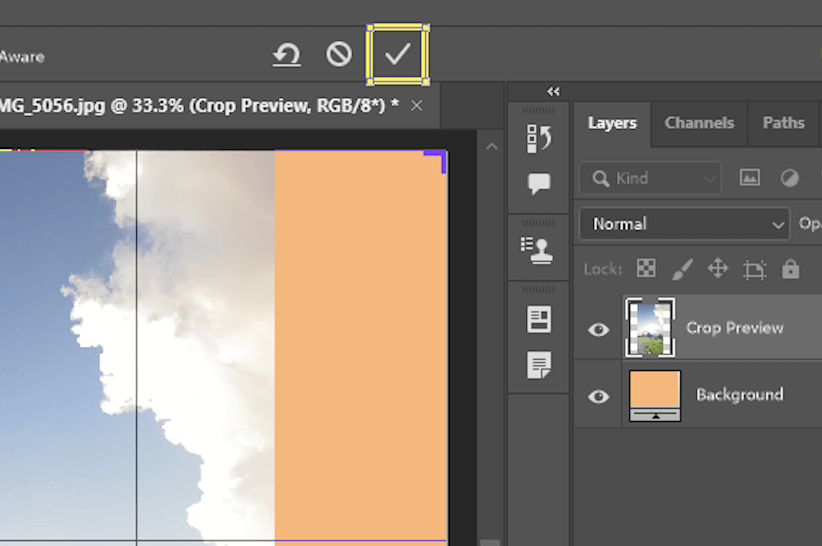
Step 2: Uncheck Content-Aware and then click on the checkmark.
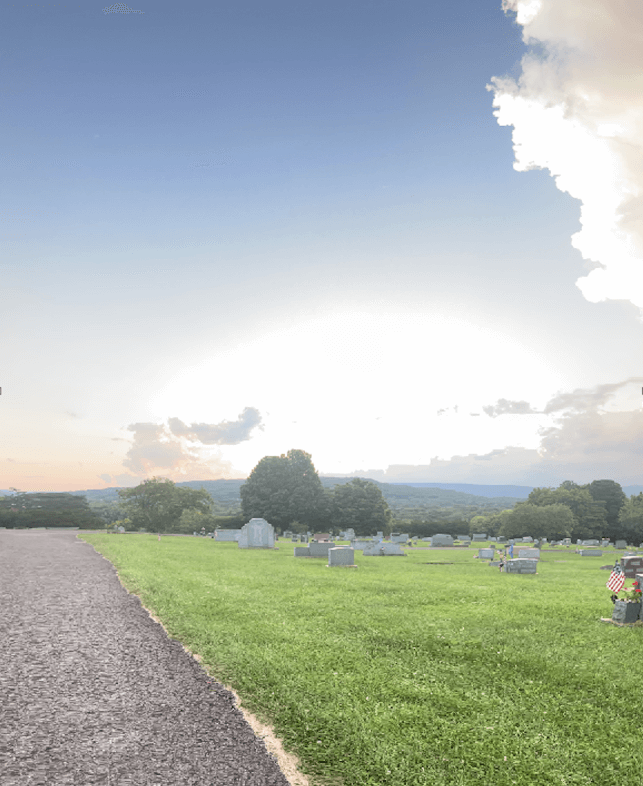
The sky looks great, but the ground, trees, grass, and headstones could be better. Use Ctrl/Command + Z to Undo the last step.
Step 3: Choose the Crop tool and uncheck the Content-Aware box.
Now we have the background extended, just not filled in.
Step 4: Go to Edit > Content Aware Scale. If this option is grayed out, you may first have to unlock your background layer by clicking on its lock symbol.

Drag the side of the image out while holding Shift, until it starts to look unnatural. Stop before it looks odd.
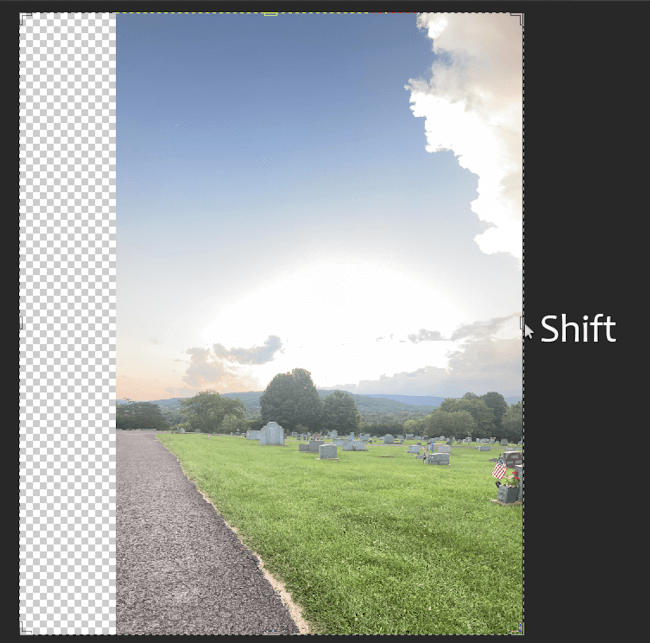
Just by dragging out this side, AI gave me a beautiful extension. I can hardly tell it was edited. I’m going to repeat this step for the other side.
If you don’t like the result, there’s another content-aware feature that you can use to make the result better.
Method 2: Content Aware Fill
In this case, you’ll need to make a selection of the area that you want to extend, and then fill the canvas. You probably need to use other tools to edit the result.
Step 1: Select the area you want to copy and use to extend the background. I’m going to use the Polygonal Lasso to select my area, then copy and paste the selection.
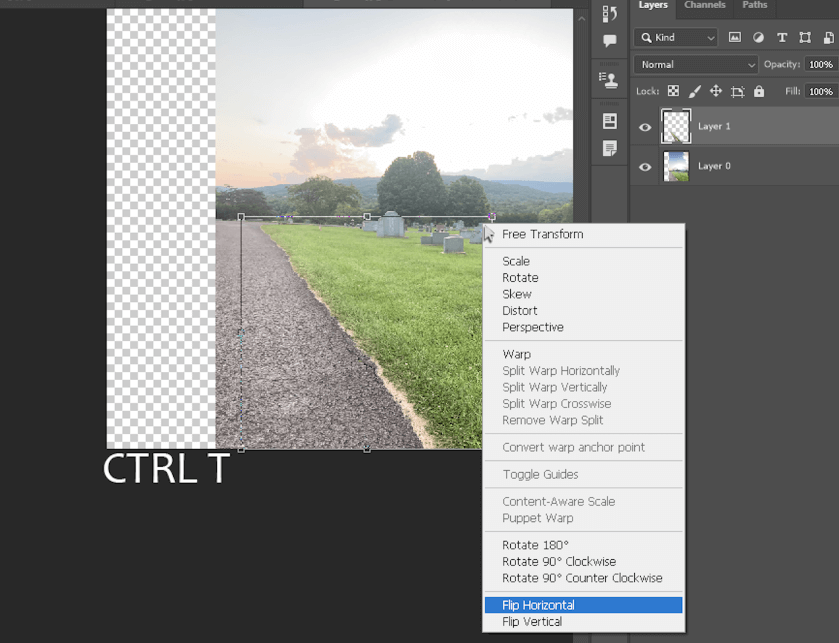
Step 2: On the new layer, press Ctrl/Command + T for the Transform tool. Right-click in the box to open more transforming options. Select Flip Horizontal.
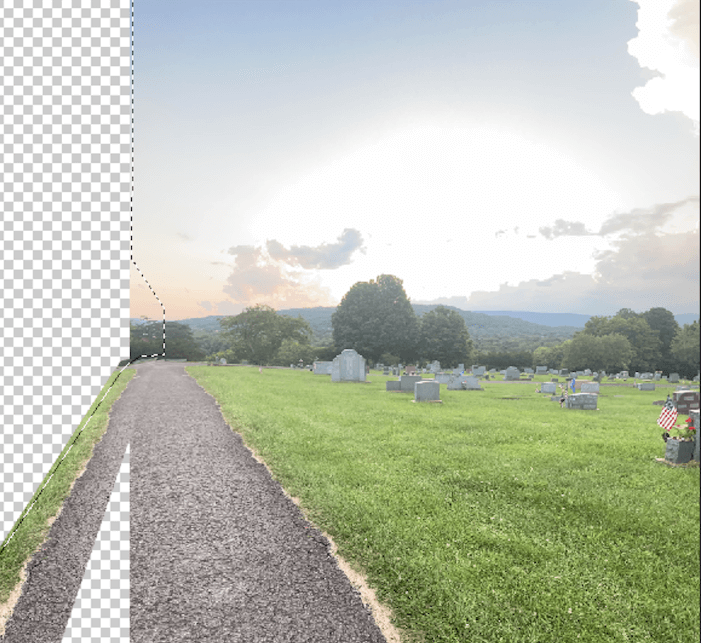
Step 3: With my path edge lined up, I’ve selected the side of the image I want AI to fill, leaving a bit of the edge for it to take from.
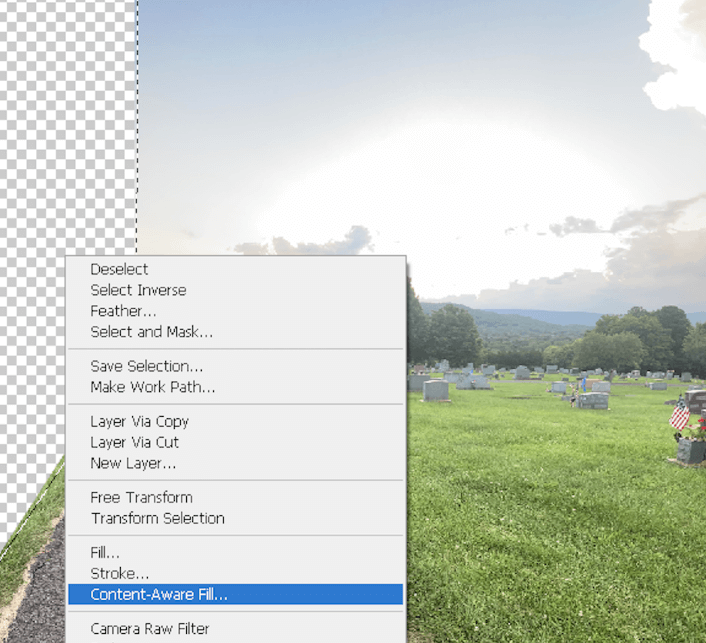
Right-click in the selection and click on Content-Aware Fill.
This will open a divided screen, where you can see the green area that the AI is taking from. Check off Sample All Layers to take pixels from the entire canvas.
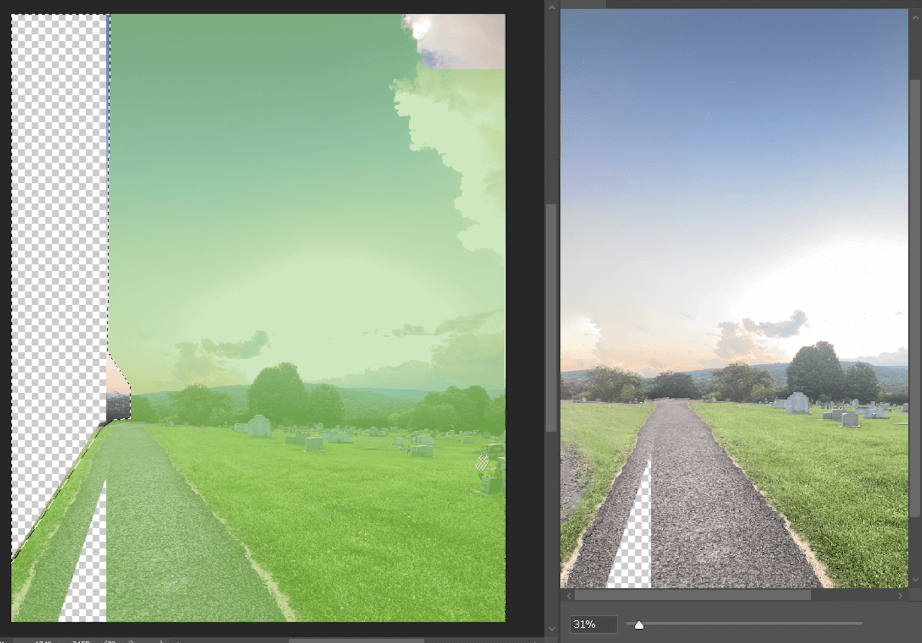
It doesn’t look too bad. I clicked OK.
Step 4: Fill the missing area of the background.
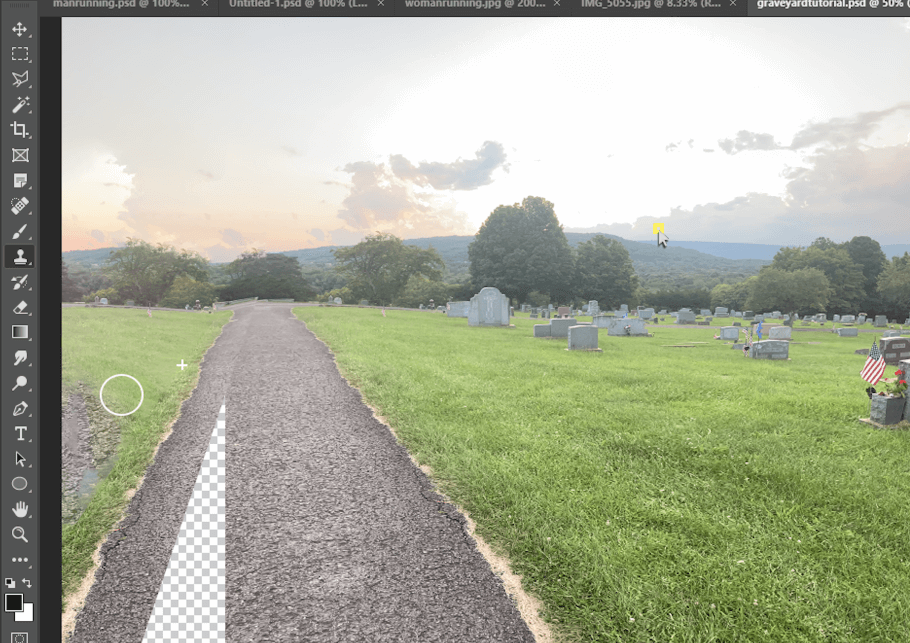
For example, I’m going to use the Clone Stamp tool to patch up the grass, sky, and tree line stones. Hold Alt/Option to select where you want the stamp to be taken from, then paint over an area.
You can change the size, feathering, and which layers to sample from across the top.
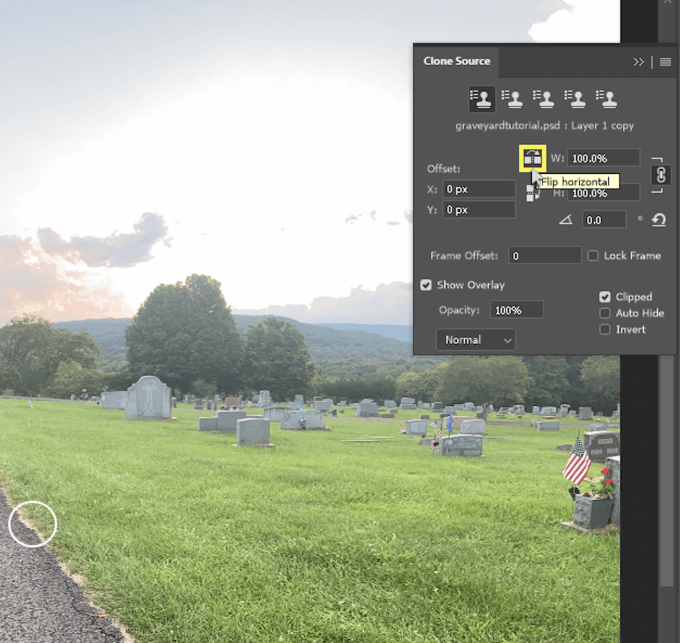
You can open the Clone Source panel and click this button to flip the pixels horizontally. I’ll do this to change up the opposite side of the path.
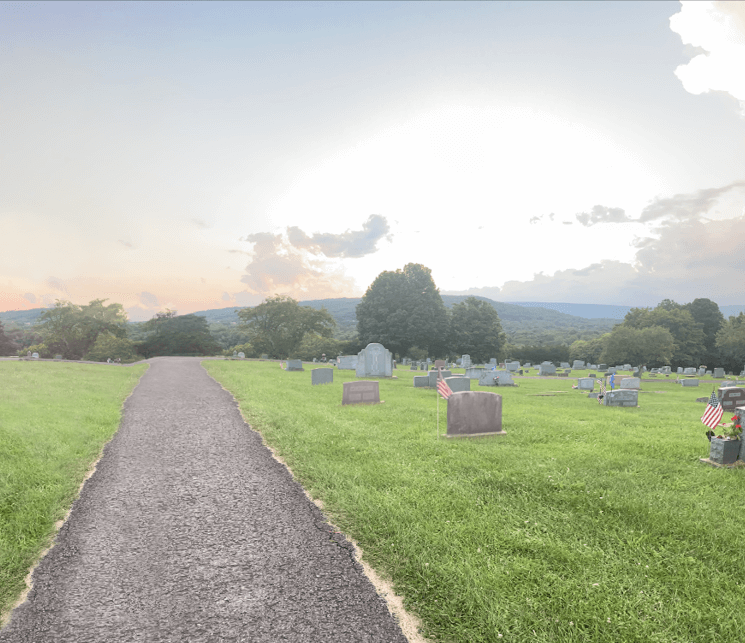
Here’s the final result.
Pro Tips
If you have a subject you want to protect, follow these steps.
Step 1: Go to Select > Subject. As you can see, AI successfully selected her, but I’m going to use the Magic Wand tool while holding Shift to add the shadows to my selection.

As you can see, I’ve unlocked this layer by clicking on the little lock symbol, so now this is called layer 0.
Step 2: With your refined selection, go to Select > Save Selection. Name your subject. After you click okay, use Ctrl/Command + D to Deselect.
Step 3: Go to Edit > Content Aware Scale. At the top, choose to protect your named subject.
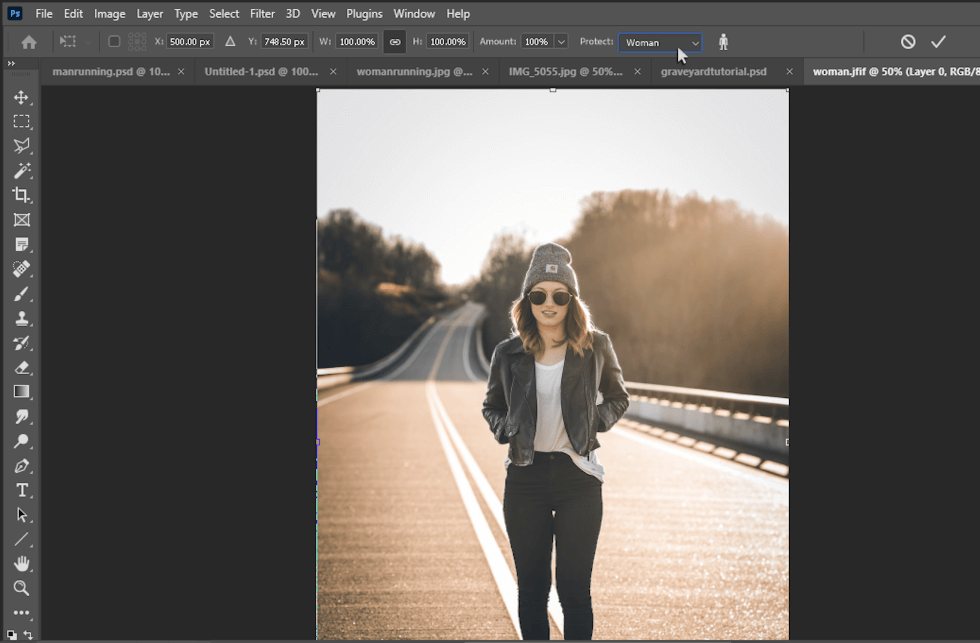
Step 4: With the Crop tool, move out the sides of your image. You can try doing this with Content-Aware checked off, but when I tried it, it didn’t look right.
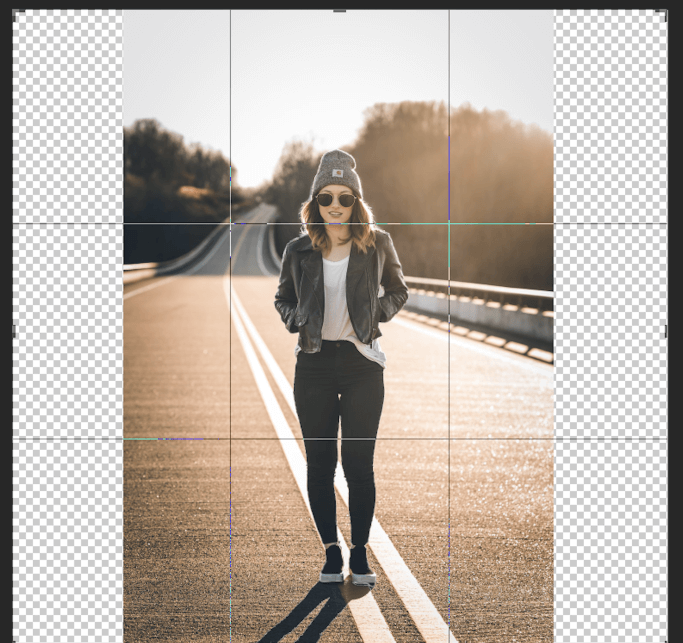
Step 5: Go to Edit > Content Aware Scale once more and move out one side at a time while holding Shift.
I stopped mine here. I could’ve kept going, but it just made the road wider. I want the railing to come down, closer to the camera.
Step 6: Use the Polygonal Lasso tool to select the railing and some of the road, then copy and paste that section of the image on its own layer.
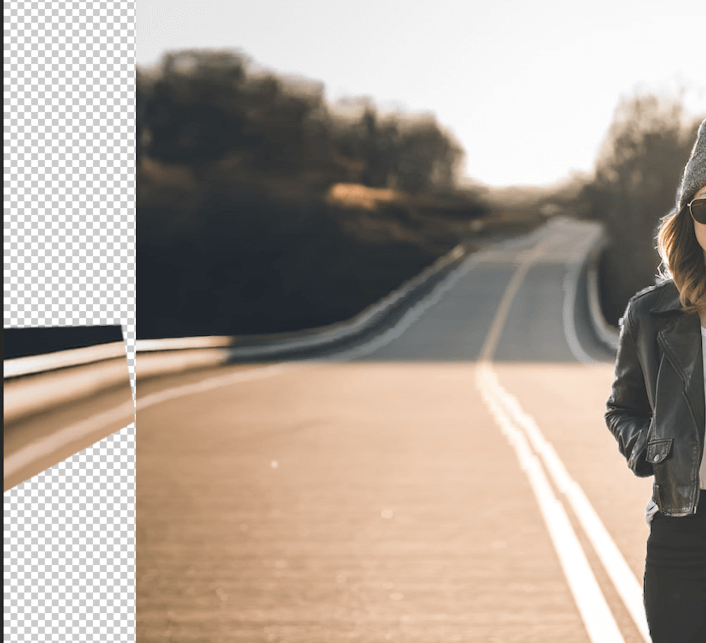
Step 7: Use Ctrl/Command + T to transform this layer. Right-click on it and go to Distort. Bring the corners outward until the railing is stretched. I also right-clicked for Rotate and Skew.
Step 8: Select the empty space with the Polygonal Lasso and right-click inside the space to go to Content-Aware Fill. As you can see, this went extremely well. After clicking Okay, use Ctrl/Command + D to deselect.
Repeat this step for the top of the image.
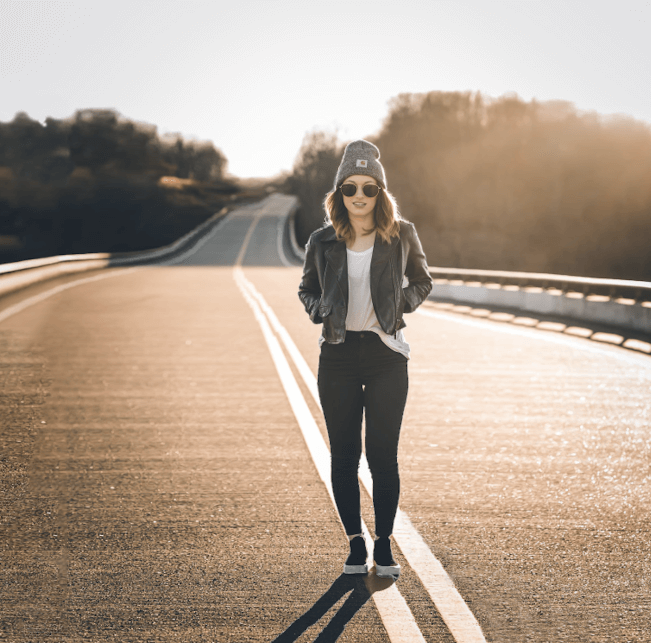
Step 9: Use the Clone Stamp tool to get rid of anything that looks rough.

Here’s the final version.
Final Thoughts
Learning the ins and outs of Photoshop is key to building your graphic design skills. By taking the time to learn how to extend the background in multiple ways, we’ve become familiar with helpful and universal tools that will make your future projects come to life.
Did you find this article helpful? Do you take photos of your own to use in Photoshop? Let me know in the comments below.