
External hard drives are a great way to increase the storage on your Mac and back up your files. But if your external drive is not showing up on your Mac, it can be a bit alarming. What causes this? And how can you fix it?
There are a few reasons why this might happen. We’ll explore a few troubleshooting tips to get you back on track and regain access to your external hard drive.
Table of Contents
- Key Takeaways
- Fix 1. Verify the Connection with Your Mac
- Fix 2. Try a Different USB Port
- Fix 3. Ensure Power is Sufficient
- Fix 4. Restart Mac
- Fix 5. Change Finder Settings
- Fix 6. Boot in Safe Mode
- Fix 7. Use Disk Utility to Mount Disk, Run First Aid, or Format
- Fix 8. Reset NVRAM/PRAM
- Fix 9. Reset SMC
- Final Thoughts
Key Takeaways
- Ensure that you verify your drive is properly connected to your Mac, that your USB port is working, and that you are receiving sufficient power to your external drive
- You can also try changing Finder settings to ensure you can see the external drive.
- If your disk is not mounted properly, it won’t show up. You can use Disk Utility to ensure your drive is mounted.
- Running First Aid on your disk can help if there are minor problems with the external drive.
- If you don’t care about the contents of your drive, you can try to format it via Disk Utility.
- Sometimes, hardware bugs can cause issues. Reset NVRAM/PRAM, and reset SMC to try to repair problems with your external drive.
Fix 1. Verify the Connection with Your Mac
First, this may sound a bit silly, but it is extremely important, we need to ensure that your external drive is appropriately connected to your Mac. If it is not connected, then, of course, the external drive will not show up on your Mac.
Make sure that there are no problems with the connection, whether that be the cable or a converter (such as USB-A to USB-C). If possible, try not to use a different converter to remove one extra piece that could cause a connection problem.
Fix 2. Try a Different USB Port
Similar to above, if for some reason the USB port that you are currently plugged into is not working properly, then we need to try another.
Disconnect the drive from the current USB port and select another to use. Try to reconnect the external drive using a new USB port.
Fix 3. Ensure Power is Sufficient
Some external hard drives require power to be transferred from your Mac in order to work properly. It may not be turning on because it is not getting enough power. If it is not turned on, then it will not be recognized by your Mac as being connected.
If you are using a passthrough converter, it is possible that there is not enough power getting through. If possible, connect your drive directly to your Mac, use a dedicated power supply for the external drive, or use an AC-powered adapter.
Fix 4. Restart Mac
Restarting your Mac can sort out many software problems that can build up if your computer stays powered on all the time. If there are any problems with the processes that help the external drive connect to the Mac, sometimes shutting them down entirely and restarting them can help with getting the connection working again.
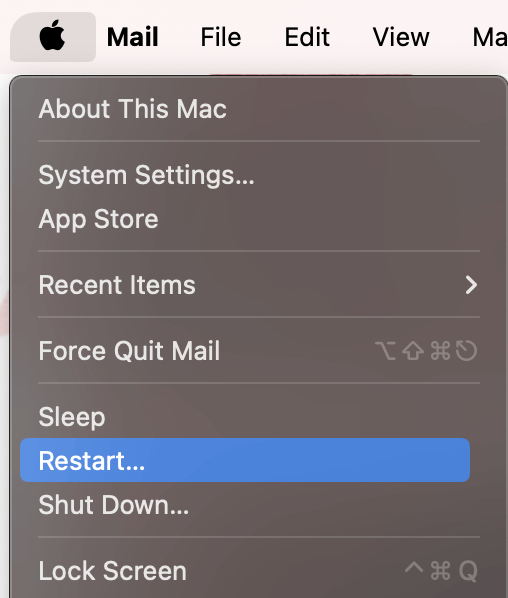
Disconnect your hard drive from your Mac.
Using the Apple Menu, Click Restart.
Fix 5. Change Finder Settings
Believe it or not, there is a setting in Finder that will prevent you from being able to see your external drives in these applications. It can be turned off for both your desktop and for your sidebar in the finder application. This means, your external drive may be properly connected, but you may just not see it!
Take the following steps to change your Finder settings:
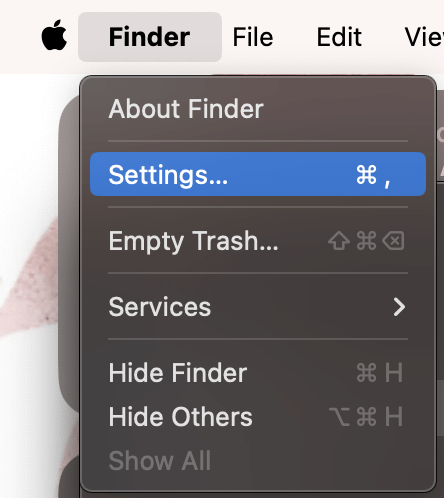
With Finder open, click on Finder in the menu and settings.
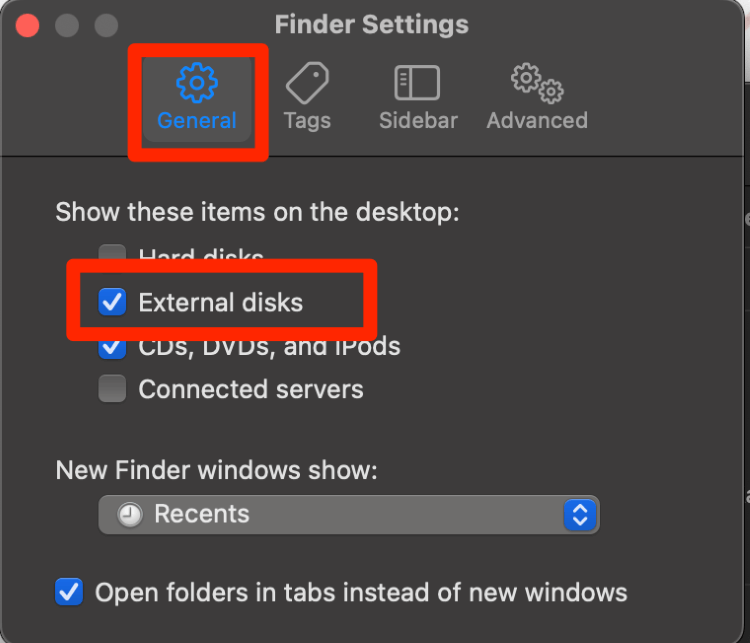
In the General Tab, make sure External Drives is checked.
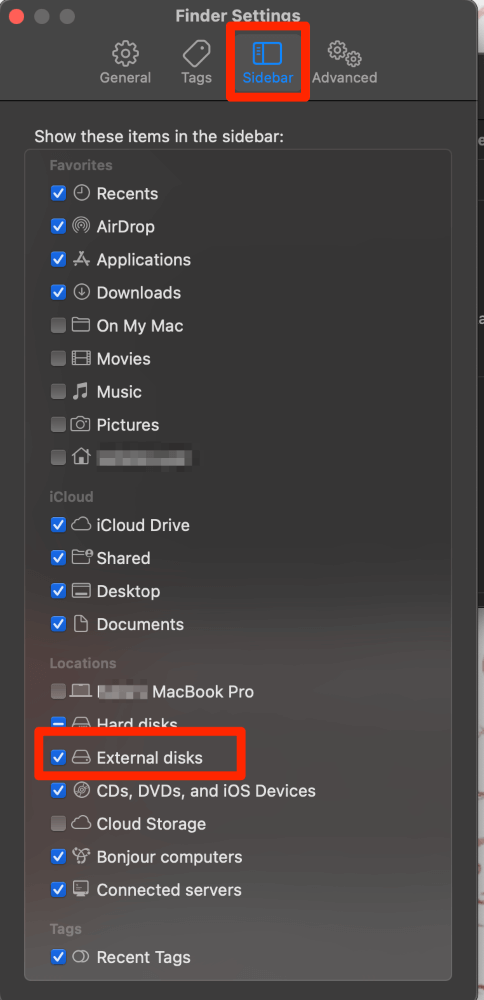
In the Sidebar tab, make sure External Drives is checked.
Fix 6. Boot in Safe Mode
Safe Mode is a great way to see if there could be a third-party application or other startup problem that could be preventing your drive from connecting. This can happen if the use of the USB ports is hindered by an application.
We can boot in safe mode and determine if we can see the External Drive here. If we can, then we know the problem is likely an application that we have downloaded since the last time we used the external drive.
Take the following steps, depending on which kind of Mac you have:
Apple Silicon Macs
- Start with your Mac entirely shut down.
- Press and hold the power button until you see the Loading Startup Options screen.
- If prompted, select a volume.
- Press and hold the shift key until you can click Continue in Safe Mode.
- Your Mac will now restart. When asked to log in, you should see Safe Mode in the Menu bar.
Intel Macs
- Start with your Mac entirely shut down.
- Press the power button to turn it on, and immediately press and hold the Shift key.
- Login to your Mac.
- If prompted, log in a second time.
- You will see Safe Mode in the Menu bar to confirm you have successfully booted in Safe Mode.
Fix 7. Use Disk Utility to Mount Disk, Run First Aid, or Format
Prior to being able to use your external hard drive, it needs to complete a process that is often referred to as mounting. This means that it establishes a proper connection with your Mac and allows you to access the drive in your file system.
If your disk is not mounted, it will not be recognized by your Mac. Most drives mount automatically, but if, for some reason, this doesn’t happen, we can use Disk Utility to Mount the drive.
Open Disk Utility from your Launchpad.
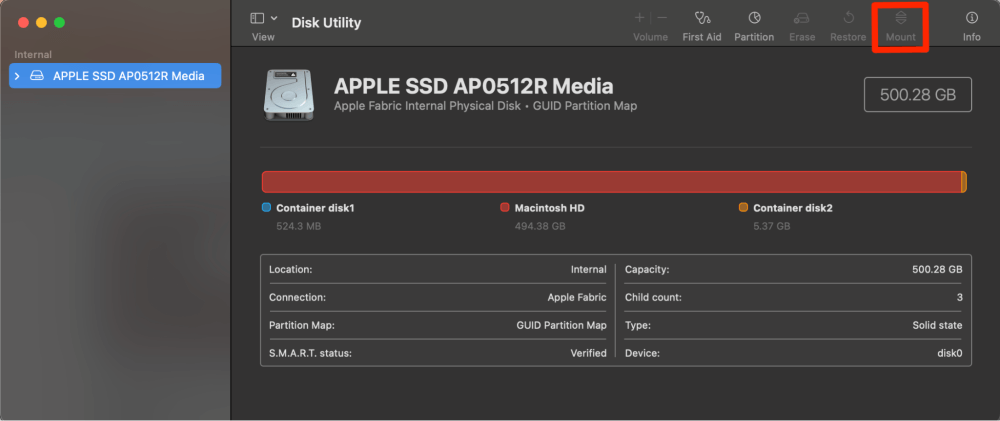
Select your external drive (note: since I do not have a drive, none is appearing) and select Mount in the top right corner.
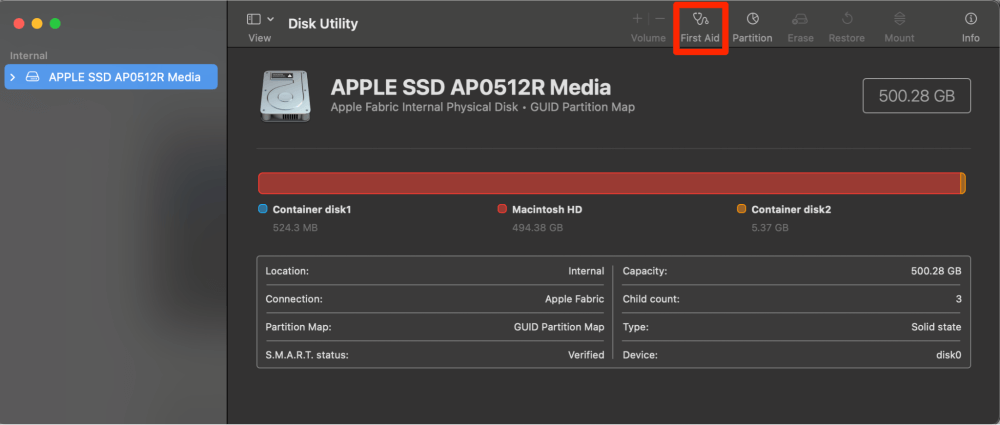
Use Disk Utility to Run First Aid
First Aid is a great way to be able to automatically repair your External Drive. First Aid will repair any formatting or directory problems with your External Drive. So, this can not only help us to know what is wrong with your External Drive but also to fix the problem!s
Again with Disk Utility, click on your external drive in the left pane. (Note: I do not have an external drive, so you do not see one here) and click First Aid in the top right corner.
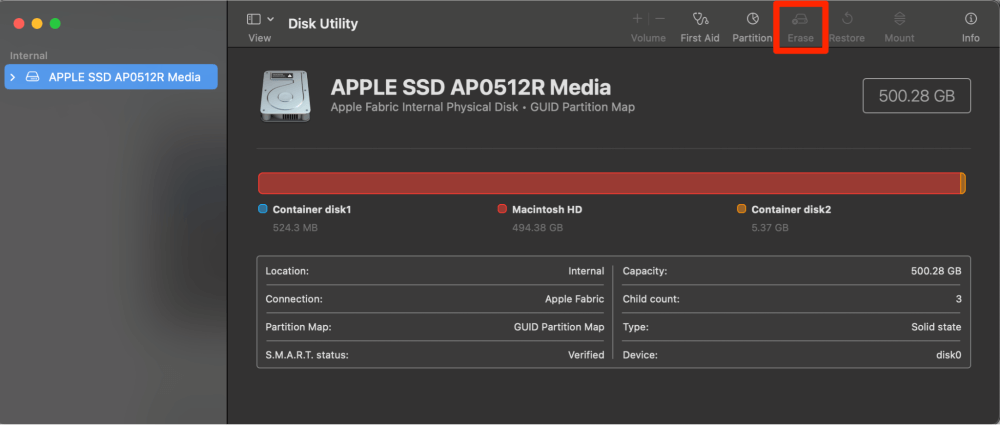
Use Disk Utility to Format Drive
If the drive is not formatted to a type that is compatible with your Mac, then it will not work, and your drive will not show up on your Mac.
Note: You will need to erase the information on your drive for this to work. If you don’t care about the data on it, or if it is a new drive, this is the way to go.
First, click on your External Drive in Disk Utility (again, I do not have one so you will not see it in the screenshots below). Select Erase.
Next, choose Partition.
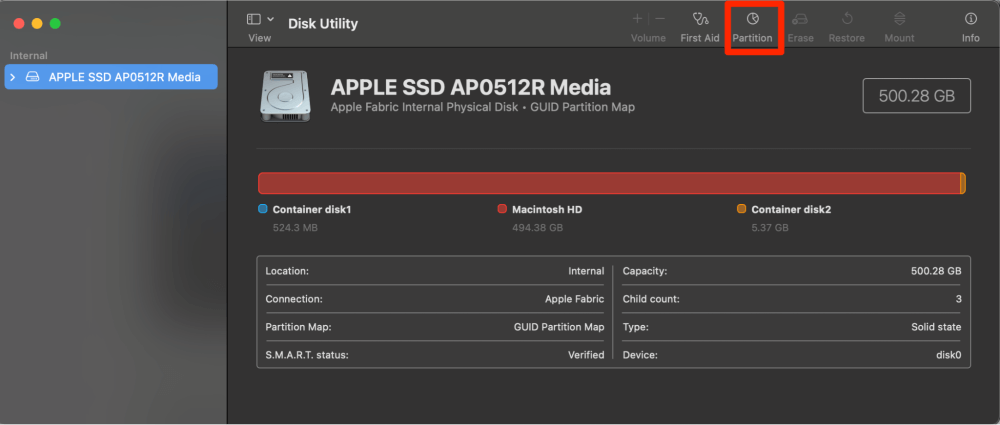
In the following screen, Format the Drive to one that is compatible with your Mac and click Apply to confirm.

Fix 8. Reset NVRAM/PRAM
NVRAM stands for Non-Volatile Random Access Memory and PRAM stands for Parameter Random Access Memory. NVRAM is the newer name for PRAM, so they are essentially the same thing. If there is a problem or corruption with your NVRAM data, then this could impact your Mac recognizing your external hard drive.
Note: Apple Silicon Macs reset the NVRAM/PRAM with a full shutdown and restart, there are no additional items needed.
- Start with your Mac powered entirely off
- Press the power button to power on your Mac and immediately press and hold the Command-Option-P-R keys on your keyboard.
- Hold until your Mac restarts for the second time (approximately 20 seconds).
Fix 9. Reset SMC
SMC stands for System Management Controller. It is responsible for the lower-level items in your Intel Mac, such as hardware. If there is a problem with the physical connection to your external drive, resetting the SMC will help us to fix the problem.
Note: Apple Silicon Macs perform the functions of the SMC directly on the chip. This means that a hard shutdown, waiting for about 30 seconds, and starting your computer again will perform enough of a reset to help with the SMC-type functions.
Desktop Macs
- Disconnect the power cord and wait approximately 15 seconds.
- Reconnect the power cord, wait approximately 5 seconds, and restart your Mac.
MacBooks 2018 and Newer
- Shut down your Mac and wait until all lights turn off.
- Press and hold the right Shift, left Control, and Option keys on your keyboard for approximately 10 seconds.
- Press the power with the other keys for 10 more seconds. Press the power button again to turn your Mac back on.
MacBooks Older than 2018 with Non-Removable Batteries
- Shut down your Mac and wait until all lights turn off. Remove all power cables.
- Press and hold the Shift-Control-Option keys all on the left side of your keyboard and press the power button at the same time. Hold for 10 seconds and release.
- Press the power button to turn your Mac on.
MacBooks Older than 2018 with Removable Batteries
- Shut down your Mac and wait until all lights turn off. Remove all power cables.
- Remove the battery.
- Press and hold the power button for 5 seconds.
- Replace the battery and press the power button to turn your Mac back on.
Final Thoughts
Not being able to see your external drive on your Mac can be a bit nerve-wracking when you have important information on that drive! Don’t worry!
This article provides nine fixes that will keep your data intact on your external drive and get it connected to your Mac. If you need to format the drive, this will cause you to lose the information within it. We hope it doesn’t come to this, but if there is nothing important on there, or if it is a new drive, then this won’t be a problem.
What worked best for you? Were you able to access your external drive? Let us know in the comments below!