
The ability to fade your images is a very useful skill to have as a designer! Whether you edit photos as a part of your creative career or simply want to overlay these effects to achieve different design elements like a vintage aesthetic or filter – there are plenty of applications for this underutilized skill!
My name is Skyler, and I’ve been using Photoshop on a personal and professional level for well over a decade. Today I’ll be showing you how to properly apply different fades and gradients to your designs and images.
Learning how to apply this technique involves understanding the Fill and Adjustment Layers, as well as the Gradient Tool. Once you’ve got the application of these effects under your belt, I’m sure you’ll be well underway to creating some great aesthetic effects and design pieces worthy of presentation.
Table of Contents
Step 1: Select Your Image Layer
First, we’ll need to open our desired image or project in Photoshop. Once this is done, navigate to the Layers Panel and Highlight your desired layer.
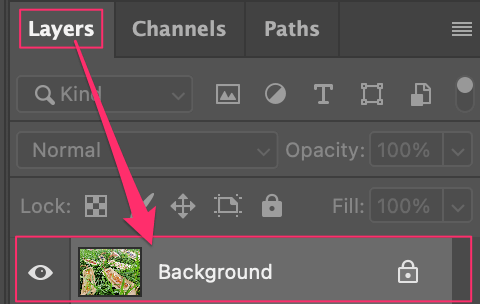
Note: Make sure your Selected Layer is Unlocked by clicking the Lock Icon directly right of your layer before moving forward!
Step 2: Add Fill or Adjustment Layer
Here is where we’ll be adding our Fill or Adjustment Layer.
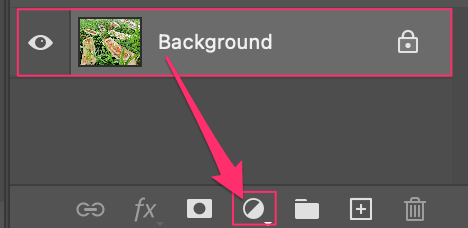
This can be found in the menu directly below your Layers Panel – it resembles a circle that’s half white, and half black. Ensure your selected layer is still highlighted and then click this icon. When prompted, choose Solid Color from the dropdown menu.
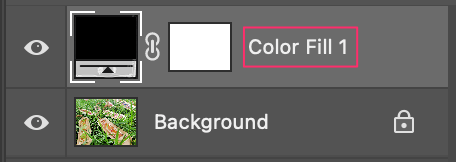
There! Now you can see this brings up your Fill Layer. It will generally appear above the selected layer with the name Color Fill 1. An additional pop-up menu will become available as well. This is called the Color Picker Menu.
The next step is selecting the color you’d like your image to fade into from the Color Picker Menu.
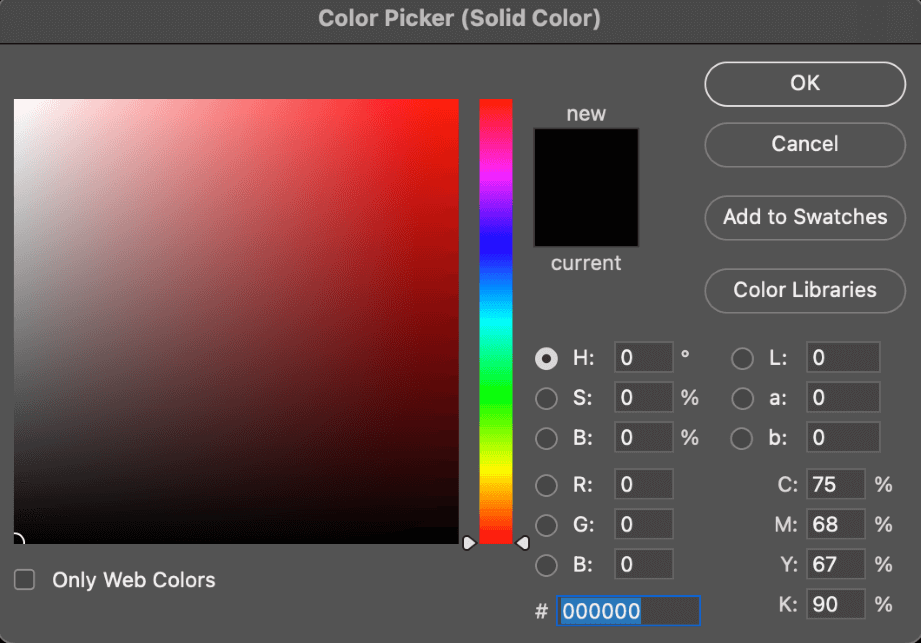
Once you’ve chosen a color from this menu, click OK to close the window. Now you’ll have your desired color attached to your Color Fill Layer.
Step 4: Use the Gradient Tool
Among your Color Fill Layer, you’ll see two squares. The square directly right of the chain is called the Layer Mask Thumbnail.
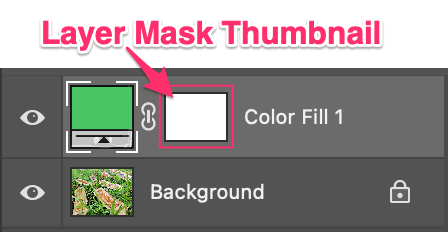
Once you’ve located this thumbnail, click to select it before moving forward.
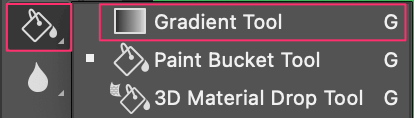
From here you’ll have to navigate to and select the Gradient Tool in the Toolbox. This can generally be found underneath the Paint Bucket Tool Menu.
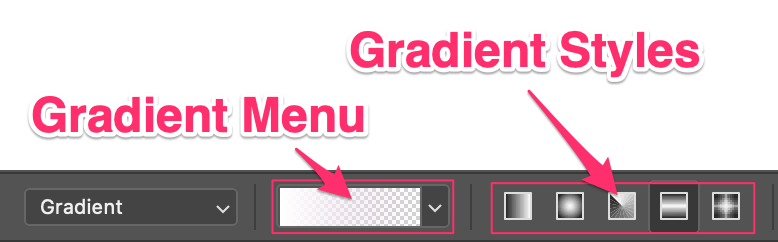
This will change the appearance of your Options Bar. You’ll notice you now have a Gradient Dropdown Menu, and a selection of Gradient Styles to choose from. The Gradient Styles give you a visual of how the gradient you’ve chosen will be applied to your canvas.
The Gradient Menu opens up to offer several different options for color, patterns, and fades.
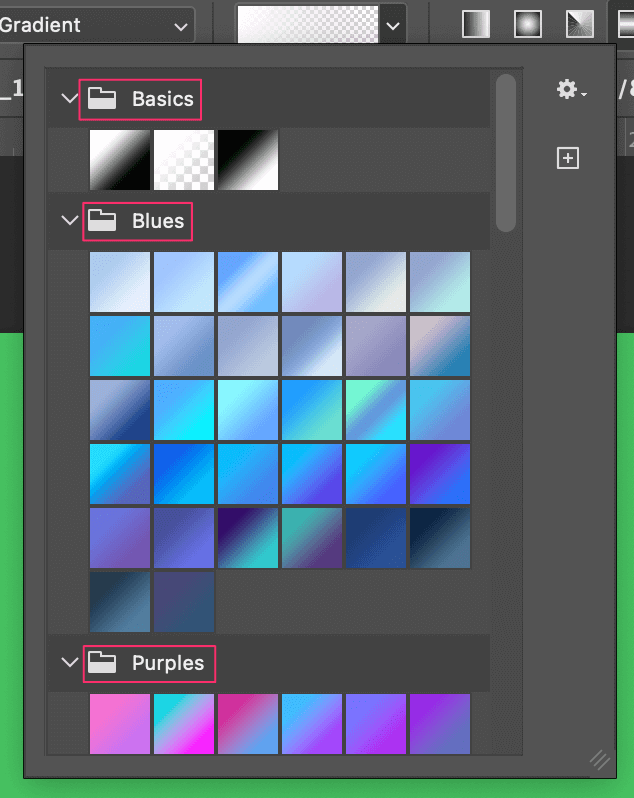
I chose the white fade, as it allows for most of my image to retain its properties, but still gives the impression of the image dissolving into my chosen color.
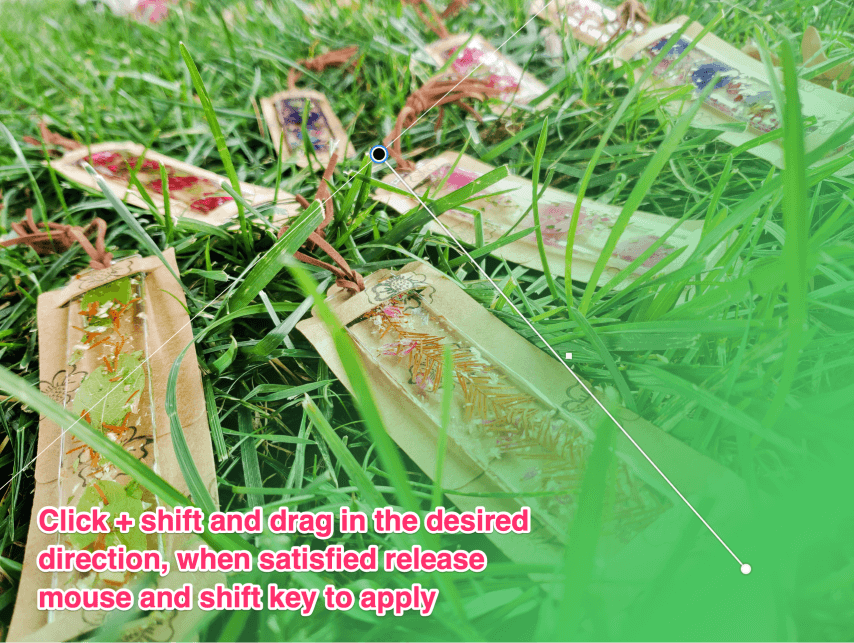
Now all that’s left to do is click and drag your mouse across the screen while holding the Shift key. As you can see, I chose to start my fade at the bottom right-hand corner of my canvas and dragged my mouse diagonal to the opposite corner until I was happy with the effect.
You can finalize this effect by letting go of your mouse and the Shift key.

There you have it! I love using colors that are already present in the chosen image for the fade effect – it adds to the depth and compliments it well. I’m sure your design and editing skills are only going to increase now that you’ve developed this new skill to use on future projects.
Conclusion
Whether you’ve learned how to fade your images in Photoshop for personal or professional reasons, you’re sure to be able to apply these techniques in many situations. Be it to polish an online portfolio, present projects professionally, or even just for personal plans and hobbies – I’m sure you’ll be well underway to creating some great aesthetic effects and design pieces worthy of praise!