
The Fill Tool is a fundamental tool in Clip Studio Paint, allowing you to color large areas with a single click, saving time and effort compared to manual coloring.
Hi, I’m Zoe, a professional illustrator. While the Fill Tool may not seem exciting, I was thrilled to discover its advanced features beyond the basic bucket tool I’ve always used. Being able to fill lineart while working in layers is a huge plus in digital art.
In this guide, I’ll walk you through the process of coloring in Clip Studio Paint using the Fill Tool. I’ll cover the use of layers, the four Sub Tools of the Fill Tool, and its settings, including a step-by-step process. You’ll also learn how to combine it with the selection tools and some common issues.
Let’s dive in!
Table of Contents
- Key Takeaways
- Using Layers for Efficient Coloring
- Fill Sub Tools in Clip Studio Paint
- Referring to Multiple Layers in Clip Studio Paint
- Adjusting the Fill Tool Settings for Precise Coloring
- Step-by-Step Guide to Using the Fill Tool in Clip Studio Paint
- Combining Fill Tool with Selection Techniques
- Common Issues with Filling in Clip Studio Paint
- Final Thoughts
Key Takeaways
- Layers in Clip Studio Paint are essential for isolating and editing artwork elements without affecting the entire piece.
- The Fill Tool offers four Sub Tools for different coloring purposes.
- You can select which layers the Fill Tool references, giving precise control over your coloring.
- Tweak settings like Tolerance for accurate and consistent fills.
- Combine the Fill Tool with selections for better control.
Find out all you need to know about using the Fill Tool in Clip Studio Paint.
Note: All screenshots from this tutorial are taken from the CSP Mac version.
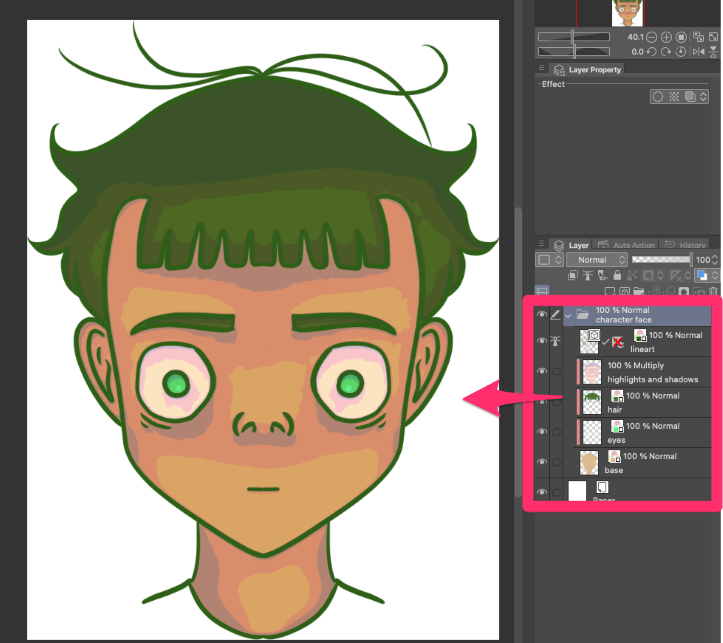
Using Layers for Efficient Coloring
Layers allow you to separate different elements of your artwork, making it easier to make changes without affecting the entire piece.
When coloring, it’s best to create individual layers for different elements, such as skin tone or hair. This ensures you can make precise adjustments without affecting other parts of your work.
Additionally, it’s a good practice to keep your lineart on a separate layer. Filling small pixels can be tricky, and directly adjusting the lineart layer may reduce its quality.
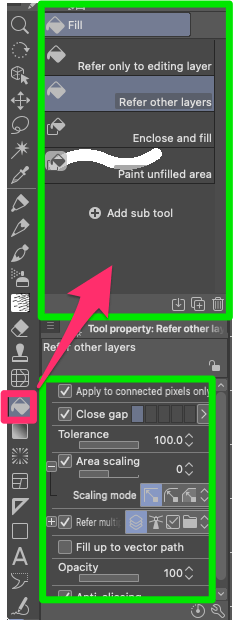
Fill Sub Tools in Clip Studio Paint
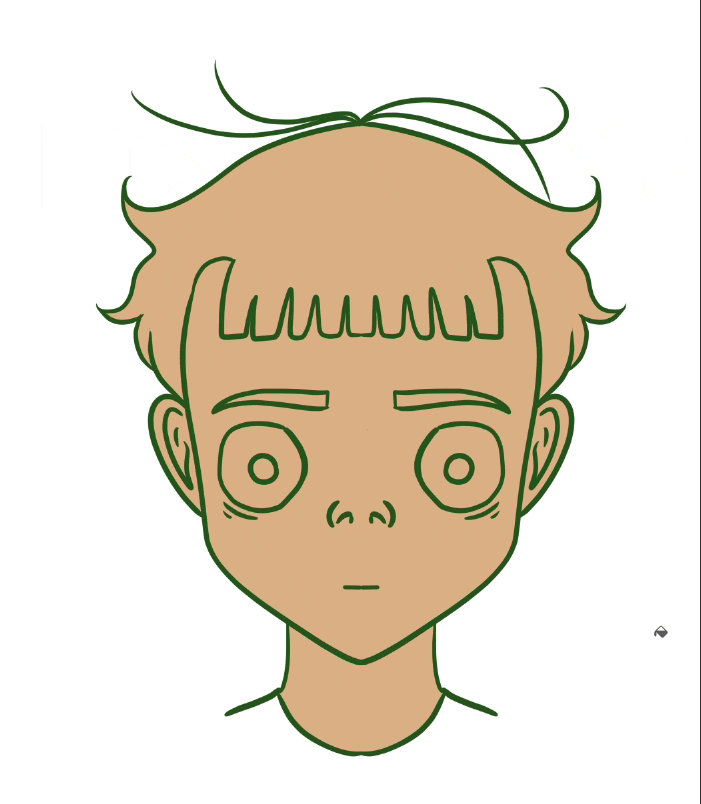
The Fill Tool is one of the basic tools in Clip Studio Paint that allows you to fill an area with a solid color. It’s commonly used for flatting, which is the process of filling the base colors of an artwork.
Here’s a quick breakdown of the four Fill Sub Tools you will find in Clip Studio Paint:
Refer only to Editing
The Refer Only to Editing Layer allows you to fill only the pixels on the currently active layer, based on the pixels you click on. This tool is often used for filling backgrounds, especially when you keep your lineart separate from your color layers.
Refer Other Layers
The Refer Other Layers Sub Tool allows you to reference multiple layers when filling. This Sub Tool offers similar options to the Refer Only to Editing Layer Sub Tool, but with the added ability to reference layers other than the currently active layer.
Enclose and Fill
When using this tool, you can click and drag to draw around the area you want to fill. Once you release the mouse button, the tool will automatically close the gaps and fill the area.
Paint Unfilled Area
This tool allows you to manually paint over unfilled pixels using your currently active color. By simply swiping your stylus or mouse over the unfilled areas, you can quickly fill them in.
Referring to Multiple Layers in Clip Studio Paint
Another important setting of the Fill Tool is the ability to refer to multiple layers. It lets you select which layers the tool should consider during filling. You can adjust all the Sub Tools mentioned earlier to reference your chosen layers while filling.
All Layers
This setting tells the Fill Tool to reference all visible layers in the document. This is useful when you want to fill an area that spans multiple layers.

Reference Layer
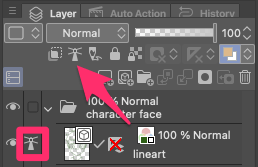
This option lets the Fill Tool refer exclusively to a chosen layer, which is useful when referencing a specific layer while applying multiple fills.

To set a layer as a reference, select it in the Layer palette, then click the Set as Reference Layer button at the top, marking it with a lighthouse icon.
Selected Layer
This tells the Fill Tool to reference only the currently selected layer in the Layers panel. You may also select a folder.

Layer in Folder
Here, the Fill Tool references only the layers within the folder where your active layer is placed, useful for illustrations with many elements that need individual filling, like characters, objects, and backgrounds.

Adjusting the Fill Tool Settings for Precise Coloring
Now that you have a basic understanding of the different Sub Tools you can use to color your artwork, let’s move on to adjusting the Fill Tool settings.
Apply to Connected Pixels Only
When checked, the fill will only apply to pixels that are connected to the clicked pixels. When unchecked, the fill will be applied to all pixels in the entire image.

Target Color
These dropdown options determine what parts of your artwork to fill based on factors like color, transparency, and surrounding elements. For instance, choosing “Only black” fills only the black areas, leaving other colors untouched.

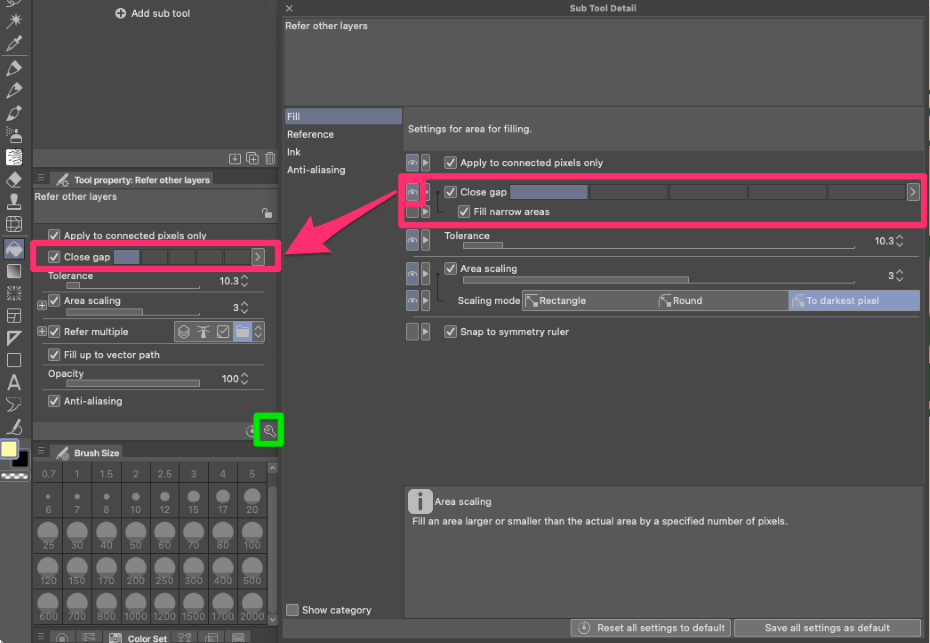
Close Gap
This option automatically bridges gaps in your line art, allowing the fill to treat them as connected lines. The size of the gap that will be closed can be adjusted using the rectangles provided.

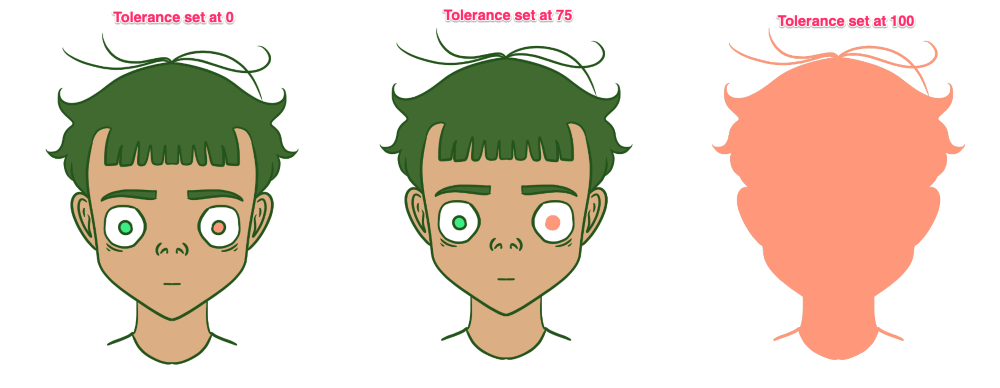
Tolerance
This setting determines the range of what is considered the same color. A higher tolerance allows for slight variations in color to be considered the same.

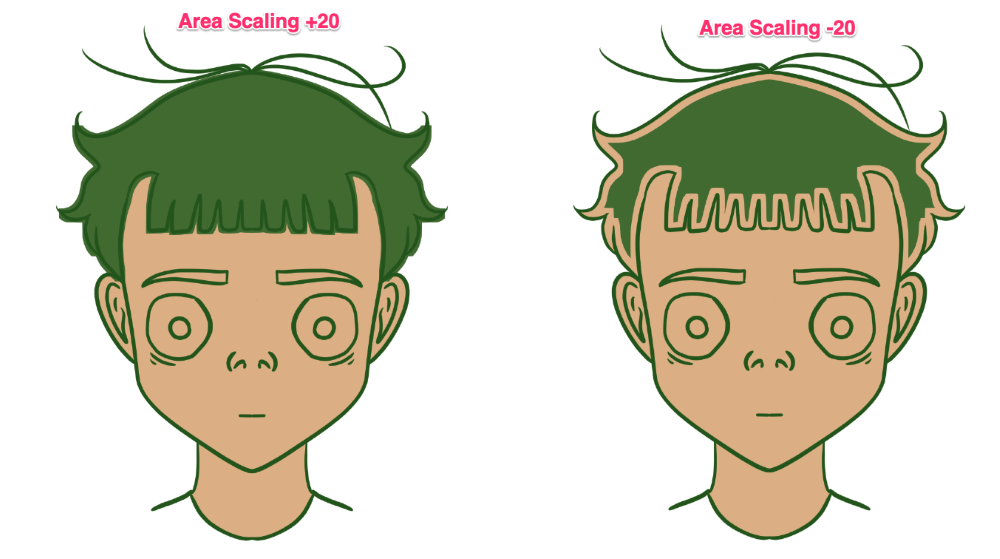
Area Scaling
This option controls whether the filled area is scaled in or out when the fill is applied. A positive number makes the fill area larger than the border area, while a negative number leaves an edge between the border and the fill color.

Refer Multiple
As we’ve explored in the section above, this option allows you to use a layer other than the currently active layer as a reference point for the fill.

Fill up to Vector Path
When you enable this option and refer to a vector layer for filling, the Fill Tool uses vector lines as boundaries for filling, preventing gaps or errors when the lines form complete shapes. However, its effectiveness still depends on the alignment of the vector lines with your intended fill areas.

Opacity
This determines the opacity of the filled area.

Antialiasing
This controls whether the outside edge of the filled area is aliased or antialiased.

If you can’t see these options, click the wrench icon at the bottom of the Tool Property Palette and select the empty box next to the desired option. It will now appear with an eye icon, indicating that it’s now accessible from the tool property palette.
Step-by-Step Guide to Using the Fill Tool in Clip Studio Paint
With the correct settings and techniques, the Fill Tool can help you achieve smooth and consistent color application. Let’s move on to the step-by-step process of using the Fill Tool to color in Clip Studio Paint.
Step 1: Create a new layer for the element you want to color.
Step 2: Select the Fill Tool from the Tools panel.
Step 3: Set how you want your artwork to refer to other layers, whether it’s setting a reference layer for lineart or referring only to layers within a folder.
Step 4: Adjust the Fill Tool settings according to your requirements.
Step 5: Click on the area you want to fill with color.
Step 6: Repeat the process for other areas that you want to fill with the same color. This will serve as the base for all your fill layers.
Step 7: Adapt to your drawing using different Fill Sub Tools. For example, while the basic bucket may efficiently fill large areas, you could switch to Paint Unfilled Areas for trickier parts.
Step 8: Create a new layer for the next element you want to color.
Step 9: In the Layer Panel, click on the Clip to Layer Below icon. Even if your fills are precise, this ensures that no stray pixels extend beyond your base shape. It can also prove more practical for applying effects later on.
Step 10: Repeat the process until you’ve colored all the elements of your artwork.
Combining Fill Tool with Selection Techniques
While the basic Fill Tool can fill areas effectively, combining it with selection tools enhances control over the coloring process.
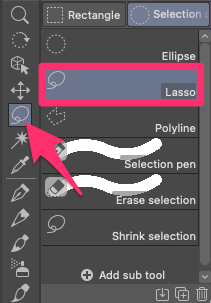
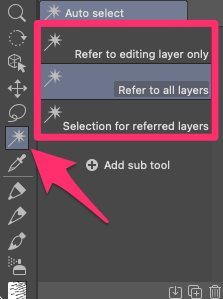
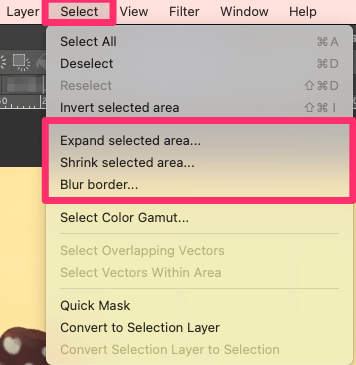
The Lasso and Auto Select Tools are handy for quickly outlining areas to fill. Additionally, you can fine-tune your selections further by exploring the options in the Select Menu.
Common Issues with Filling in Clip Studio Paint
The Fill Tool in Clip Studio Paint is very efficient, but you may encounter some challenges. Here are a few tips:
- Avoiding Halos and White Outlines: To prevent white “halos” between color areas and line art, ensure that your line art is clean and properly aligned. You can also adjust the Tolerance setting.
- Dealing with Bleeding Colors: If you experience color bleeding or unwanted color mixing, consider adjusting the Tolerance setting to restrict the fill to a narrower color range. Additionally, using selection tools can help isolate specific areas for filling.
- Fixing Incomplete Fill Areas: If you encounter areas that are not completely filled, use the Paint Unfilled Areas tool to manually fill in those pixels. Adjust the brush size as needed.
Final Thoughts
Mastering the Fill Tool in Clip Studio Paint is essential for any digital artist. With its versatility and powerful features, the Fill Tool can be used for various tasks, from flatting to detailed coloring. By understanding its settings and adjusting them according to your requirements, you can use the Fill Tool to create beautiful artwork in no time.
I hope this guide has been helpful in mastering the Fill Tool in Clip Studio Paint. If you have any feedback or suggestions, please feel free to leave a comment below.