
You can increase the resolution of your image in Photoshop by going to Edit > Image Size. Change the size of the image to pixels and increase the resolution until the longest side of your image is 3000 pixels.
Hello! I’m Jayde, and today I’m going to show you how to increase the resolution of an image in Photoshop, without making it too blurry or pixelated.
Table of Contents
Key Takeaways
- In some cases, the best thing to do is retake the image or swap it out for one with a better resolution.
- By inverting an image, using different blend modes, and adding filters, you can increase the sharpness of any image.
Note: The screenshots from this tutorial are taken from the Adobe Photoshop Windows version. Mac or other versions can look different.
Increasing the Resolution of an Image
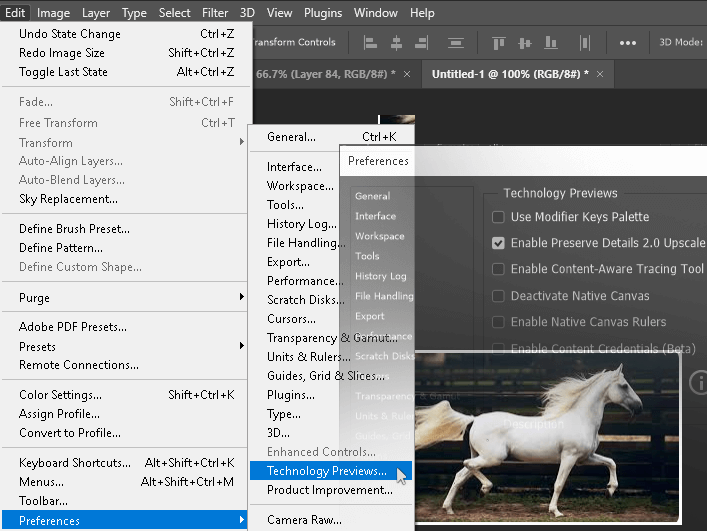
Step 1: Go to Edit > Preferences > Technology Previews. Make sure that Enable Preserve Details 2.0 Upscale is checked. You can see how tiny (low res) my starting image is.
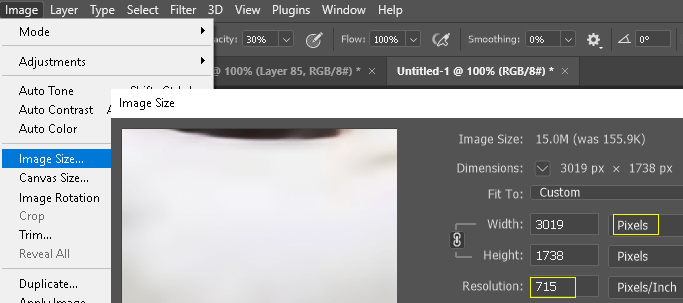
Step 2: Go to Edit > Image Size. Set the size measurement to Pixels. Increase the resolution until the longest edge of the photo is at 3000 pixels.
Increasing the resolution essentially gives the photo more room to display information, making the photo look smoother than what we had before.
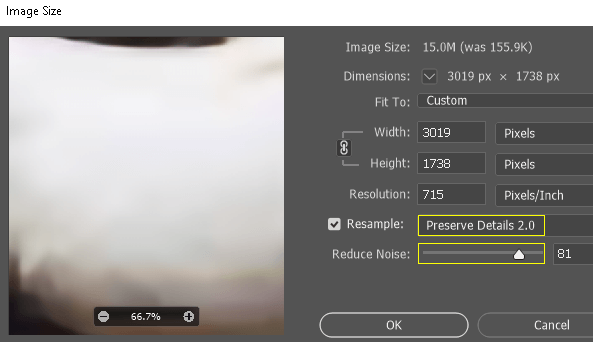
Step 3: Change the dropdown to Preserve Details 2.0. Play with the noise bar to find a happy medium between sharp and smooth.
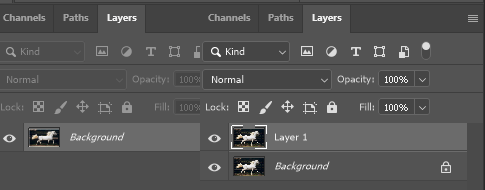
Step 4: Duplicate your layer using Ctrl/Command + J.
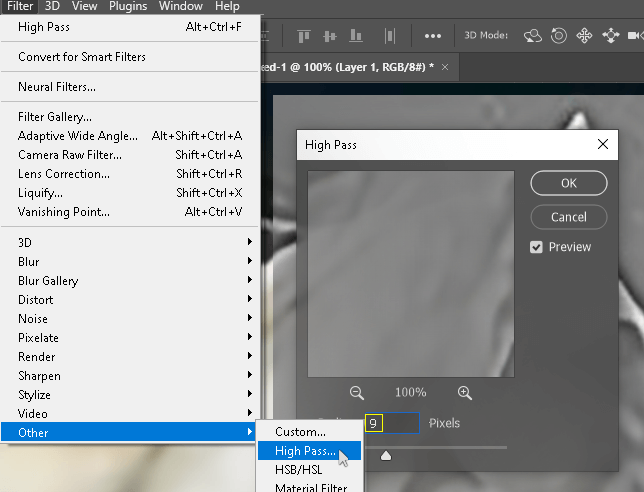
Step 5: With the new layer selected, go to Filter > High Pass. Normally you don’t wanna go too high with the pixels here, but in this case, we can get away with it because the picture is so soft.
High Pass is a great filter to use for making the edges of the photo pop.
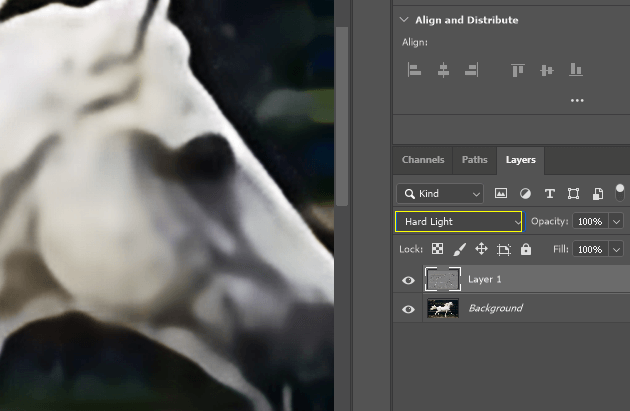
Step 6: Change the Blending Mode to Overlay or Hard Light. Adjust the fill level if this adjustment is too strong.
And that’s about all we can do for this photo.

When we zoom out or reduce the image size a little, it does look pretty great, considering how small it was before.
How to Sharpen an Image in Photoshop
Now let’s see how one might increase the sharpness of a photo. In my opinion, this goes hand in hand with resolution. When an image is just too soft or blurry, follow the steps below to unblur the image.
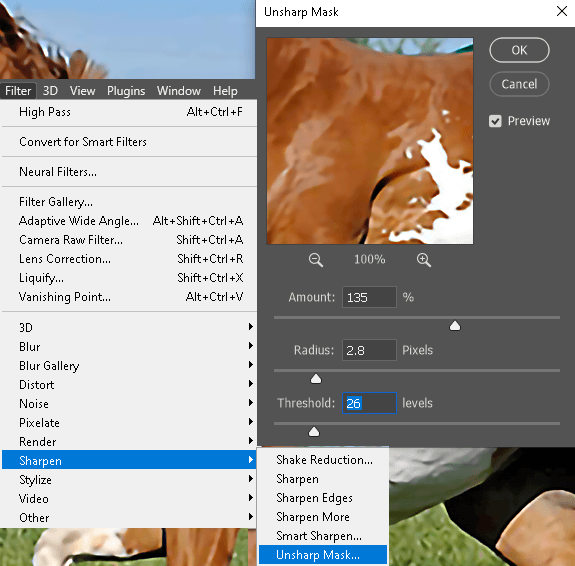
Step 1: Go to Filter > Sharpen > Unsharp Mask. This is the first thing you should try whenever you need to sharpen an image.
Each slider affects the other, so it may take some time to narrow down what settings perfect your image. If this doesn’t cut it, continue to step 2.
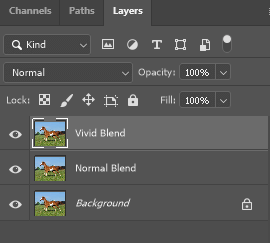
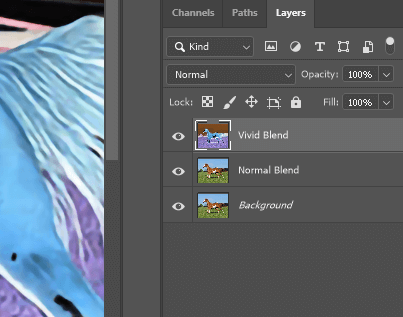
Step 2: Copy your image layer twice using the shortcut Ctrl + J. Name the middle one Normal Blend and the top one Vivid Blend.
All the light blending modes are contrast blend modes.
Step 3: Invert the vivid layer by using the shortcut Ctrl/Command + I.
This makes an opposite version of our photo. Because we’ve inverted our layer, we can now use a blur tool to sharpen our image.
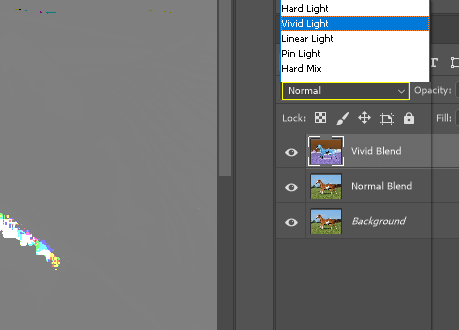
Step 4: Change the Blend Mode to Vivid Light. Everything becomes gray, and the blending mode to fix that is Overlay. Overlay eliminates anything that is gray and darkens anything darker than gray while also lightening anything brighter than gray. But…
You’ll find that you can’t apply that blending mode to this layer as it is. So…
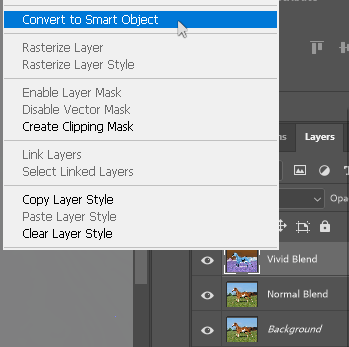
Step 5: Right click on the vivid layer and go to Convert to Smart Object.
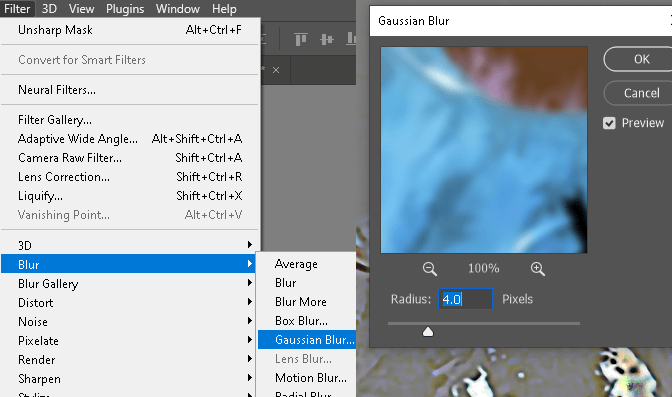
Step 6: Go to Filter > Blur > Gaussian Blur. Change the value to about 4. You wanna be careful not to go too high because the effect will create halos instead of edges.
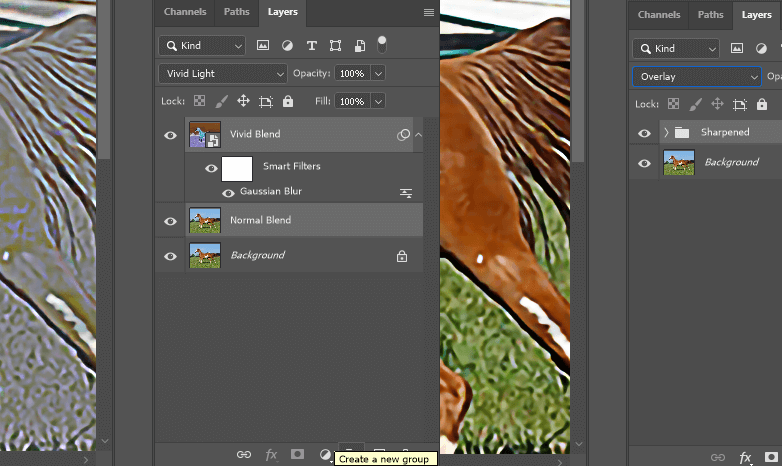
Step 7: Select the normal, filter, and vivid layers and use the shortcut Ctrl/Command + G to put these layers into a group.
Step 8: Change the Blend Mode of the group to Overlay, and there you have it. Your increased sharpness and texture by using Gaussian blur and blending modes.
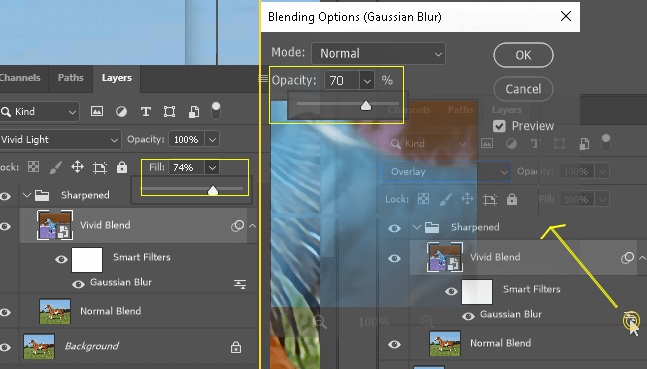
If you find that the result is too strong, you can lower the fill of the vivid layer. You can also double-click to edit the Filter blending options. Here you can change the blending mode or lessen the Opacity.
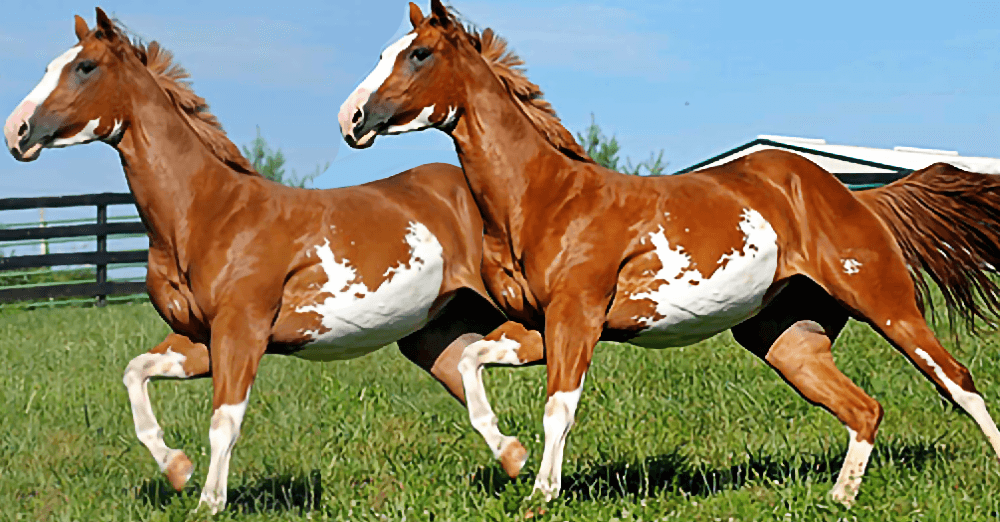
Here’s our comparison:
Final Thoughts
While increasing the resolution without losing image quality isn’t always possible, you can always do your best, and Photoshop offers enough features to make a difference.
When another image just won’t do, follow the steps we covered in this tutorial. You’re bound to increase the resolution and quality of the photograph you want in your project.
Do you photograph your own images? If not, where do you source images to use in Photoshop? Let me know in the comments below.