
You can invert the colors in a layer or image by going to Image > Adjustments > Invert. You can make a selection with any selection tool if there’s a part of the photo you want to leave untouched. You can switch the foreground and background swatches by using the shortcut X.
In this article, I’ll show you how to invert the colors of your images or layers in Photoshop.
Table of Contents
Key Takeaways
- The shortcut to permanently invert the color of an image is Ctrl/Command + I.
- To edit an image non-destructively, use the shortcut Ctrl/Command + J, which makes a copied layer of your image.
- The shortcut to switch between the background and foreground color swatches is X.
- Adding a Hue/Saturation adjustment layer is a great way to change the colors in your image in a way that could be edited later.
Without further ado, let’s get started on this tutorial.
Inverting the Colors of Your Image in Photoshop
This will work with any layer in Photoshop, including shapes, vectors, and rasters.
Note: The screenshots in this tutorial are taken from the Photoshop Windows version. Other versions can look different.
Step 1: Create a copy of your image on its own layer, so that you have an original copy in the file. Use the shortcut Ctrl/Command + J.
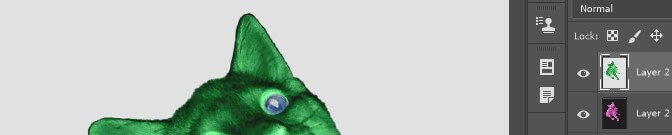
Step 2: On the new image layer, use the shortcut Ctrl/Command + I to invert the colors. In my case, I don’t want the eyes to invert colors, so I’m going to do the following step.
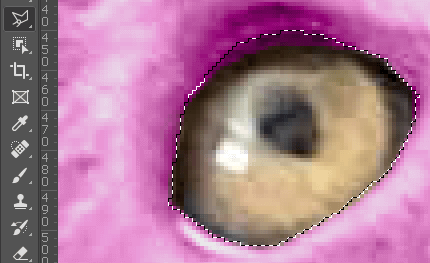
Step 3: Use the shortcut Ctrl/Command + Z to undo the previous step. Use any selection tools to select the area of the photo you don’t want to change. I’ll use the Polygonal lasso to trace around the cat’s eyes.
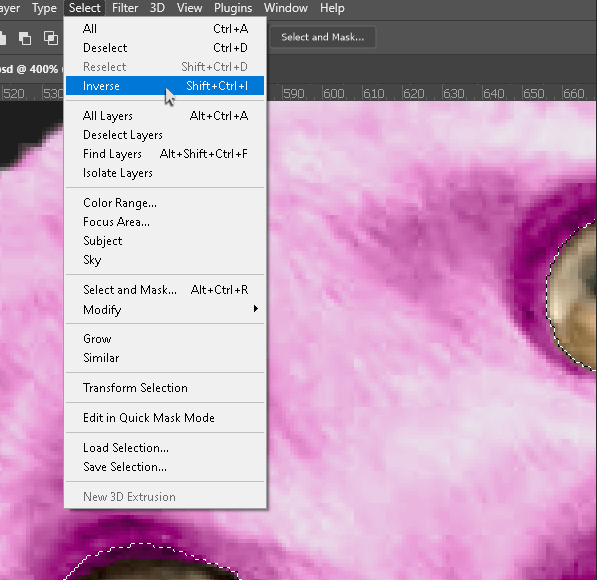
Step 4: With the eyes selected, Go to Select > Inverse (Shift + Ctrl + I) from the overhead menu.
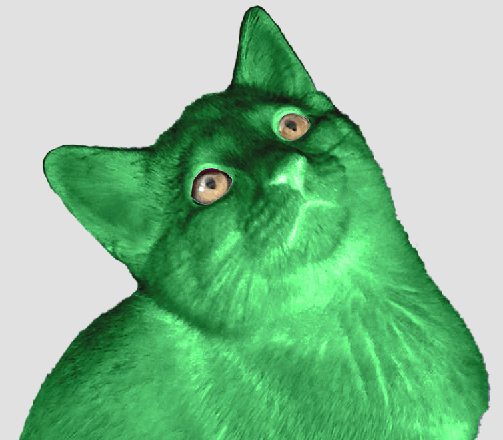
Step 5: Use the shortcut Ctrl/Command + I to invert the colors, then use the shortcut Ctrl/Command + D to deselect your selection when you’re finished.
Bonus Step: Add a Levels or Hue/Saturation adjustment layer to adjust the intensity of any white or black, color range, saturation, and brightness. Use any selection tool to select specific areas you want to change.
Invert Color Swatch Selection
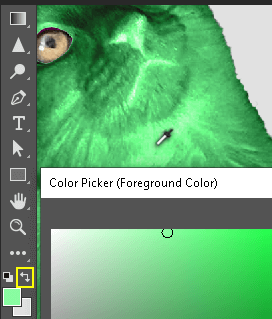
Step 1: Select a color by clicking on a swatch. Choose a color on the spectrum, or go outside the box to use the Eyedropper tool and select any color in your image.
Step 2: After clicking OK, you can invert the color swatches by clicking the little curved double-headed arrow, or using the shortcut X.
Bonus Options
With or without a selection made, you can add a Hue/Saturation adjustment layer to change the color spectrum, saturation, and brightness. The Levels adjustment layers change how white the white is and how black the black is.
Select two or more separate parts of the image by making one complete selection, like the eye, and then holding Shift to click and select somewhere else.
If your selection is what you don’t want to change, go to Select > Inverse or the keyboard shortcut to reverse the selection again. Or you can deselect the area and make a new selection.
Final Thoughts
Learning the ins and outs of Photoshop is key to building your graphic design skills. The key to inverting/reversing colors in Photoshop is to make the selection of the precise area.
Do you have any tips for other artists or graphic designers? Have you ever manipulated photos of your family or pets? Let me know in the comments below.