
You can invert your selection within a layer or mask by using the keyboard shortcut Ctrl/Command + I or by going to Image > Adjustments > Invert.
Alternatively, you can inverse a selection using the keyboard shortcut Ctrl/Command + Shift + I, or go to the overhead menu and choose Select > Inverse.
Note that Inverse and Invert aren’t exactly the same.
Hey, there! My name is Jayde. In this tutorial, I’m going to cover how to Invert and Inverse selections in Photoshop. Both of these commands are straightforward and essential to Photoshop mastery.
While the words may be similar and both actions are equally useful, these two commands are very different.
Without further ado, let’s dive in!
Table of Contents
Key Takeaways
- Always retain a copy of your original image by duplicating the layer with the shortcut Ctrl/Command + J.
- The keyboard shortcut for Invert is Ctrl/Command + I.
- The keyboard shortcut for Inverse is Ctrl/Command + Shift + I.
- Holding Alt/Option and clicking on the layer mask symbol creates an inverted layer mask.
- Use the shortcut Ctrl/Command + Z to Undo any mistakes.
- Use the shortcut Ctrl/Command + A to Select All.
- Inverting your selection has many benefits to designing tricks and working in opposites to create the effect you’re looking for.
Note: The screenshots from this tutorial are taken from the Adobe Photoshop Windows version. Mac or other versions can look slightly different.
How to Invert a Layer Selection
Follow the steps below to invert a selected layer in Photoshop.
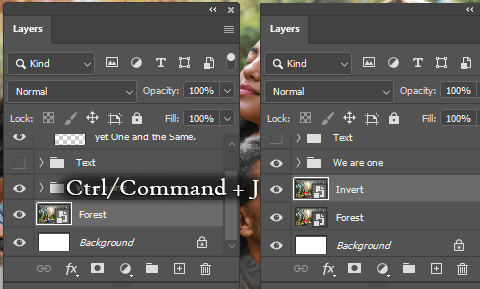
Step 1: To retain a copy of the original image, use the shortcut Ctrl/Command + J to duplicate the layer. Rename this layer “Invert.”

Step 2: Make a selection with any selection tool. I’ll be using the shortcut Ctrl/Command + A to Select All.
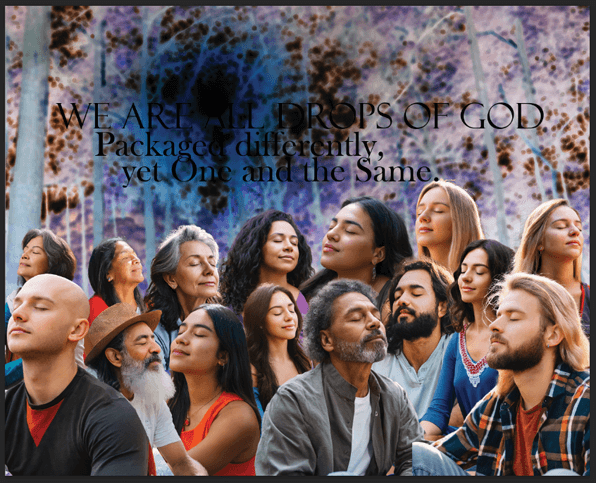
Step 3: With my Invert layer still selected in the layers panel, I’ll go to Image > Adjustments > Invert or use the keyboard shortcut Ctrl/Command + I.
Notice that this only affected the layer I renamed Invert.
Now let’s see how we would invert a selection within a mask.
How to Invert a Mask Selection
Now inverting a mask selection requires a couple of extra steps. Here’s how.
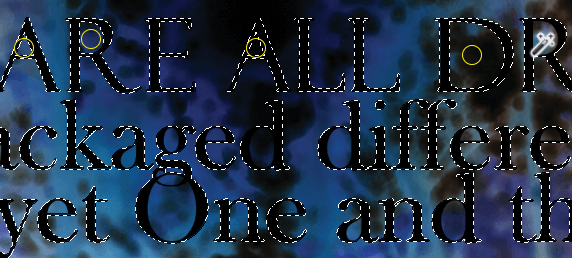
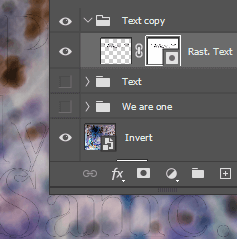
Step 1: Make a selection with any selection tool. I’ll use the Magic Wand Tool to click on the space outside (and inside) the rasterized text.
To select extra sections with the Magic Wand tool, hold Shift and click on the enclosed spaces (demonstrated by the yellow circles).
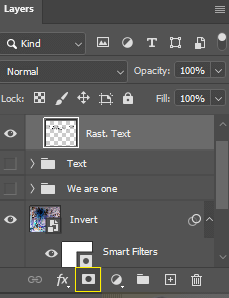
Step 2: Click on the layer mask symbol.
Tip: A new mask has appeared with my selection turned invisible. However, I can still see the very faint outline of my letters. So, I’ll use the shortcut Ctrl/Command + Z to Undo the previous step.
Then, I’ll go to Select > Modify > Contract and increase it by 1 pixel before repeating Step 2.
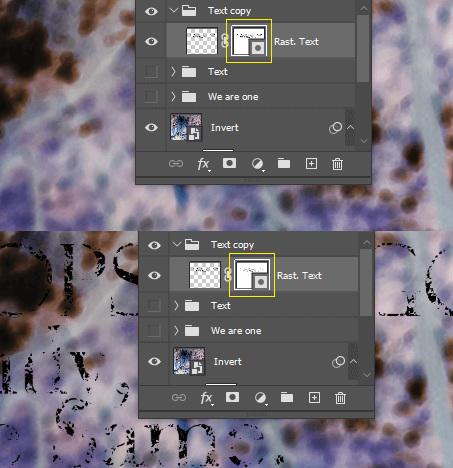
Step 3: The new mask has filled in my selection (text) with black. Remember, when it comes to layer masks, black conceals while white reveals. If I paint with white in the layer mask over the words, that portion of the text will be revealed.
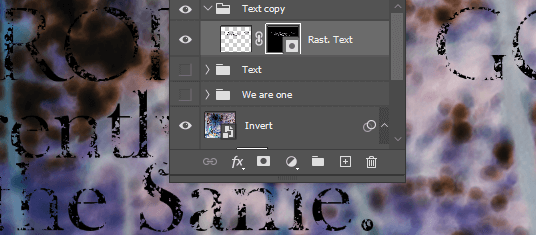
Step 4: With the mask still selected, use the keyboard shortcut Ctrl/Command + I to Invert the mask. Now the mask is the opposite, what was black (concealed) is now white (revealed).
Now let’s select an area and Inverse our selection, to better understand the difference between these actions.
How to Inverse a Selection
Now let’s take a look at how to inverse a selection in Photoshop.

Step 1: Make a selection with any selection tool.
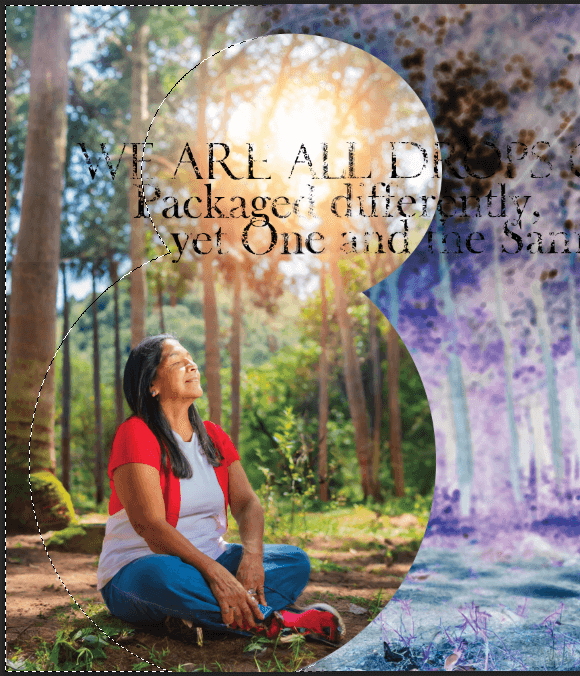
Step 2: Use the keyboard shortcut Ctrl/Command + Shift + I to Inverse your selection. This selects the exact opposite space of your selection.
Now, you may use the keyboard shortcut Ctrl/Command + I to Invert your selection. This inverts the color scale of your selection and deselects.
Final Thoughts
Photoshop is a design program built with mathematics and programming I will probably never comprehend, but with its user-friendly design and overall consistency throughout each updated version, it is always possible to learn new tricks and methods that make your conceptualized designs come to life.
Be sure to check out some of my other how-to guides, like How to Make and Save Brushes in Photoshop, to build on what you’ve learned today so you can achieve more tomorrow!
What made you decide to learn Adobe Photoshop? How often do you self-reflect? Let us know in the comments below.