
macOS Sonoma is the very latest iteration of the famed operating system for MacBooks, iMacs, and other Apple computers. While it brings with it some cool new features, there is always the possibility that it may slow your computer down. But why is that? And what can you do about it?
If your Mac is slow after updating to Sonoma, you can try a few different solutions, starting with the easiest ones first. Restarting your Mac can often work wonders, but you might have to check various things on your system and remove incompatible apps and login items. Worst case, you’ll need to reinstall macOS.
My name is Tyler. If you are anything like me, whenever Apple releases new software updates, for macOS, iOS, tvOS, or even WatchOS, you need to be one of the first to jump on the update and get the latest features. You best believe I immediately added widgets to my home screen and turned on the slow screen saver (similar to AppleTV).
This article was written based on the macOS Sonoma Beta update that was released on July 2023. That being said, the information provided will likely still be useful come time for the public release version. Let’s get into it!
Table of Contents
Key Takeaways
- Occasionally, new macOS versions can cause problems, such as slowing down your Mac. Fortunately, there are plenty of easy fixes you can try.
- Try restarting your Mac. This is one of the simplest ways to troubleshoot and is often all you need to do for minor glitches.
- You should also check Storage and Memory settings and usage. If your Mac is running out of storage space or maxing out your RAM under normal circumstances, you could have a problem.
- Check CPU Usage to see if your Mac’s processor resources are being hogged by an unwanted or malfunctioning application.
- Old apps can also cause problems. Close applications that aren’t yet optimized for the new macOS to rule out any incompatibility issues.
- If your Mac is still malfunctioning, you may have to reinstall macOS and revert back to the previous version.
What Can Make Your Mac Slow After macOS Sonoma Update
The new macOS Sonoma comes with a ton of new features and upgrades, but some of them might be a little heavy on your system. Plus, you might have a whole host of incompatible apps causing unexpected problems.
So, along with the exciting new features of macOS Sonoma (details of which you can find on Apple’s website), you may see some performance deficits. So, what do you do when your Mac is slow after the macOS Sonoma Update?
Solution #1: Restart Your Mac
The first thing you should try if your Mac seems to slow down after a Sonoma update is to restart. Restarting your computer stops all processes that are currently running, refreshes your memory, and clears the cache for the processor. All of these items can help to clear up any “stuck” processes or memory hold-ups.
Click the Apple Menu and hit Restart.
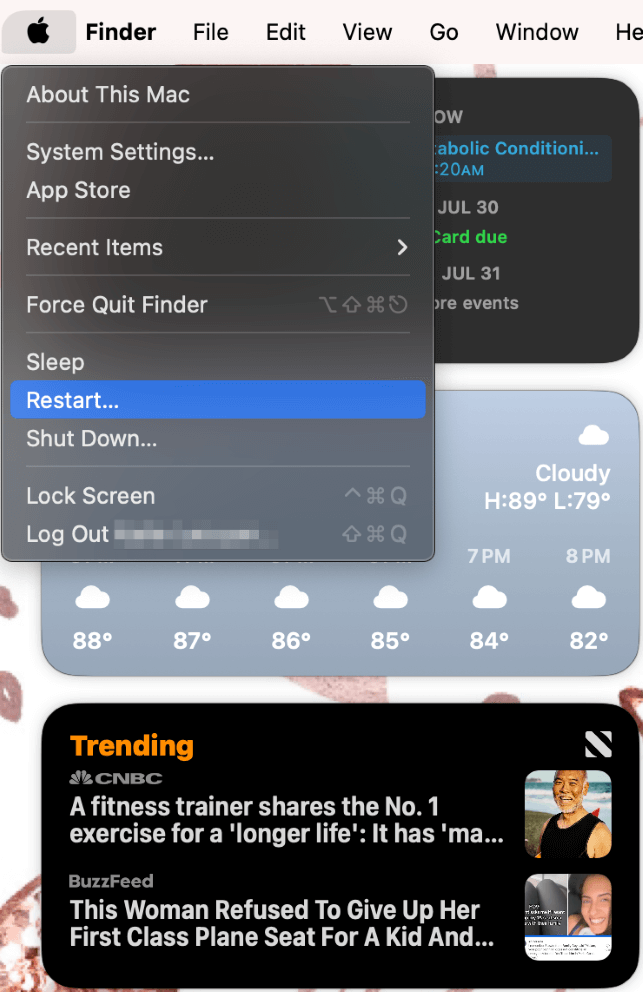
Note: with the Sonoma update, you are now able to add widgets to your home screen! Here you can see that I have my calendar, weather, and Trending Apple News widgets on the left side of my home screen. When you are using applications, they appear in white and grey to be ‘behind the scenes,’ which you will see later in this article.
Solution #2: Check Your Storage
Another possibility of why your computer may be slowing down after an update is that your storage is full or close to full. When a new macOS update is released, it will likely take up more storage than the previous version of macOS. Oftentimes, specifically with patches or security updates, this is small enough that it is almost negligible.
However, when going from one version of macOS (Ventura) to another (Sonoma), as you will have for this update, there will be more of an impact on your storage. To check your storage, take the following steps:
Click the Apple Menu and hit System Settings from the dropdown.
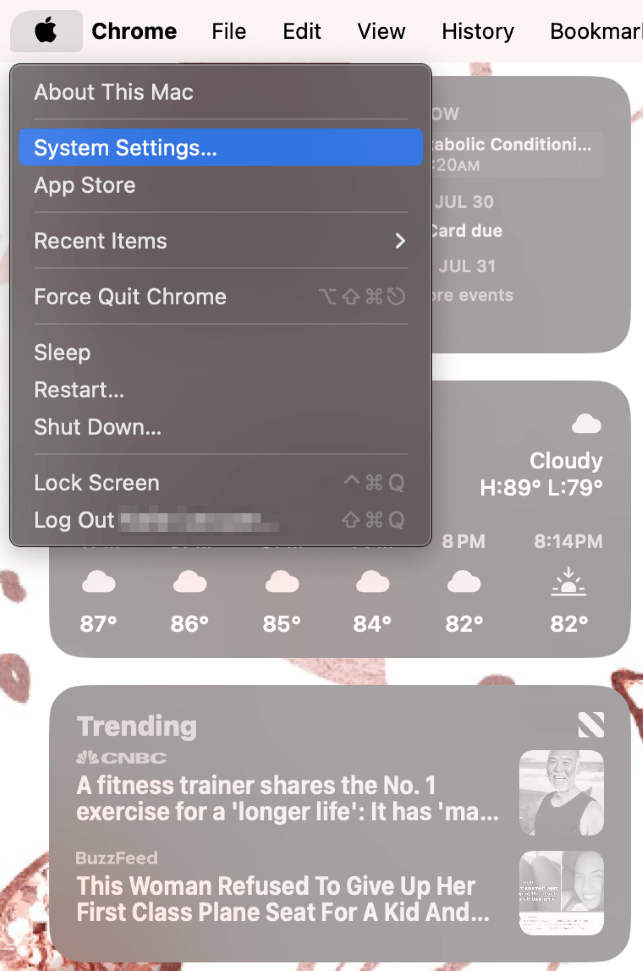
Note: As you can see here, the widgets on my home screen are showing as grey and white because I had another application open.
Navigate to General on the Left, and Storage on the Right.
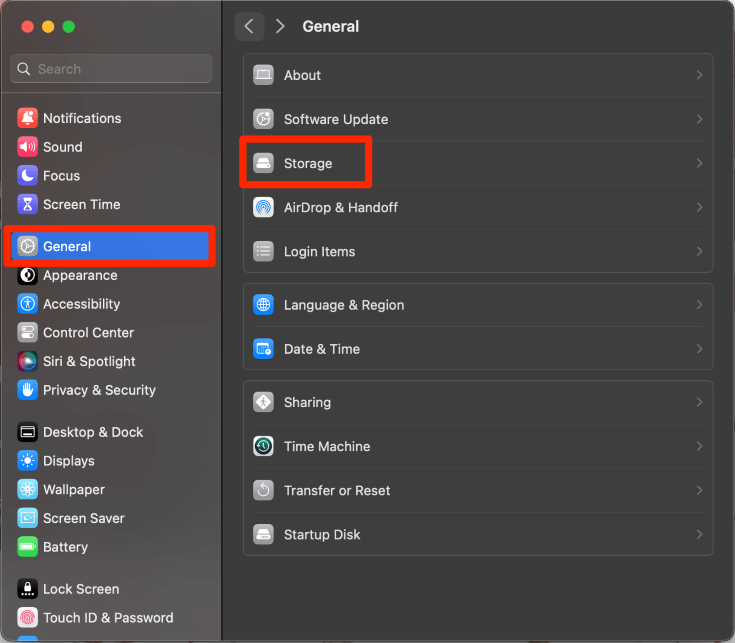
The following two screenshots are an example of what your storage page will look like.
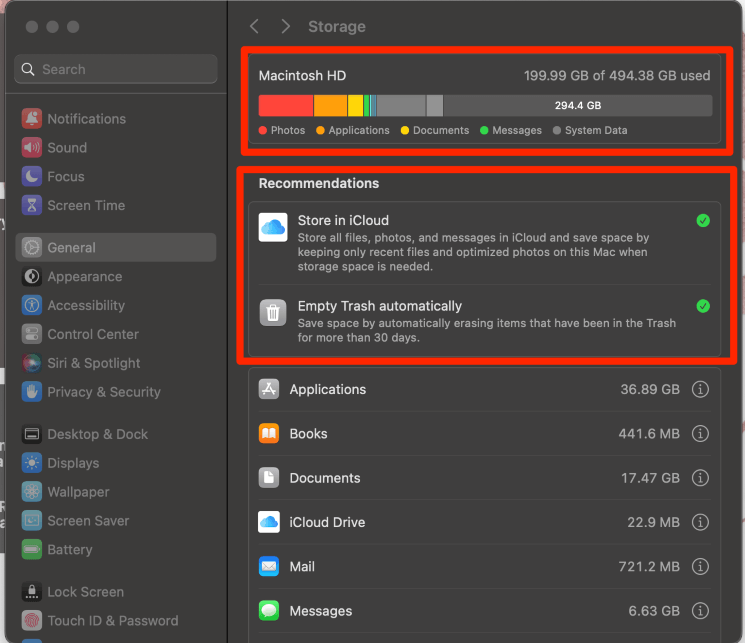
Here, if your bar at the top is close to full, then you will want to consider looking at what specific items are taking up the most storage and deleting some unused items. Also, take a look at the recommendations provided and see if they can benefit you.
Personally, I would look for Applications that I never use (these can take up a large amount of storage!), I also always keep on “Store in iCloud”. This is because I am someone who keeps things like my text messages for YEARS.
With this turned on, only my most recent messages will be stored directly on my computer, everything else will be stored on iCloud. I also keep on Empty Trash automatically, because sometimes I forget to empty the trash. This way, it does it for me and optimizes my storage.
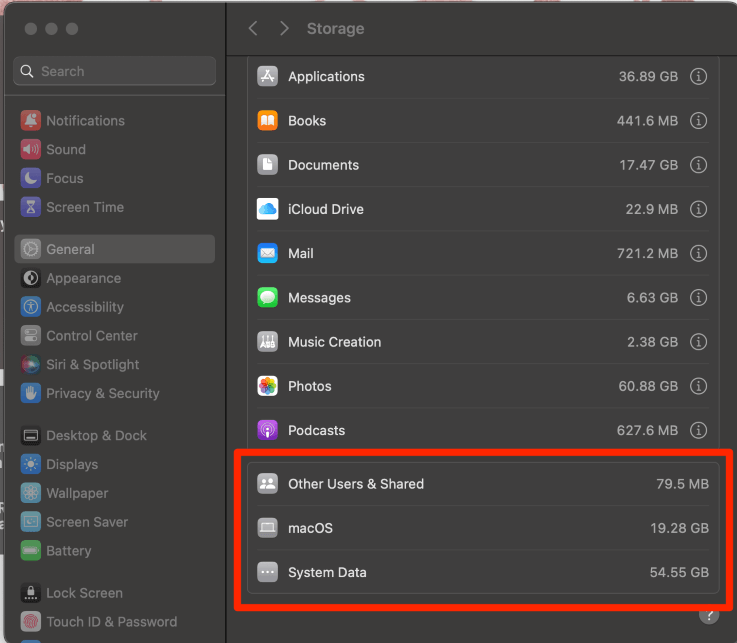
These items at the bottom of your storage page are useful for keeping an eye on how your system storage is used. As you can see, macOS Sonoma takes up 19.29GB of my storage, which can be significant for systems with less storage!
Read More: Best Mac Cleaner Software Fully Reviewed
Solution #3: Check Your RAM
Random Access Memory or RAM is the short-term memory that your Mac uses in order to keep up with being as fast as possible. However, with a brand new macOS update (and even more likely with a Beta software update), it is likely that not all applications that you are using have been optimized for the new macOS.
This means that they may not utilize your system’s resources efficiently and may appear to slow down the computer until they are updated. This is more likely with third-party applications, rather than ones that are maintained by Apple. So, if this is the case, we can quit those applications that are using high amounts of RAM.
To do this, take the following steps:
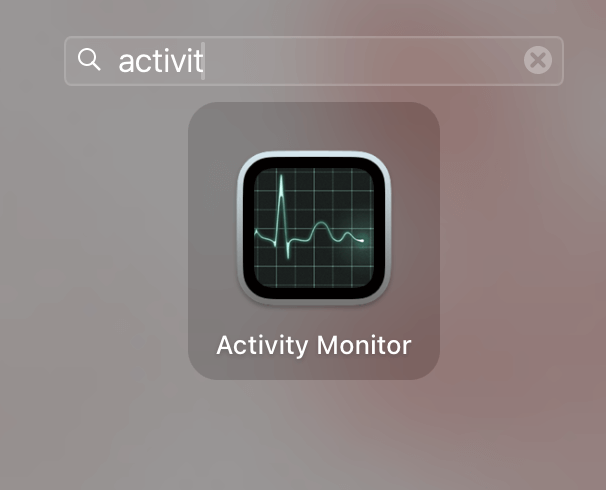
Open Activity Monitor by searching in your Applications.
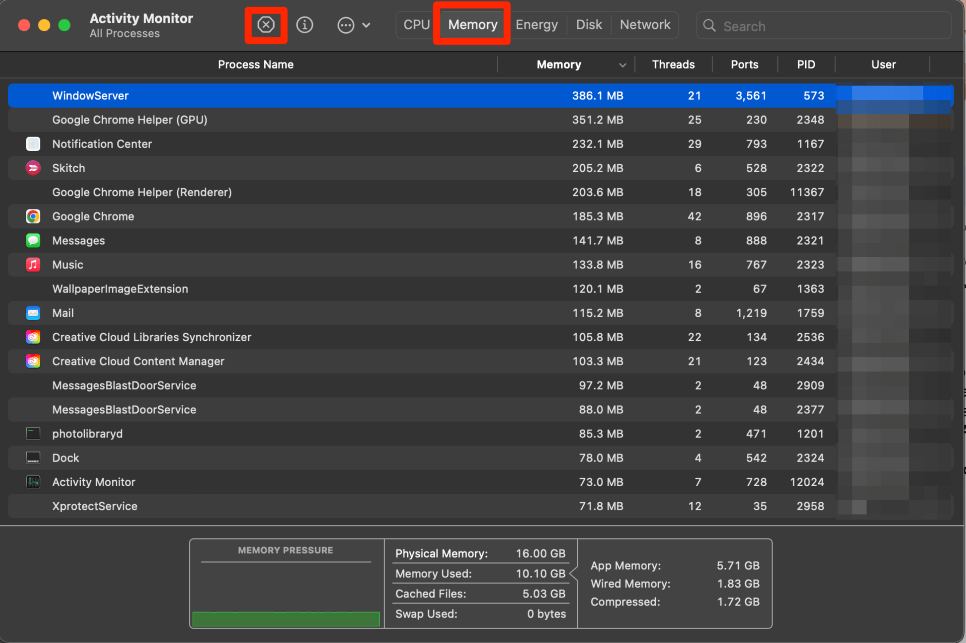
At the top, click the memory tab. Evaluate whether any of the processes that are running are using a high amount of memory.
The Memory pressure monitor at the bottom is helpful for this as it will show you if the pressure on the memory is too high. If you need to quit any application because it is utilizing too much memory (or simply just want to quit it), use the X at the top left of the screen.
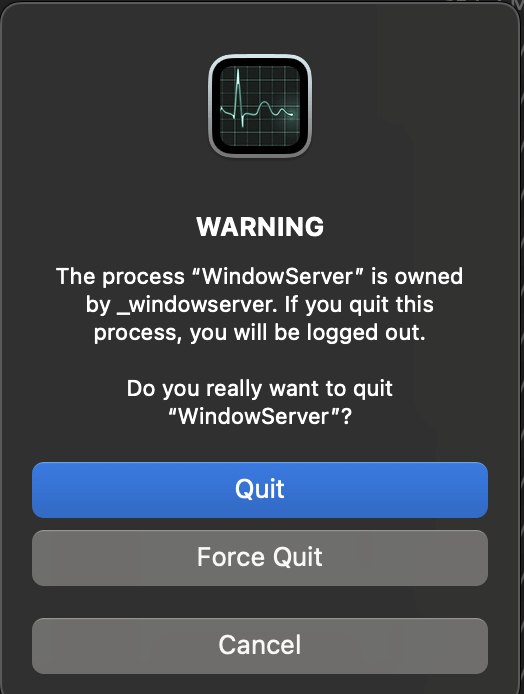
If you quit anything, you will then be asked to click Quit or Force Quit to confirm.
Also Read: 6 Ways to Free up RAM on Mac & Reduce Memory Usage
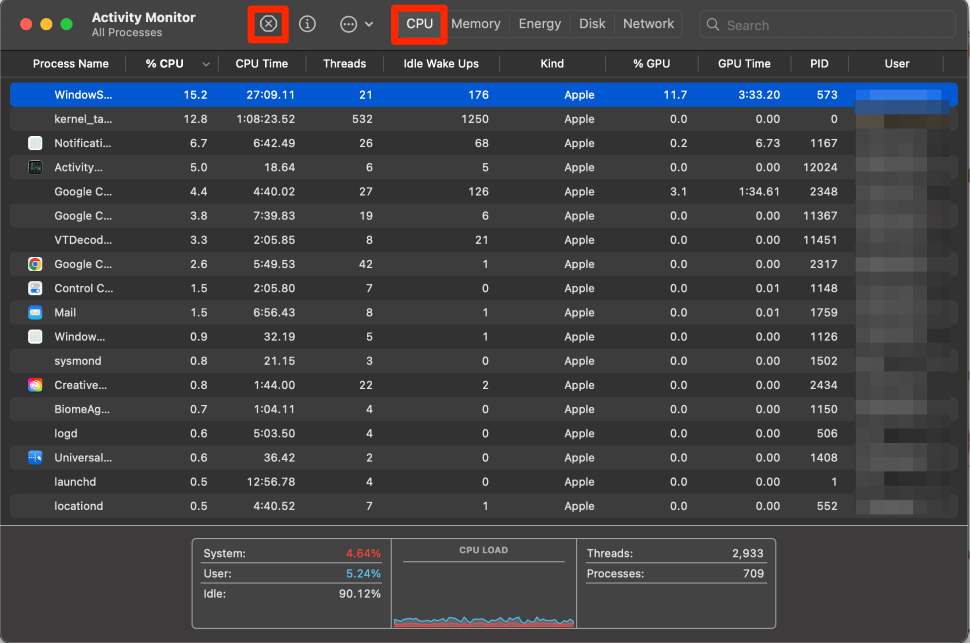
Solution #4: Check CPU Usage
Sometimes, with a new update, when applications are not yet optimized for the new software, they can use more CPU resources than usual. This can slow down your computer as your CPU is working harder to do specific tasks.
If this is the case, you want to quit those applications and either restart them to try again or wait until they are ready for the new macOS. This is done the same way as with RAM, but using the CPU tab instead. Take the following steps:
Open Activity Monitor.
Use the CPU Tab and the same X button to quit any items that appear to be taking up too much CPU. Once again, the CPU Load chart at the bottom will be very helpful to let you know when your CPU Usage is getting too high.
Solution #5: Remove Unnecessary Login Items
Another item that may slow down your Mac when you update your computer is the login items. If you choose to have an application open when you log in that is not yet optimized for macOS Sonoma, then you may want to remove them from this process. To do that, take the following steps:
Open System Settings from the Apple Menu.
On the left, navigate to General and Choose Login Items.
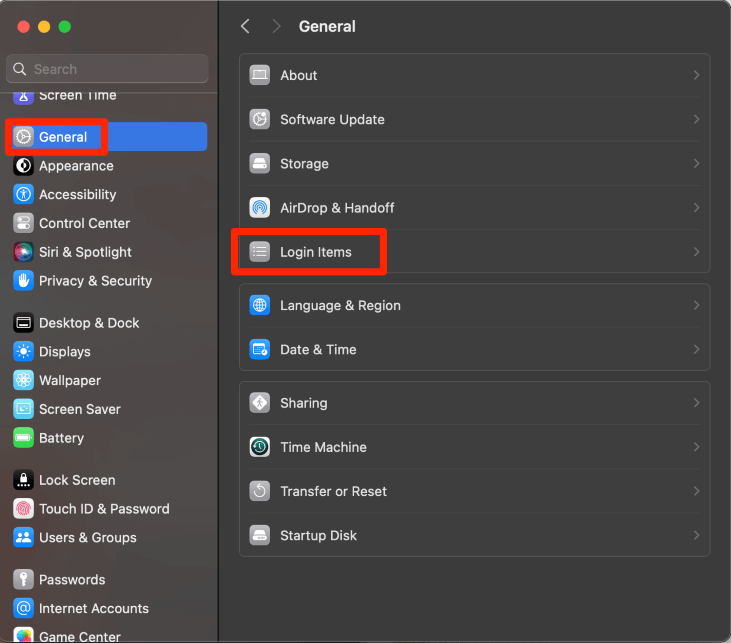
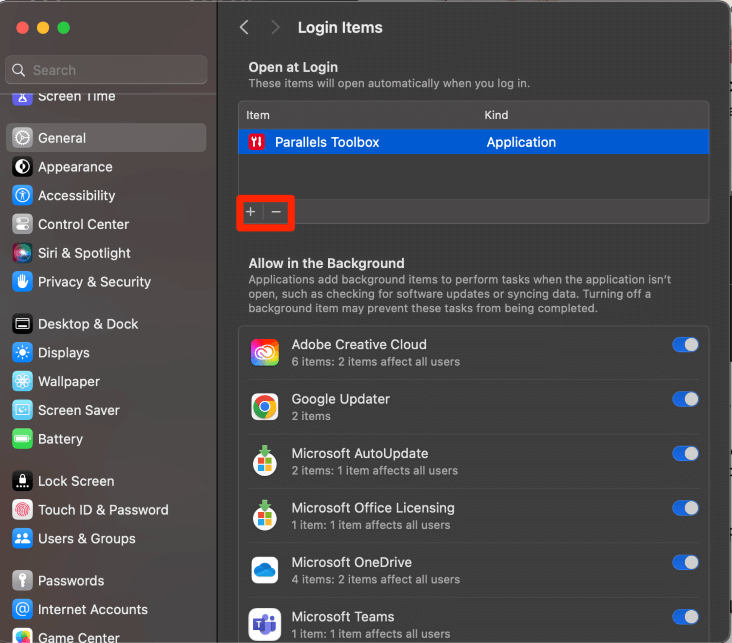
Use the + and – buttons to add and remove items that will automatically open when you log in.
Solution #6: Reinstall macOS
If your Mac is still slow after attempting these fixes, you may need to reinstall your operating system to alleviate the problem. This is a last resort and may erase some critical data. So, back up your files before you get started.
First, we need to start in macOS Recovery. The process for reaching macOS Recovery in Apple Silicon Macs is slightly different than in an Intel Mac.
For an Apple Silicon Mac:
Press and hold the power button, your Mac will restart. Continue to hold the power button until options are shown.
Click options and continue. If you are asked to log in, select a user and enter the password. Please note that this user will need to be an admin.
For an Intel Mac:
With your Mac off, Press the power button to turn it on. When you release the power button, immediately press and hold the Command and R keys. You will see the Apple logo or a spinning globe.
If you are asked to log in, select a user and enter the password. Please note that this user will need to be an admin.
From here on, the instructions are the same for both Apple Silicon and Intel Macs.
- You should now see the option to Reinstall macOS. Click continue and follow the instructions.
- Allow the installation to complete uninterrupted without putting the Mac to sleep or closing the lid.
- Use setup assistant if necessary.
Final Thoughts
Getting a new macOS is always exciting! Sometimes, it can feel almost like you got a brand-new Mac! However, sometimes, we get unexpected problems, such as our Macs slowing down when we install the new macOS.
Did this article help you? Were you able to get your Mac back up to speed? Let us know in the comments below!