
You can make a pattern out of any vector, jpeg, or digital artwork in Photoshop. Go to Edit > Define Pattern. If you want to preview your pattern, you can go to View > Pattern Preview.
In this article, I’ll show you how to create a pattern from scratch and convert it into a pattern in Photoshop. I’ll be using a combination of vector shapes.
Table of Contents
Key Takeaways
- Go to View > Pattern Preview to make changes and see how your finished pattern will look.
- It’s recommended to have a high-resolution image if you want to convert an image into a pattern.
- To create a pattern without a background, simply unlock the background layer and delete it.
Without further ado, let’s get started on this tutorial.
How to Design a Pattern in Photoshop
I’m going to use vector shapes to create a Pegasus.
Step 1: Create a new file. I like to work with a large square shape with a high resolution, but you can set the pixel size and resolution to whatever you want. The color mode should be RGB, but if you’re going to print this, you should set the color mode to CMYK.
Step 2: I’m using the Pen tool to create the shape of the Pegasus head and right-click on it to define it as a custom shape. Name it whatever you want. You can also change the color of the fill and stroke at the top of the page.
Step 3: It may be better to have different parts of your shape on separate layers that you can turn into a smart object later. Start your next shape with the Pen tool.
As you can see here, I am using another cartoon as a guide for my shape. Use the Direct Selection tool to adjust the path of your shape.

Here’s what I have, and how I organized the shapes so far. Next, I’m going to use the Pen tool to create wings and other details.
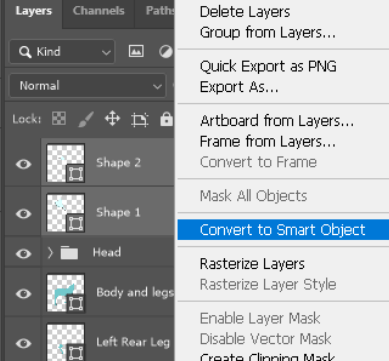
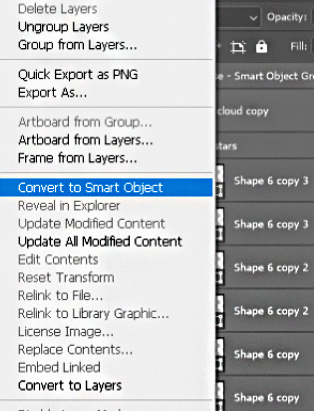
Step 4: For multiple shapes that you want to keep together, select them both and right-click to go to Convert to Smart Object.
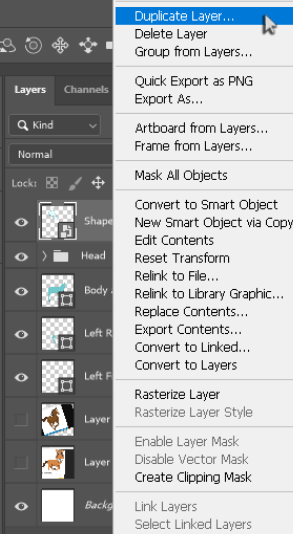
Step 5: I’m going to right-click on the Smart Object to Duplicate it. With it selected, you can also press Ctrl/Command + C to copy and Ctrl/Command + V to paste. Then use Ctrl/Command + T to scale and rotate the 2nd wing from the corners.
Double-click here to edit a Smart Object in its own file. Simply go to Edit > Save on that file to update this original one.
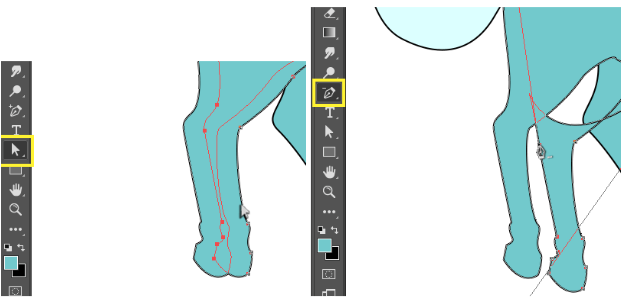
Step 6: Use the Direct Selection tool, press Alt, and click and drag on a shape’s path. This will duplicate it, and then you can use the Pen tool to delete any copied points you don’t need. I’m doing this to create the darkened horse hooves.
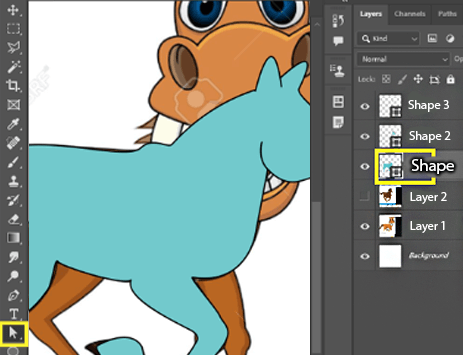
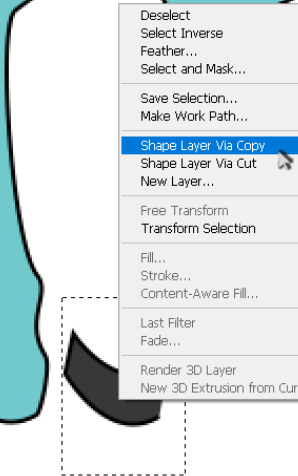
Step 7: To change the color of this small hoof shape and get it on its own layer, I had to select it with a selection tool and right-click inside to go to Shape Layer Via Copy. Then I was also able to move and scale it as needed.
Now that my design is done, let’s see what it looks like when we turn it into a pattern.
How to Turn Design into a Pattern in Photoshop
Here are the steps to create a pattern in Photoshop.
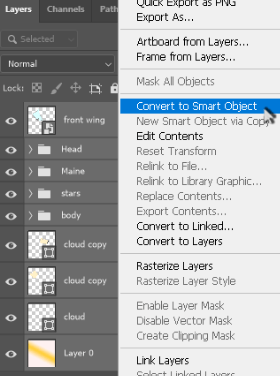
Step 1: Turn your layers/shapes into a Smart Object. Remember, you can always double-click on the thumbnail to edit the contents of your smart object, just remember to save that file to see updates to the original file.
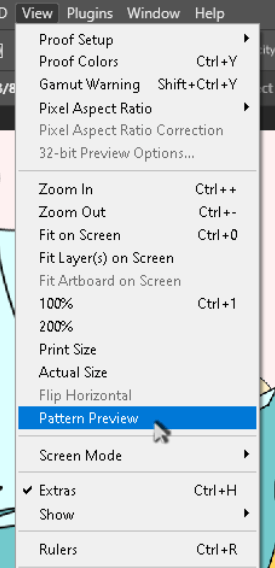
Step 2: Go to View > Pattern Preview.

Step 3: Now you can see any changes you make to your pattern as it would affect the overall look. I’m going to get rid of the gradient.

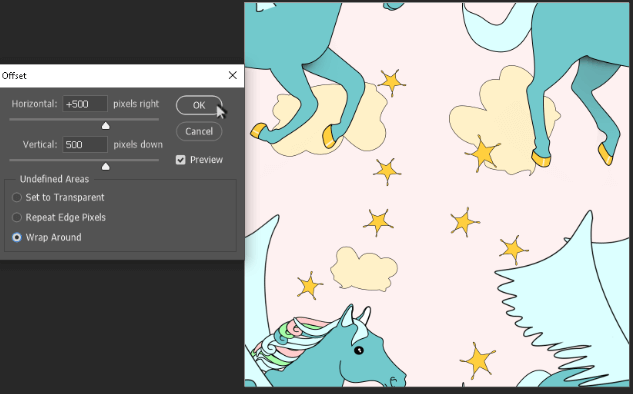
Step 4: You can also go to Filter > Other > Offset to change the position of your design. Offset it by half the width and height of your canvas pixel size.
Then, you can add another shape or object in the middle of it.
Step 5: I’m going to create a new Smart Object with the middle filled in. This includes my original Smart Object pegasus.

Here is my final pattern.
How to Save a Pattern in Photoshop
If you want to keep the pattern and use it for other files, you can save it to your Patterns panel.
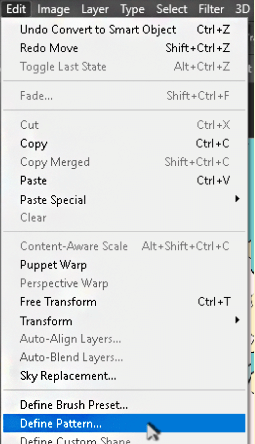
Step 1: Go to Edit > Define Pattern.

Step 2: Go to Window > Patterns and you’ll see your new pattern. To use it in a new/future document, click on the small yellow box to add a mask. This turns your background layer into Layer 0 with two white, linked thumbnails.
Then, click and drag the pattern to the linked box. A Pattern Fill will appear above, and you can double-click in the yellow box to change how the pattern repeats.
Final Thoughts
Photoshop is a professional design program that is worth taking the time to learn and practice. By creating your own pattern and vector shapes, you’ve learned how to use several tools that will make your future projects even better.
Do you have any tips for other artists or graphic designers? Let me know in the comments below.