
Merging layers in Procreate is a common and crucial part of the design process, it’s also as easy as snapping your fingers! All you need is the Procreate app open on your device and your two fingers.
I’m Carolyn Murphy and my digital illustration business relies heavily on my extensive knowledge of the Procreate program. I’ve spent the last 3+ years learning the ins and outs of Procreate to further enhance my skills and designs. And today, I’m going to share a snippet of that with you.
In this article, I’m going to provide you with a clear and simple step-by-step guide on how to merge your layers in Procreate, and why you should do it!
Table of Contents
What is a Layer in Procreate?
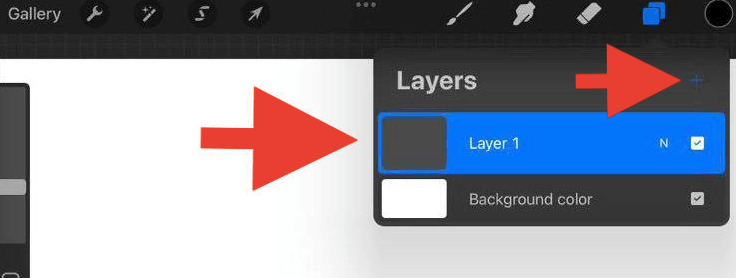
When you start a new project in Procreate, also known as a canvas, it automatically creates a blank layer (labeled as Layer 1 in the screenshot below) for you to get started with. It’s visible by clicking the icon in the top right corner that looks like two square shapes on top of each other, to the left of the ‘Colors’ wheel.
If you want to add another layer, simply press the + icon to the right of the word Layers.
Why Merge Layers in Procreate?
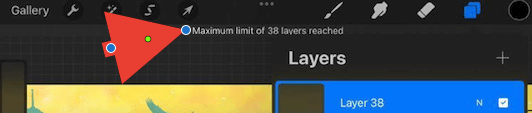
Procreate has a limit to the number of layers you can use in each canvas. This all depends on the dimensions of your Canvas.
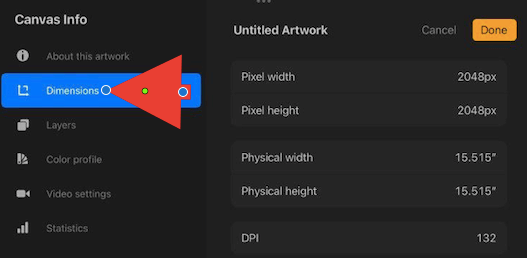
For example, if your Canvas dimensions are 2048 x 2048 px with a DPI value of 132, the maximum number of layers you can create in the canvas is 60. Sounds like a lot right?
Well, you can create multiple layers quicker than you think and before you know it, Procreate is saying no more! This is when merging your layers can become essential.
How to Merge Layers in Procreate
In order to merge two or more layers together, they must be located side by side, or on top of each other in the Layers drop-down menu. So the first thing you should do is reposition the layers.
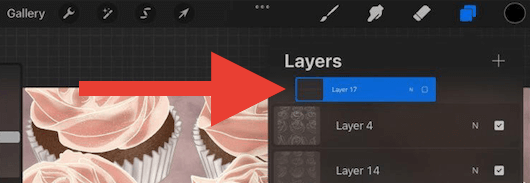
Step 1: Repositioning layers
To move a layer on top of another layer, simply use your finger to press on the layer you want to move. Once you hold your finger on it for 2 seconds, it is now selected and you can drag it to the location of your choice.
When positioning your layers, the value of each layer will ‘sit’ on top of the layer it is positioned on.
For example, if you have a layer that you are using as a background, ensure you position that layer on the ‘bottom’ of the selection of layers you wish to merge. If you position it on ‘top’ it will block or cover up all of the layers underneath it.
Step 2: Selecting and merging layers
Here you have two options, you can merge two layers or more layers, and the methods are slightly different.
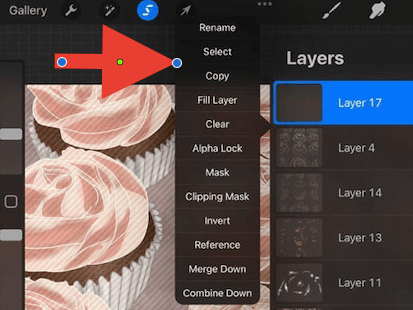
If you want to merge two layers in Procreate, simply tap on the layer you wish to merge with the layer below it. A list of selections will pop up to the left, and select Merge Down.
If you want to merge multiple layers, use your index finger on the top layer and your thumb on the bottom layer, swiftly make a pinching motion with your fingers and then release them. And bingo! Your selected layers have now become one.
Quick Tip: Ensure your layers are on Alpha Lock to ensure the value of each layer that you combine remains the same.
What if you merged the wrong layers? No worries, there’s a quick solution.
How to Unmerge Layers in Procreate
The app creators have created a quick and easy way to fix any and all mistakes. Undoing the last step is always a good try.
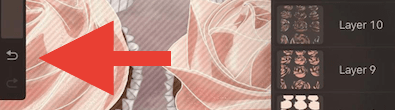
Simply use two fingers to double tap on your canvas, and this will undo your last action. Or you can click on the backward arrow on the left-hand side of your canvas to undo your last action.
Quick Tip: Use either of the two ‘undo’ methods listed above more than once to continue undoing actions you have taken.
Conclusion
There you have it, a look into one of the many creative and useful functions of the Procreate program that allow you to gain full control of your own design.
You can now freely move your combined layer, duplicate it, adjust the size or even copy and paste the layer into a new canvas. The possibilities are endless!
If you found this article helpful or have any questions or feedback, please feel free to leave a comment below so we can continue to learn and grow as a design community.