
Are you looking for a more stylistic approach to creating a banner, or perhaps just need to isolate an image and outline it for a project? There are so many creative scenarios where we can utilize a skill like outlining or creating multiple outlines for design.
Well, look no further, because Photoshop has all the tools you’d ever need to create those designs. My name is Skyler, I currently work as a freelance sequential artist while attending my last year at the Savannah College of Art and Design and I’ll be showing you how to outline an image properly.
Outlining in Photoshop is very efficient, and clean-cut. Unlike using traditional glue and scissors, we won’t make a mess along the way! Instead, we’ll be using Photoshop’s classic Quick Selection and Marquee Tools, so we won’t have to worry about any cleanup.
Table of Contents
Step 1: Make a Selection Using the Quick Selection Tool
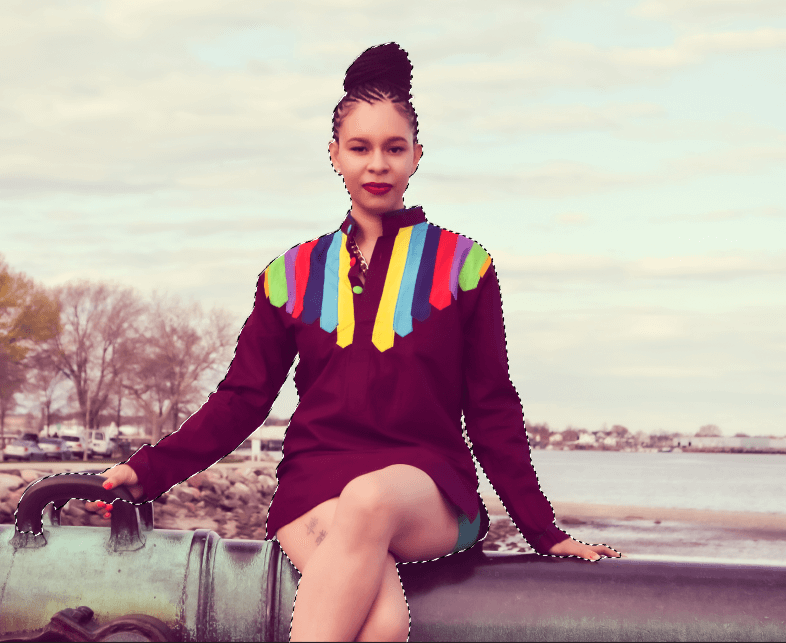
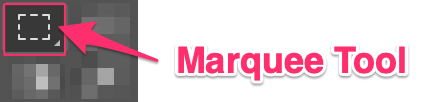
To reach your Quick Selection Tool, you’ll have to either find the correct icon in the tools panel and make your selection – or you can navigate to Select > Subject and have Photoshop identify the selection in the foreground for you.

Once the tool has selected your image, you can fine-tune it to meet your needs. Just go back to Select > Modify > Smooth and set your Sample Radius to 10px.
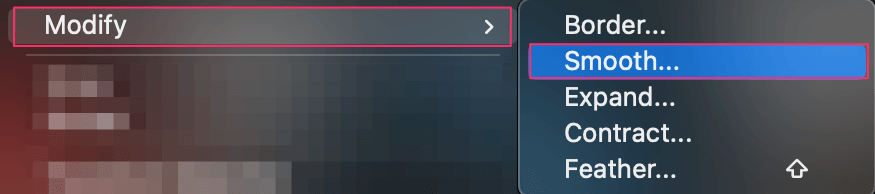
This function will serve to literally smooth out any rough edges or obvious misselections the quick selection tool might’ve made!
Great! Once this is done, we can move on to the Marquee Tool to outline this selection.
Step 2: Outline the Selection Using the Marquee Tool
Our Marquee tools will do all the rest of the heavy lifting for us. All we have to do is press Command/Ctrl + Shift + N on your keyboard to copy and paste your selection into a new layer and name it appropriately.
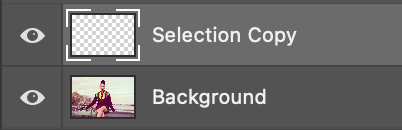
All you have to do next is press Command/Ctrl + Shift + N on your keyboard so you can copy and paste your selection into a new layer, Make sure to name it appropriately. Once you have your new layer, we can move on.
Now we’re going to find the Marquee Tool, the Rectangle in particular for this case. Right-click inside your new layer on the canvas, and choose the Stroke option from the menu.
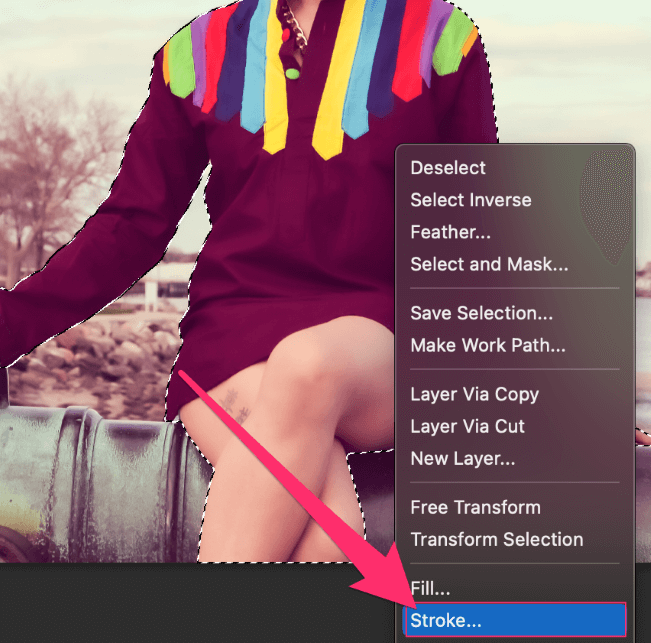
This will reveal a new menu, where we can change the Thickness, Color, and Location of our Outline.
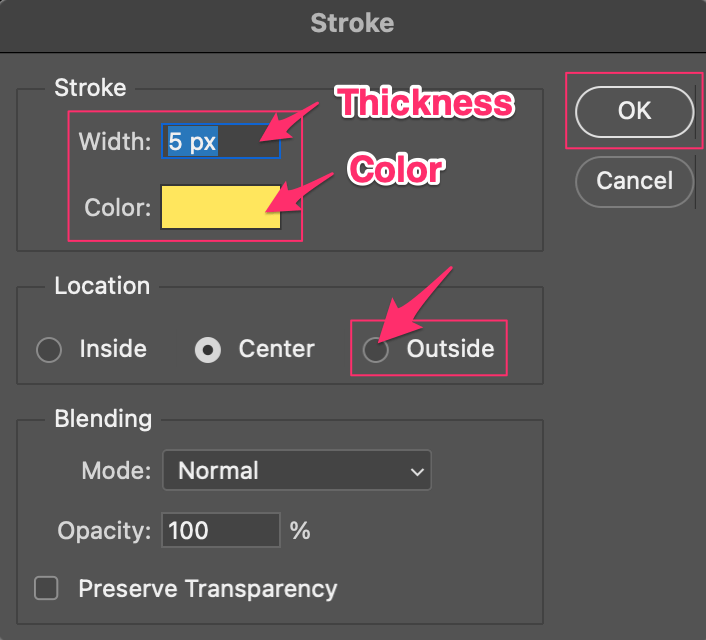
I’m going with a bold complimentary color at 15px so you can see my outline more easily, and then I’m going to choose Outside in the Location Tab so you can actually see the line I’ll create here.
Feel free to choose your own color, thickness, and even opacity if desired. Once you’re done, click OK.
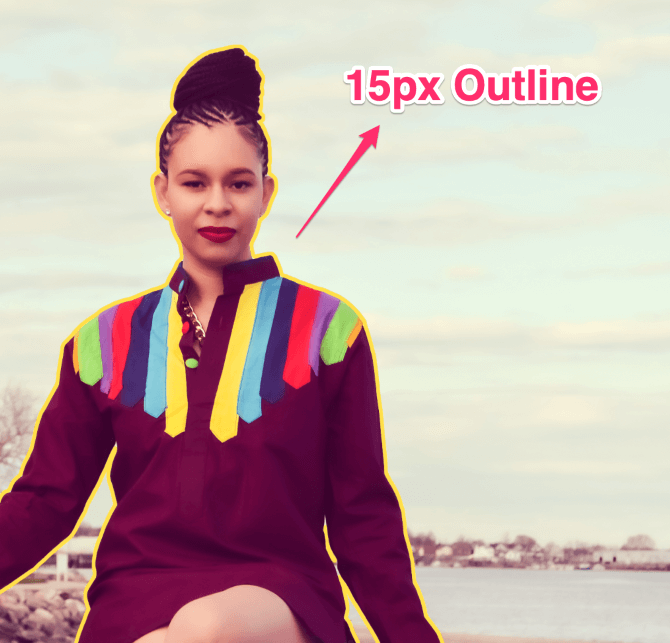
Voila! You’ve made your first proper outline in Photoshop.
You can repeat this process as many times as you’d like, and overlap or duplicate and increase your outlines for more design inspiration and creative fun!
Beyond Outlining Images
Want to take things a step further? Perhaps your design also calls for outlines that go beyond just images. Look no further, I’ve also gone ahead and included a tutorial where you can learn how to outline your text properly in Photoshop as well.
Conclusion
Congrats my friends, you’re well on your way to scrapbooking or poster-making glory! There are limitless design possibilities when it comes to using this particular tool, so don’t sleep on learning this new skill.
I’m sure you’ll be taking your illustrations, photographs, and general creativity to the next level with these techniques in your tool belt. Happy designing!