
Learning how to use the Patch Tool in Photoshop is a choice you won’t regret! It was designed to retouch your photos and allow for the ability to remove or replicate parts of your image flawlessly.
My name is Skyler. In this tutorial, I’ll show you how to remove and replicate using the Patch Tool in Photoshop.
There’s an endless list of potential uses for the Patch Tool. You’ll not only be learning how to remove unwanted objects or blemishes in Photoshop without worrying about damaging your image, but you’ll also be able to replicate and insert selections from your image seamlessly!
Table of Contents
Using the Patch Tool to Remove Selections
The first step we should take before selecting the Patch Tool in Photoshop is to Unlock the Layer you want to retouch. This can be done by clicking the Lock Icon next to your Layer in the Layers Panel.

Once this is done, you’ll want to ensure you don’t do any harm to your original image or design. This means we’ll have to Duplicate the desired layer so we can edit with the original image still intact – better safe than sorry!
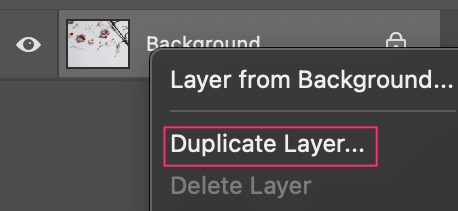
Step 1: Navigate to Layer > Duplicate Layer in the Photoshop menu. You can also accomplish this by right-clicking on your layer and choosing Duplicate Layer from the menu.
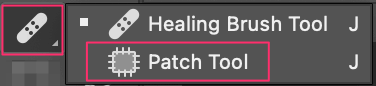
Step 2: Choose the Patch Tool from the toolbar. The Patch Tool is most commonly found under the Healing Brush Tool.
Once you’ve selected the Patch Tool, you can move right along to making your selections.
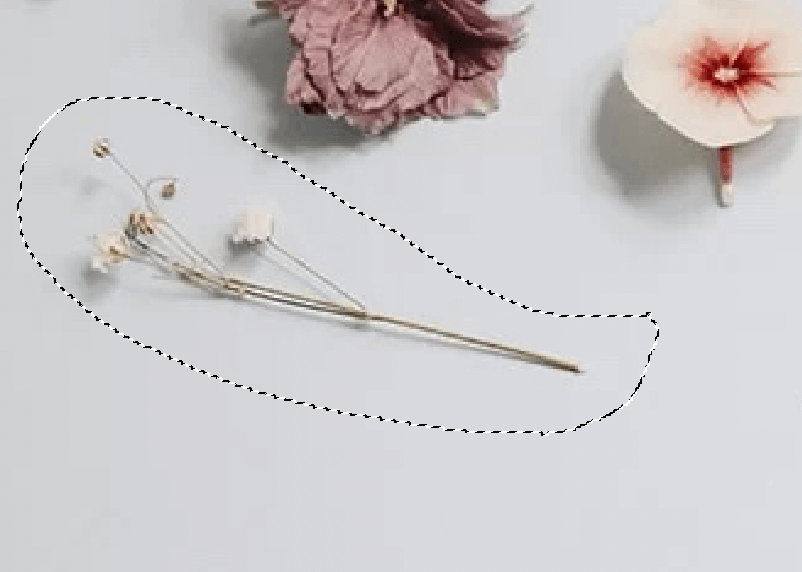
Step 3: Make a selection. When using the Patch Tool to remove blemishes or unwanted objects, you’ll want to make sure the Source button in the overhead menu is enabled, and the Patch Mode is set to Normal.

Great! Now you can make your selection. It doesn’t have to be exact, just draw around the object or blemish to the best of your ability!
Step 4: Drag and Drop. This is the fun part.
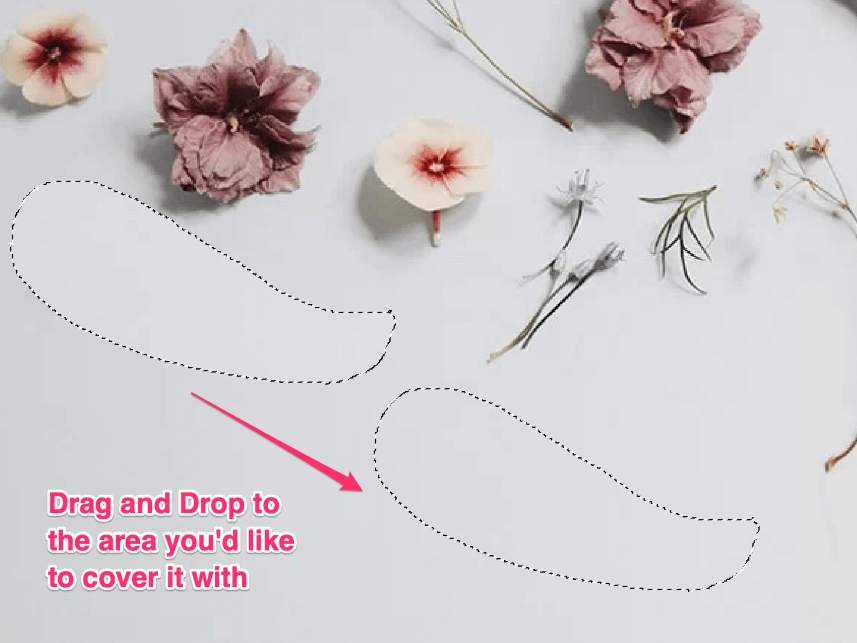
All you have to do is hover your cursor over your initial selection and when ready, drag and drop it to the area you’d like to cover it with.

Crazy cool! It’s like it was never there.
How to Replicate Selections Using the Patch Tool
Before using the Patch Tool in Photoshop, make sure to Unlock the Layer you want to retouch.
Step 1: Unlock and duplicate the background layer.
Once this is done, you’ll want to ensure you don’t do any harm to your original image or design. This means we’ll have to Duplicate the desired layer so we can work non-destructively.
To do this, you can navigate to Layer b Duplicate Layer in the Photoshop menu. You can also accomplish this by right-clicking on your layer and choosing Duplicate Layer from the menu.
Step 2: Enabling the Patch Tool. The Patch Tool is most commonly found under the Healing Brush Tool.
Once you’ve selected the Patch Tool, you can move right along to making your selections.
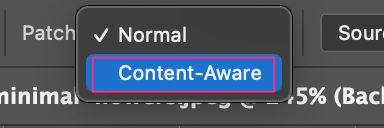
Step 3: Make your selection. When using the Patch Tool to replicate blemishes or unwanted objects, you’ll want to make sure the Patch Mode is set to Content-Aware.
Great! Now you can make your selection. Remember It doesn’t have to be super exact, just draw around the object or blemish to the best of your ability!
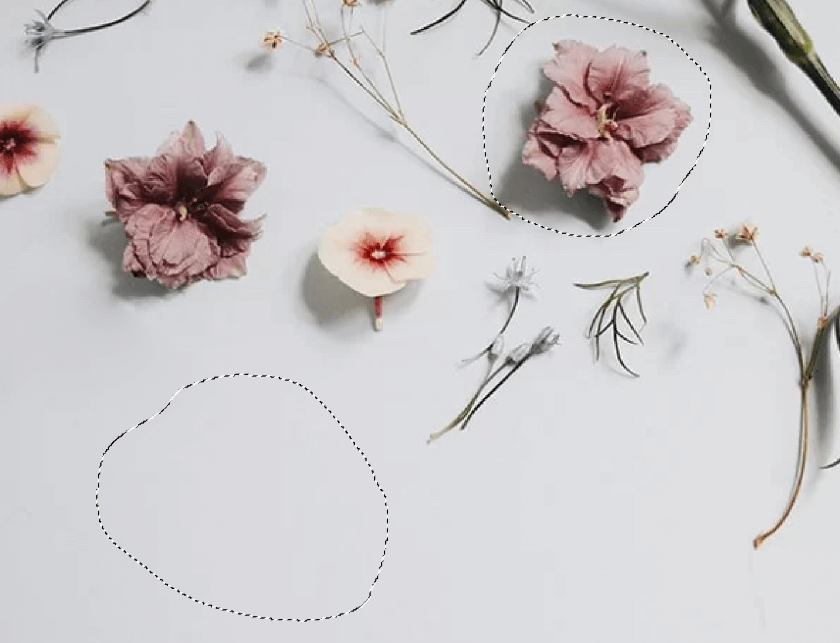
Now, you have one extra step when replicating. You also have to make an additional selection in the location where you desire your object to be replicated.
Step 4: Drag and drop. All you have to do now is hover your cursor over the location you want your image to be replicated and when ready, drag and drop it to the object you’re replicating.
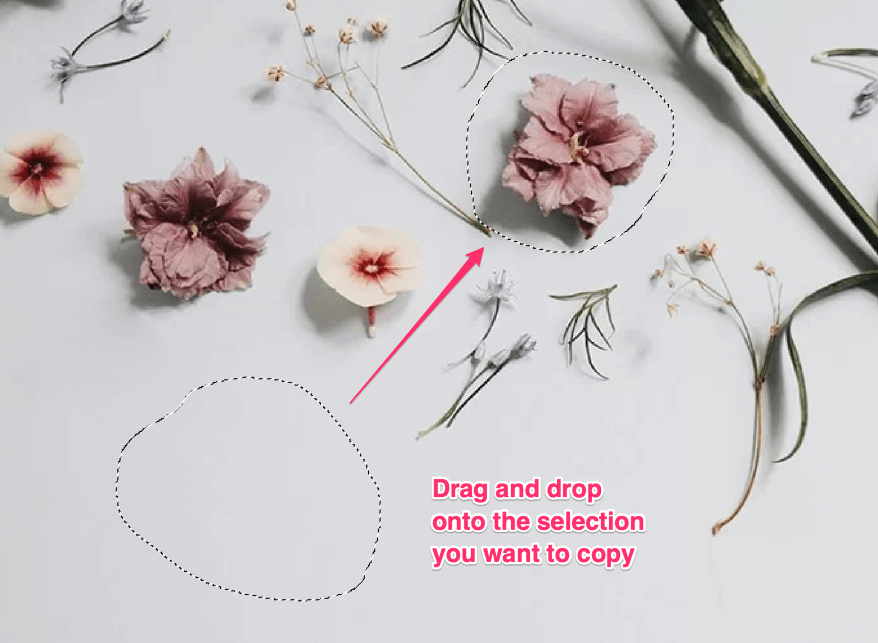
It’s essentially the same process you’d use to remove an object but in reverse.

Look at that! The Patch Tool in Photoshop is super powerful.
Conclusion
Having the ability to replicate and remove objects as though they were, or weren’t even there from the start sounds like magic! Yet, that’s what the Patch Tool in Photoshop provides us with the ability to do.
So, what will you do with these newfound powers?