
Have you ever captured an amazing photo, only to later realize the glare ruins your portrait shot? Well, lucky for you this tutorial will walk you through how to fix this issue with ease in Adobe Photoshop!
My name is Skyler. In this tutorial, I’ll show you how to remove glass glare in Photoshop realistically and expertly.
So how exactly do you remove the glasses glare from your photos? Well, first we’ll need to utilize a few of Photoshop’s tools to get the job done. Then we can begin removing the color cast, selecting the glare, adjusting the levels, and fine-tuning to remove your glass’s glare!
If this sounds like something you’re interested in learning, you’ll want to follow along below to learn how to utilize these tools for yourself!
Table of Contents
Step 1: Remove Color Cast
The first step to removing the color cast from your image is to create a New Layer. Open the Layers panel from the overhead menu Window > Layers.

You can either find the plus button at the bottom of your layers panel and click this to add a new layer, or just use the keyboard shortcut Command/Ctrl + N.
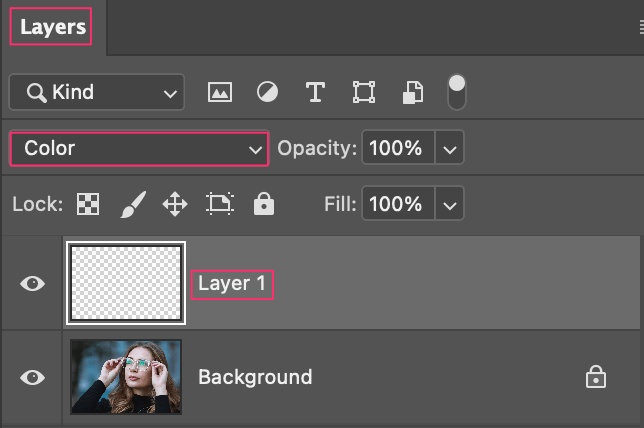
Then you’ll want to change the new layers Blend Mode from Normal to Color.
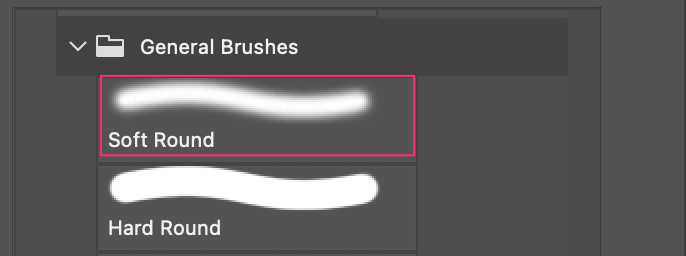
Once that’s done, go ahead and bring up your Brush Tool – specifically with the Soft Round brush enabled.
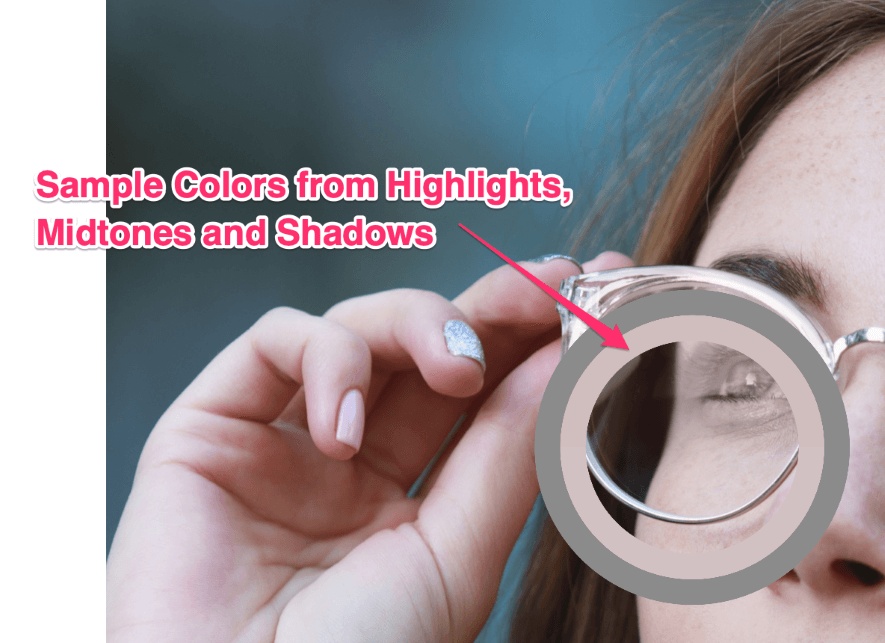
Finally, sample some colors from the skin’s highlights, midtones, and shadows. You can use these sample colors to paint on your New Layer with the Blend Mode set to Color. You’ll want to brush over the color cast on both glasses lenses.
Step 2: Select the Glare
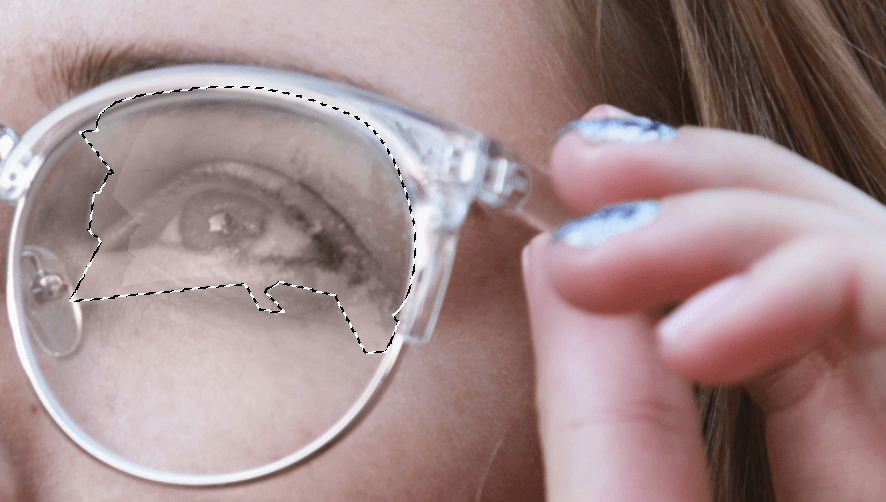
Job well done! Now, the next step involves using the Lasso Tool and the Polygonal Lasso Tool. You’ll use these tools to select the shape of the glare itself so we can later adjust the levels.
Now that you’ve selected your glare, you’ll need to create a new fill layer with your selection.
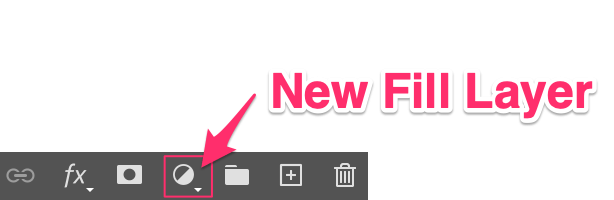
Click the New Fill Layer button, and then choose Levels from the drop-down menu. Now all that’s left is adjusting the exposure values.
Step 3: Adjust the Levels
When you add a new fill level layer, you’ll be able to edit it from the Properties Panel.
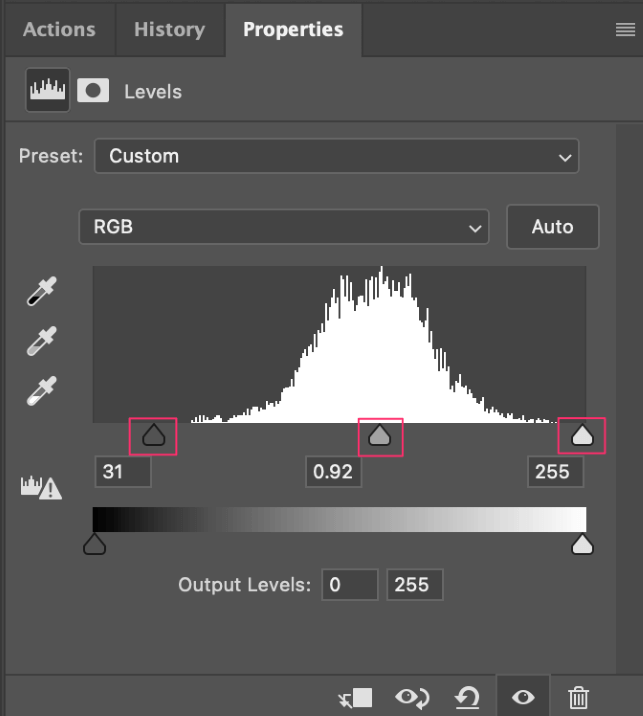
There are three handles we can adjust to try and perfect the exposure values. These handles represent the Shadows, Midtones, and Highlights. You’ll want to play with these until your glare begins to match the surrounding pixels in your image.
When you’re satisfied with your adjustments, you’re officially done!
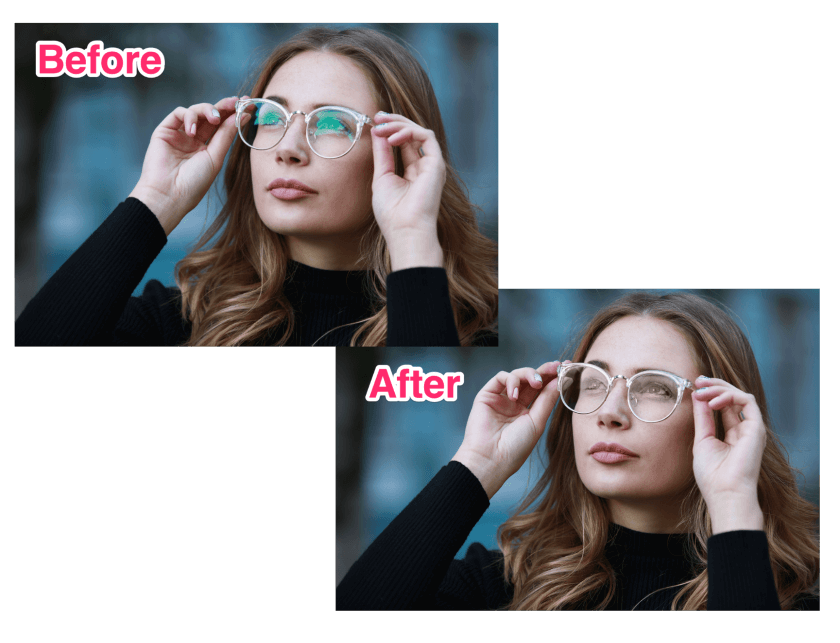
Go ahead and take a look! I’d say that did a stellar job of removing that pesky glasses glare.
Mastering Glare and Reflection Removal in Photos
Now if you want to take things a step further, you should look into removing the reflections or glares from other surfaces in Photoshop. This is an expert-level skill that comes in handy much more often than you’d think.
If you’re interested, go ahead and give this tutorial a watch! It goes over how to remove even seemingly impossible reflections like a professional.
Final Words
Now you don’t have to worry about those pesky glasses glares getting in the way of an amazing portrait shot! You’ve learned to utilize a few of Photoshop’s key tools to get the job done.
From removing the color cast, selecting the glare, adjusting the levels, and more, you’ve now got the skills to fix problematic shots like this with ease.