
Green screens are a commonly utilized tool in this digital age, and it’s worth understanding how to use them in different programs to incorporate backdrops and media effects! Of course, this means learning how to remove them correctly. So where do we start?
My name is Skyler, and I’ve been using Photoshop on a personal and professional level for well over a decade – and today I’ll be showing you how to remove a green screen backdrop in Adobe Photoshop!
Thankfully, Photoshop has all the tools we need to clean up and utilize green screens in just four easy steps! By using the Color Range Tool, Masking, and a Fill Layer, we can tackle just about any green screen with ease.
If this sounds like something you’d like to expand your knowledge on, be sure to read below!
Table of Contents
Step 1: Choose the Color Range
The first step in accomplishing the removal of green screens in Photoshop is to find the Color Range Tool.
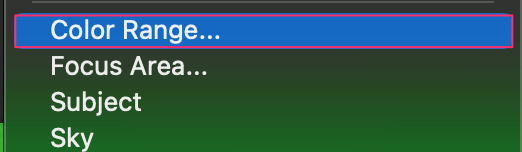
To do this, you’ll have to navigate to Select > Color Range and use the Eyedropper Tool to select the green background on your canvas.
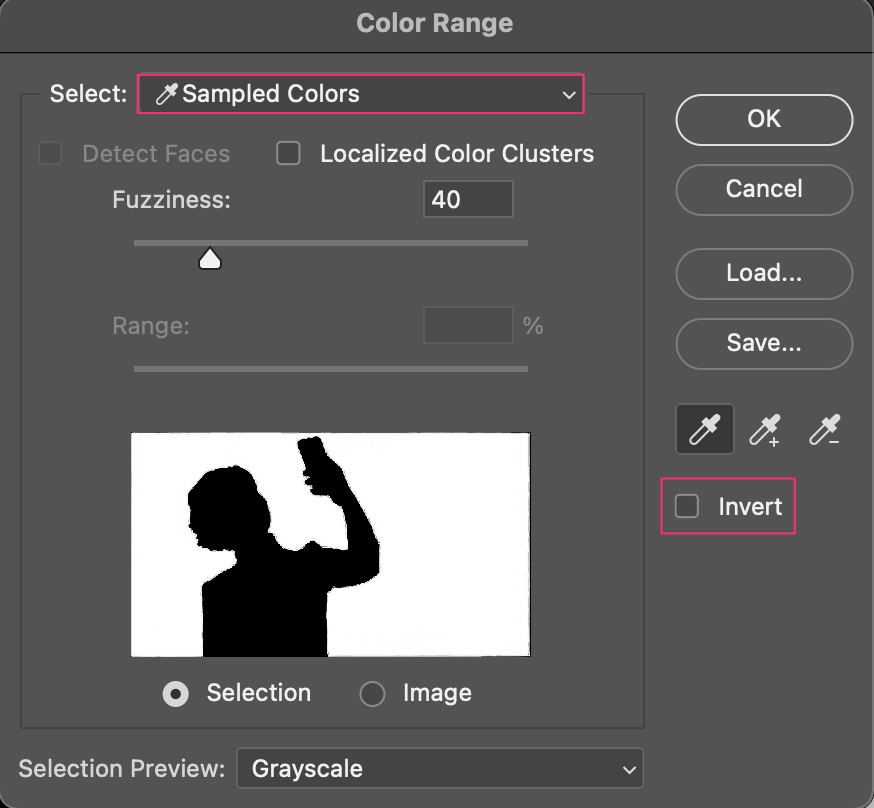
Once you’ve done this, your selection will look something similar to this. Make sure you’ve got the Invert box checked, and then press OK.

Fantastic! Now you’ve made your selection, and we can move on to masking the area.
Step 2: Select and Mask
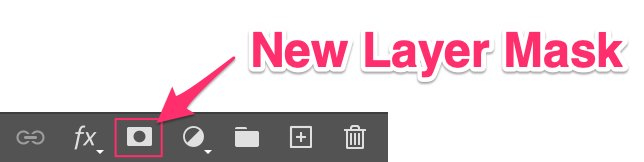
If you’re unfamiliar with the tool, you can find the New Layer Mask at the bottom of your Layers Panel.
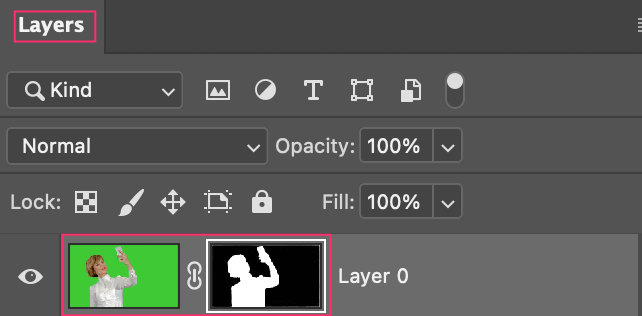
Click this, and you’ll transform your selection into a Layer Mask. Now your layer should look like this!
The next step is editing and refining this layer mask, so we’ll have to find the property panel and choose Select and Mask.
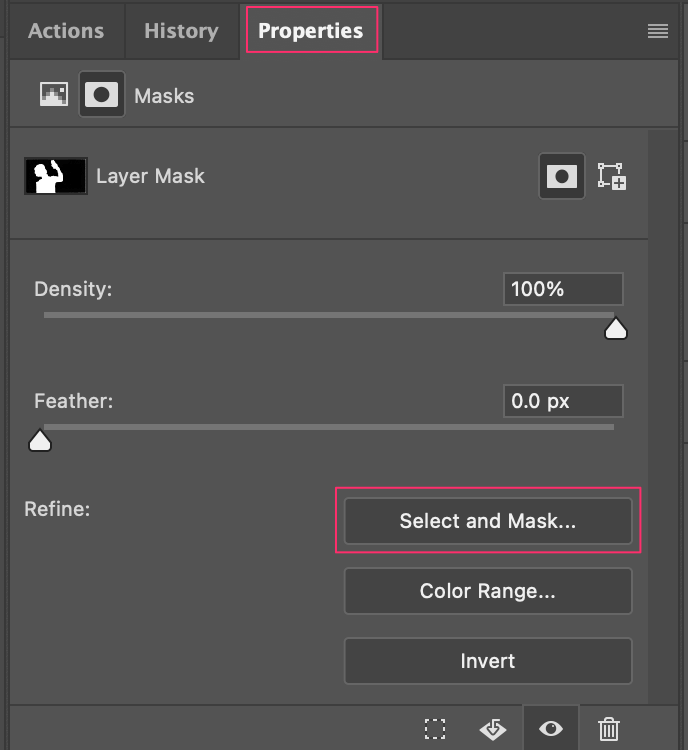
You can ignore the rest of the screen because we’ll be refining the mask further by opening up the full Select and Mask Menu instead.
Step 3: Refine your Selection
Once you have the Select and Mask Menu open, you’ll see the Global Refinements tab.
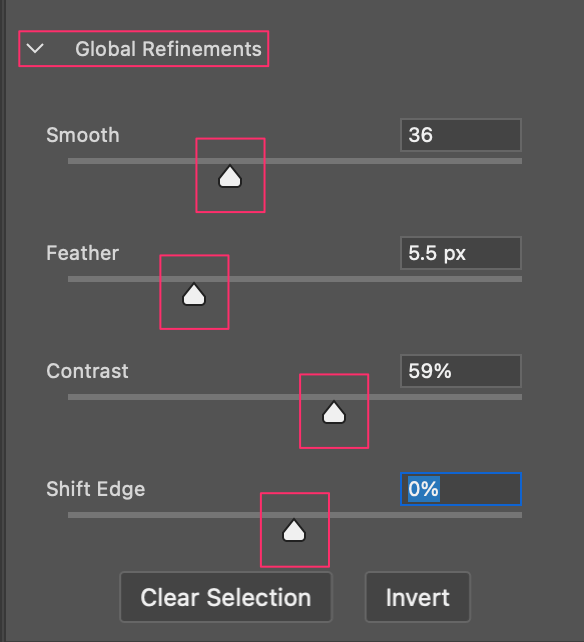
- Smooth: This will reduce the jagged edges and smooth out small imperfections.
- Feather: This function will blur your edges and eliminate harsh lines.
- Contrast: This will sharpen your mask’s edges.
- Shift Edge: This function contracts and expands your mask edges.
Use the slider tools to fine-tune your mask to your liking. Once you’re satisfied, all that’s left is to add the Hue and Saturation Fill Layer.
Step 4: Hue and Saturation Fill Layer
Last, but certainly not least! We can find the Hue and Saturation Fill Layer at the bottom of your layers panel.

Once you’ve selected Hue and Saturation from the dropdown, a new property menu will become available to you again!
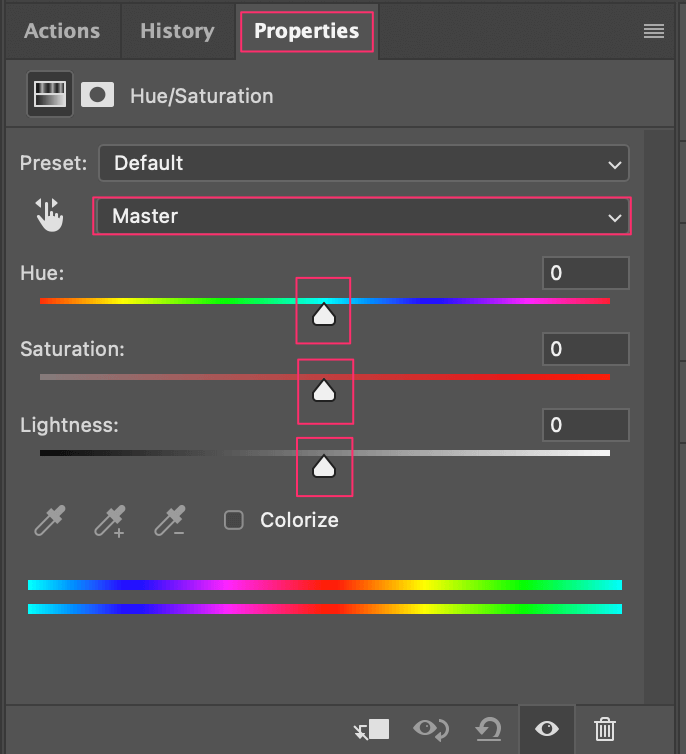
This layer will help us get rid of any remaining green screen by adjusting the hue, saturation, and lightness sliders appropriately. You’ll also want to change the Master dropdown to Green right off the bat.
Then, you’ll want to use the Saturation Slider to desaturate the greens until you’re satisfied. The same goes with Lightness, or adjusting the Hue to remove as much green as possible!
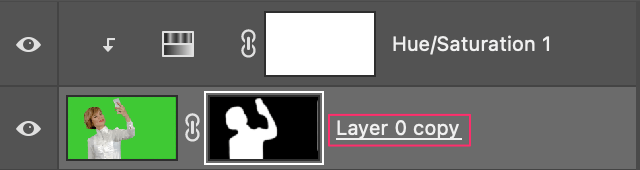
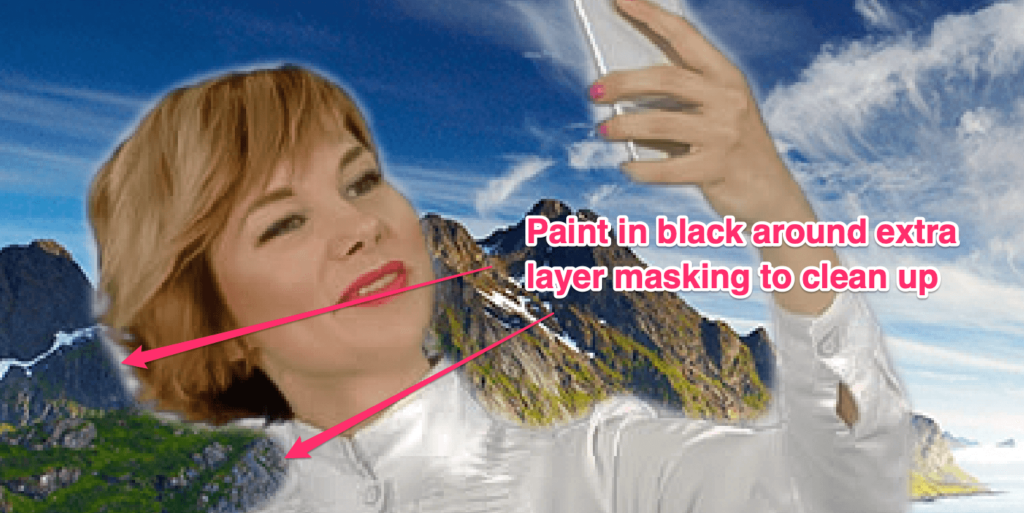
Now you’ll reselect the original Layer Mask, and use the classic Brush Tool to paint in black around the edges, removing the remaining glow from your mask.
Once you’ve cleaned up the final aspects of your masking, you’ll begin to see the whole thing come together! I used a basic backdrop with scenery for this example, but you can get super creative with green screen manipulations.
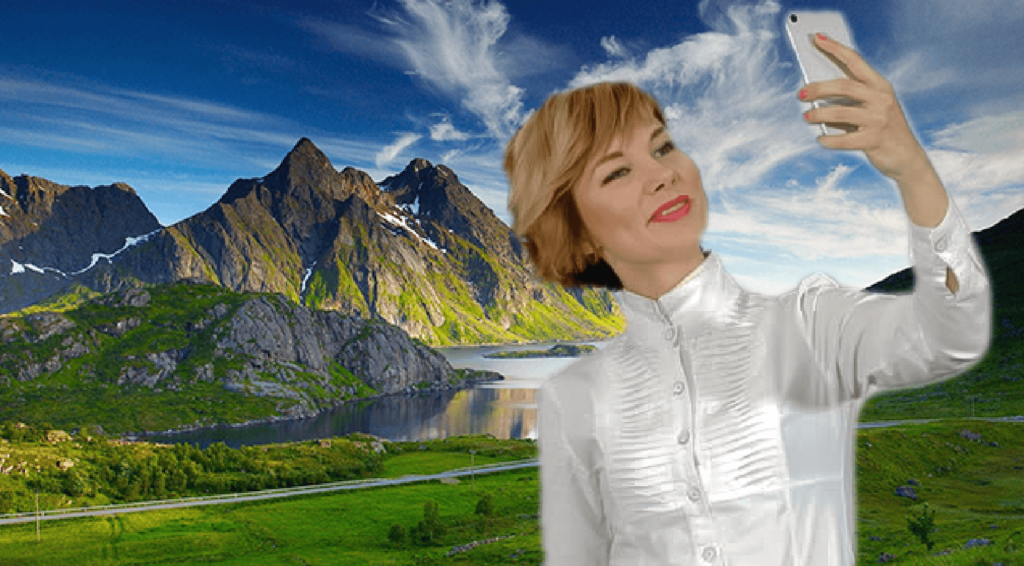
There we go! Not too bad for four easy steps, right?
Conclusion
It’s absolutely worth learning how to utilize green screens in different programs in this very digital age! Thankfully, Photoshop always has the tools we need to accomplish seemingly complex tasks with ease. By implementing the Color Range Tool, Masking, and a Fill Layer, you can now tackle just about any green screen with ease!