
When first learning how to properly export all your files in Photoshop, it can be intimidating to get right. For example – if you want to be able to keep editing your file after saving or exporting, you’ll need to take different steps than you normally would! Thankfully, saving a project as a PDF in Photoshop is pretty simple.
My name is Skyler, and today I’ll be showing you how to properly save your files as PDF in Photoshop.
In just a few simple steps, you’ll have learned to properly save and export your files as a PDF like a pro, with no need for extra software or special converters to help us get the job done!
So let’s go ahead and dive right into configuring your settings correctly before creating your new save file.
Table of Contents
The first mistake most people make is choosing Save instead of Save As for their projects in Photoshop. If you only hit Save then the program will automatically use the default settings, meaning it wouldn’t work if you wanted a PDF.
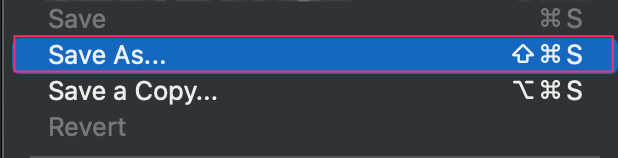
You’ll either have to navigate to File > Save As or bring up the Save As by pressing Shift + Ctrl/Command + S on your keyboard.
Step 2: Formatting
Once the Save As menu appears on your screen, you’ll have two options to consider.
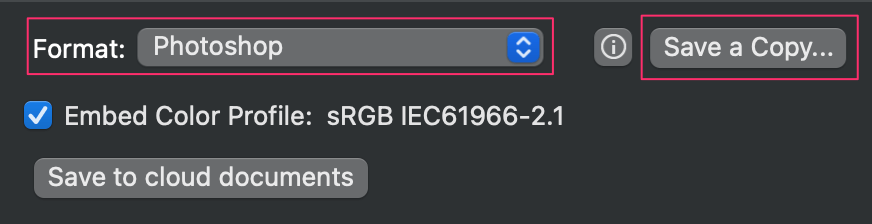
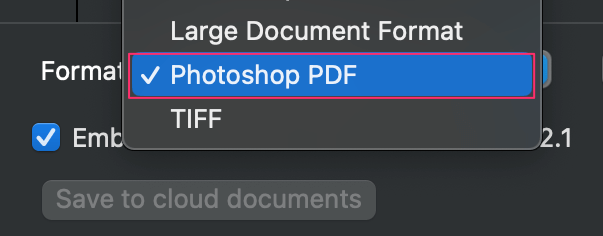
If you’d like the option to continue editing your original file in Photoshop, you’ll want to press Save a Copy. Alternatively, you can save your original file as a PDF by choosing Photoshop PDF from the Format Drop Down Menu on this screen.
Once you’ve chosen appropriately, you can click Save at the button on the menu screen.
Step 3: PDF Preset
When you hit Save, one last menu screen will pop up. This is where you can find your PDF presets.
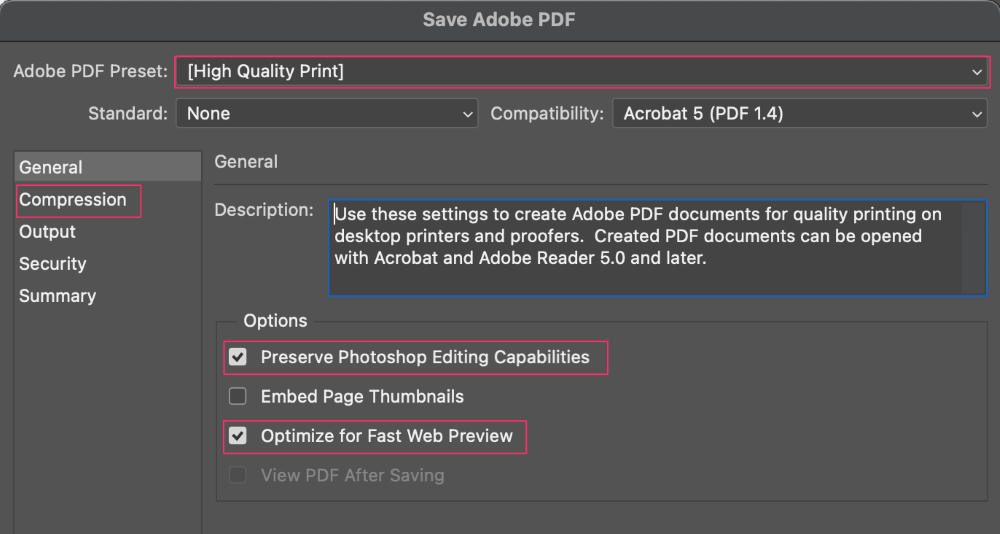
Under the Adobe PDF Preset dropdown menu, there are a few more options to choose from based on your intentions.
For example, if you’re looking to print this document at home, then you’ll want to choose the High Quality Print preset. On the other hand, If you’re looking to use this document for commercial purposes, then you’ll want to choose Press Quality.
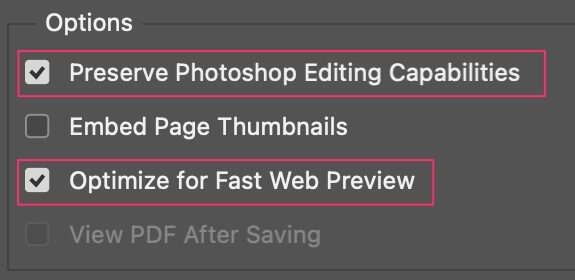
The next step would be to ensure you’ve got these two boxes checked under the Options box on this screen. Checking these formats your PDF for the web, and allows you to go back and continue editing the same document at a later date.
Step 4: Configuring Your Settings
Last but not least, we have our Compression settings. If you’re concerned about file size, then this is the menu to look to.

In the Image Quality drop-down menu, you’ll see several options like Medium, High, or Maximum. The lower the Image Quality, the smaller the file size as well.
Note: If you’re looking to compress your file size even further, then you may want to consider leaving the Preserve Photoshop Editing Capabilities box unchecked. This means you won’t be able to edit the project afterward, but the file size will be significantly shrunk.
Once all of your settings are chosen appropriately you can hit Save PDF at the bottom of this screen – and you’re all set!
Conclusion
In just a few simple steps you’ve learned to properly save and export your files as a PDF like a pro, and you did it all without any extra software or converters to get the job done.
Now you can breathe easily and not worry about losing any information or projects when trying to save your files. Thankfully for us, Photoshop makes saving a project as a PDF a quick and painless process!