
Understanding how to properly export a PNG file while keeping the transparency in your images and designs intact is an important skill to have when working in Photoshop. If you have a logo design without a background or stickers that require translucency in your project files, but don’t properly export them, then they’re virtually useless!
My name is Skyler, and I’ve been using Photoshop on a personal and professional level for well over a decade. Today I’ll be showing you how to properly export your project files as a PNG so none of your projects or designs go to waste!
I often utilize the PNG format setting and save options through virtually all of my creative endeavors. I’ve exported and uploaded PNG’s for my website, storefront, branding, and product designs that require a transparent background – and I’m confident after this tutorial you’ll be able to apply this knowledge like a pro to all of your current and future projects!
The first step is to find the Save As Menu after opening your project in Photoshop. Make sure you don’t hit the Save Menu option directly above it by accident – If you hit this option then the program will automatically use the default settings, meaning it wouldn’t work if you wanted to format your file as a PNG.
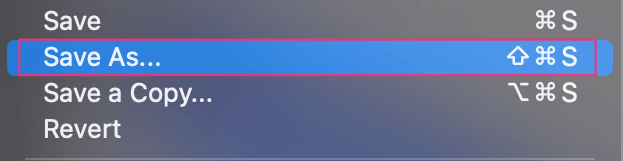
From here, you’ll either have to navigate to File > Save As or bring up the Save As Menu by pressing Shift + Ctrl/Command + S on your keyboard.
Step 2: Formatting
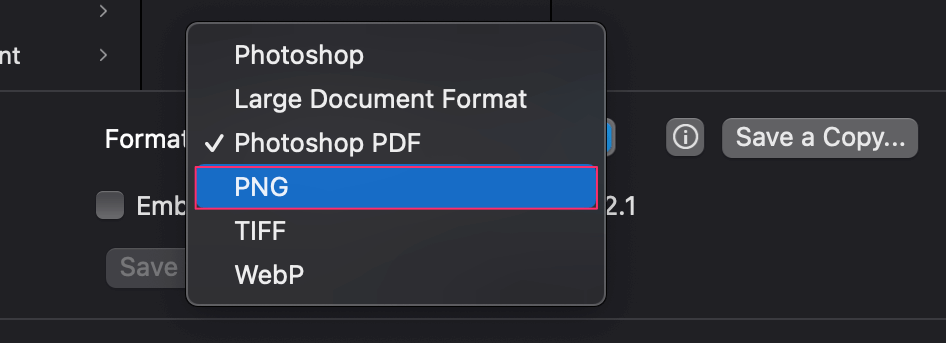
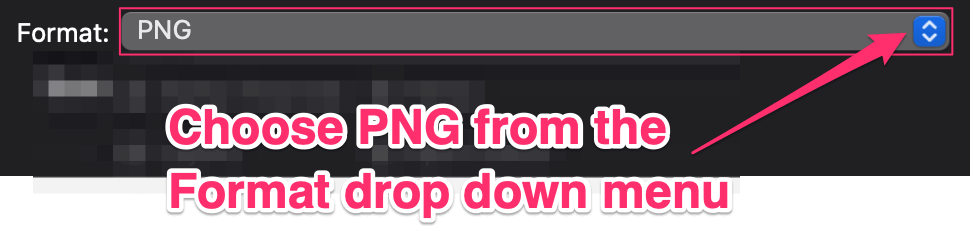
Once the Save As Menu appears on your screen, you’ll have to choose the PNG option from the Format Drop Down Menu.
The next step involves navigating the PNG Format Menu, where you’ll be asked to select an option based on your desired File Size.
This decision heavily depends on your intentions after exporting. If you need to upload or post it online, you may prefer to have a smaller file size – if not, you can choose the largest file size without worrying.
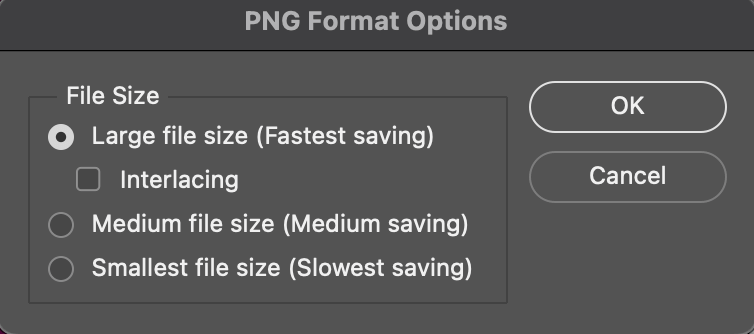
Last but not least – click OK when you’re satisfied with your selection, and you’re done!
Optional: Saving a Copy
Alternatively, If you’d like the option to continue editing your original project file in Photoshop, you’ll instead want to press Save a Copy on the original Save As Menu.

Once you’ve clicked Save a Copy, you’ll again have to select the PNG option from the Format Drop Down Menu.
Now all that’s left to do is choose a PNG Format Option based on your desired File Size. Again, this decision heavily depends on your intentions after exporting. If you need to upload or post it online, you may prefer to have a smaller file size – if not, you can choose the largest size without worry.
Click OK when you’re satisfied with your selection, and you’ve officially and successfully saved a copy of your project file as a PNG!
Conclusion
While PNGs are very commonly used across many platforms, it’s often a struggle to figure out how to properly export one that you’ve created yourself.
Thankfully, whether you intend to export and upload PNGs for your website, online storefront, or even product designs that require a transparent background – I’m confident now that you’ll be able to apply this newfound knowledge like a pro to all of your current and future projects!