
You can sharpen an image in Photoshop using the Sharpen tool. You can also use Filters and Effects to sharpen or eliminate the blur of an image.
Hello! I’m Jayde, and today I will show you how to sharpen an image in Photoshop by going over four methods. The first is by using the Sharpen tool. The other three involve different filters, one of these being Gaussian Blur.
I know what you’re thinking, using a blur filter to sharpen an image sounds backward, but we’ll essentially be working in opposites to achieve this effect.
This is the best way to gain an understanding of what each tool and feature does. These are the building blocks you need to master Photoshop and create your masterpieces.
Without further delay, let’s get started.
Table of Contents
Key Takeaways
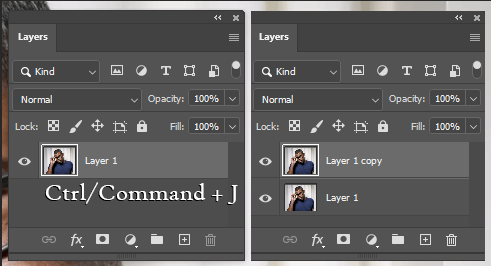
- You should always make at least one layer copy before making permanent changes so that an original is retained.
- The shortcut to make a layer copy is Ctrl/Command + J.
- The Sharpen tool can be found in a sub-menu between Blur and Smudge.
- Convert an image layer into a Smart Object so that any added filter values may be changed later, and so that a layer mask is provided with the effect.
- The shortcut to switch between foreground and background colors is X.
- You can change the size brush with the bracket keys [ and ].
Note: The screenshots from this tutorial are taken from the Adobe Photoshop Windows version. Mac or other versions can look different.
Method 1: Sharpen Tool
There’s actually a Sharpen Tool that you can directly use to sharpen an image in Photoshop.
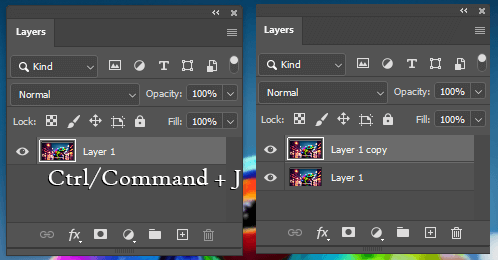
Step 1: Duplicate your image layer with the shortcut Ctrl/Command + J.
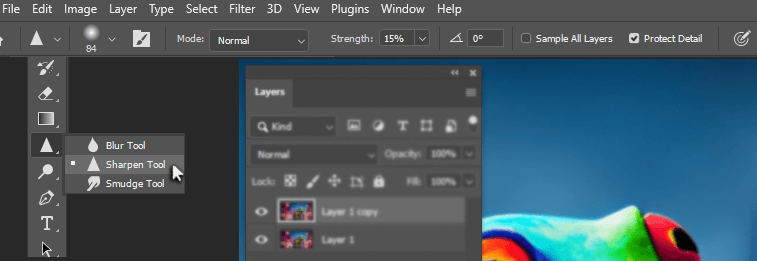
Step 2: Select the Sharpen tool, in the sub-menu with Blur and Smudge. Adjust the size of your brush with the bracket keys. Other tool settings, including strength, can be found in the action bar.
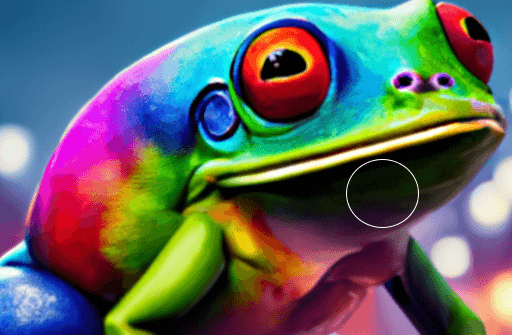
Step 3: Paint over the areas you want to sharpen.
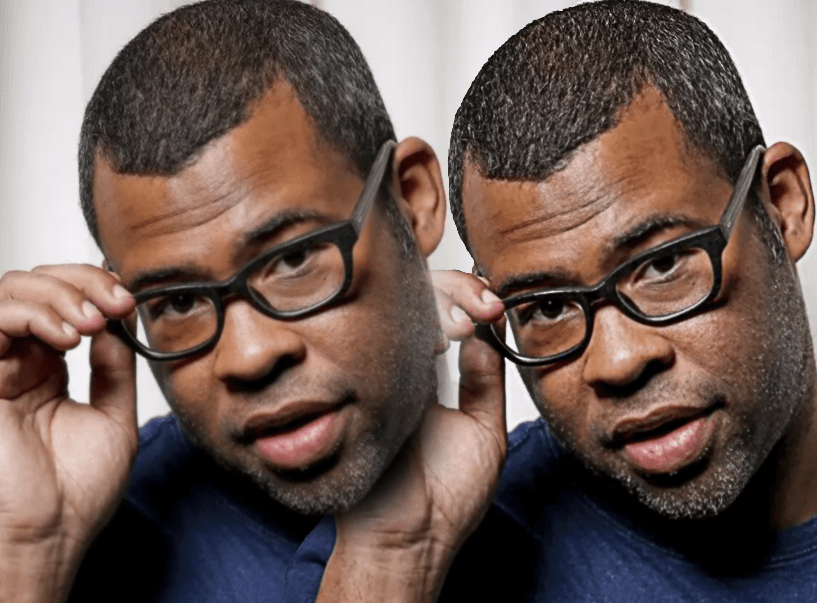
Comparison:
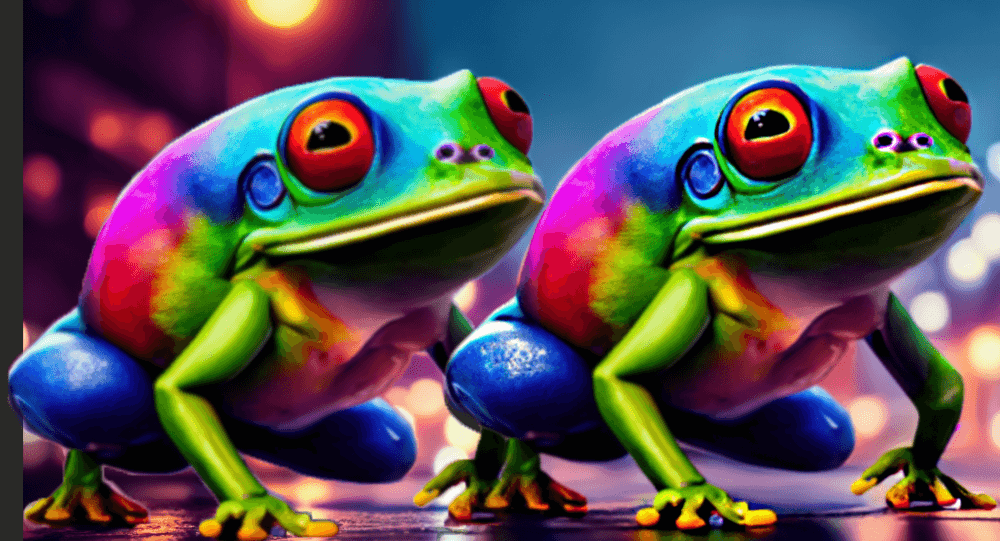
This works well, but let’s move on to the second method, Smart Sharpen.
Method 2: Smart Sharpen
Besides the Sharpen tool, you can also use a filter, and it might be even easier. Here’s how.
Step 1: Duplicate the image layer.
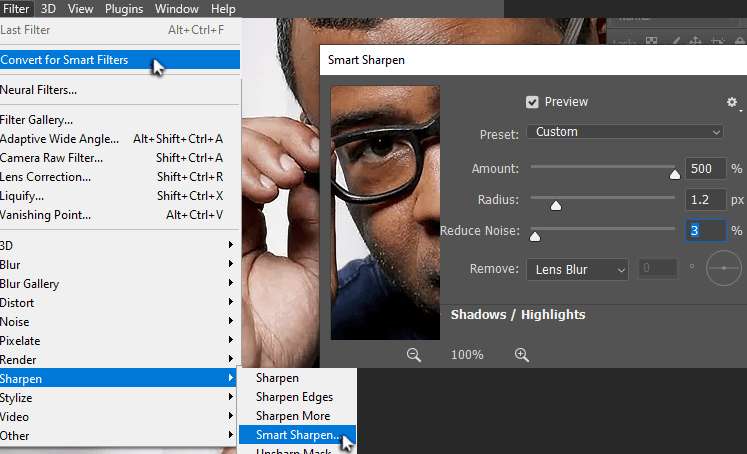
Step 2: Go to the overhead menu Filter > Convert to Smart Filter. Then go to Filter > Sharpen > Smart Sharpen. Change the Amount to 500% lower Radius and Reduce Noise to 0.
Gradually increase Radius until it enhances the edges of the photo without creating halos. Then, increase Reduce Noise until you find a good balance.
We converted this into a smart object, so our filter came with a mask. That is what we will use to specifically target the areas we want to sharpen.
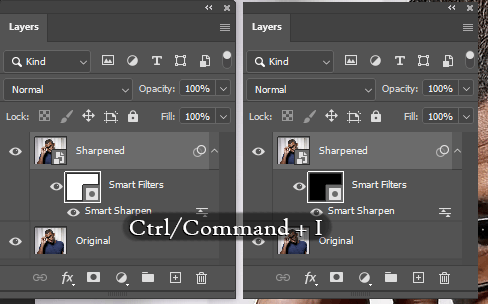
Step 3: Select the mask and use the shortcut Ctrl/Command + I to invert it.
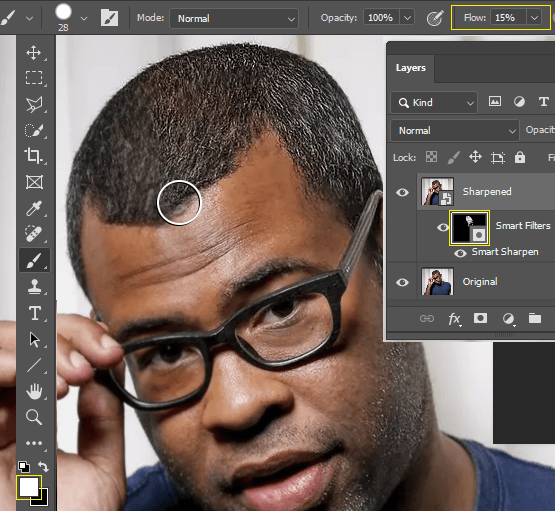
Step 4: Select the Brush tool with shortcut B, reduce the Flow to 15%, and change the brush color to white. Adjust the size of the brush with the bracket keys. Start painting anywhere you want to sharpen your image.
If you find that this is sharpening areas you don’t want, toggle between white and black with the X key on your keyboard. This way, you can quickly adjust the color and size of your brush to add or reduce the sharpness.
Comparison:

This method worked well. Let’s see how to use opposite effects and filters to sharpen an image.
Method 3: Use Opposites, Blend Modes, and Gaussian Blur
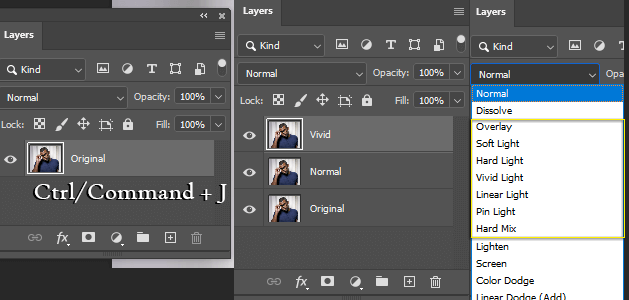
Step 1: If you haven’t already, use the shortcut Ctrl/Command + J to copy your image twice. Name one normal and the top one vivid. The Blending Modes in the yellow box are contrast blend modes. Let’s work in opposites now.
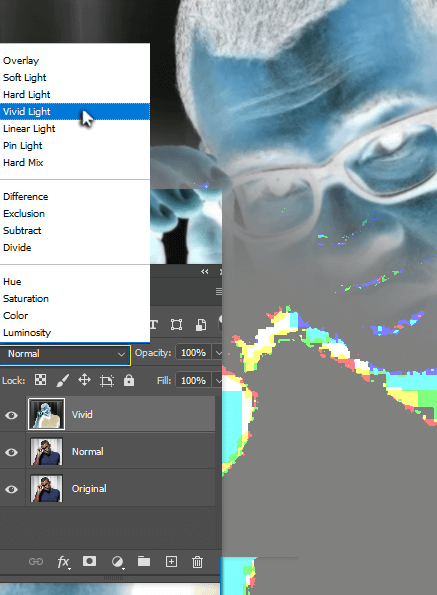
Step 2: Invert this image layer using the shortcut Ctrl/Command + I. Now, if we blur something, it could sharpen this image instead.
Change the blend mode to Vivid Light.
Most of the image turns gray, but we can use the blend mode Overlay to hide anything gray, darken anything darker than gray, and brighten anything brighter than gray.
Before we can use Overlay, we must continue editing.
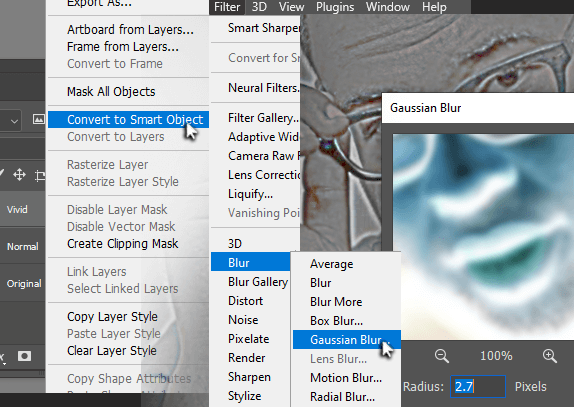
Step 3: Right-click on this layer and go to Convert to Smart Object. Go to Filter > Blur > Gaussian Blur and select a value that sharpens the edges of your image.
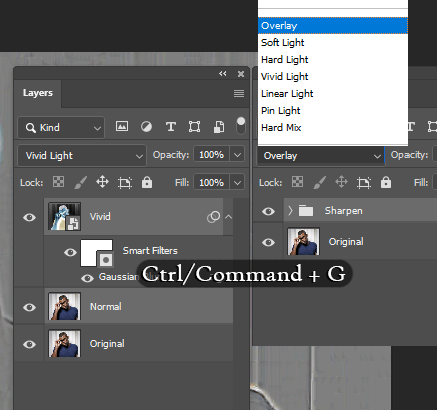
Step 4: Select these layers including the layer we named normal, and use the shortcut Ctrl/Command + G to group the layers. Add the Overlay blend mode to this group.
Lessen the opacity of the sharpening group if you feel it is too strong.
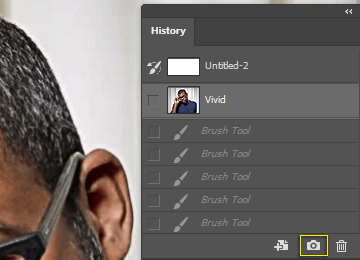
Step 5: Save this spot in your History Panel (Window > History) by clicking the little Camera Icon and naming this screenshot Vivid.
Comparison:
I like this method the most so far.
Method 4: High Pass Filter
Let’s explore one more way to sharpen an image in Photoshop using the High Pass filter.
Step 1: Duplicate your image.
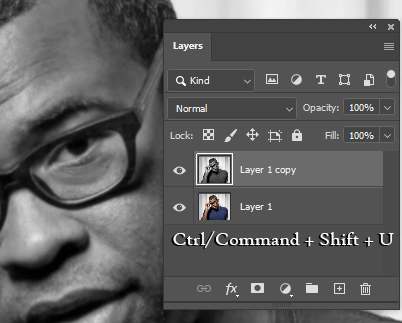
Step 2: Desaturate it by using the shortcut Ctrl/Command + Shift + U.
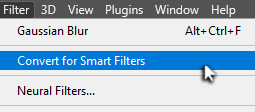
Step 3: Go to Filter > Convert for Smart Filters.
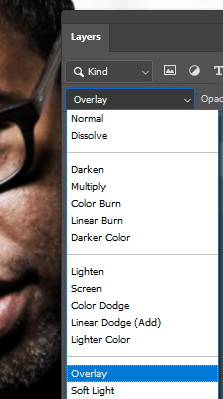
Step 4: Change the Blend Mode to Overlay.
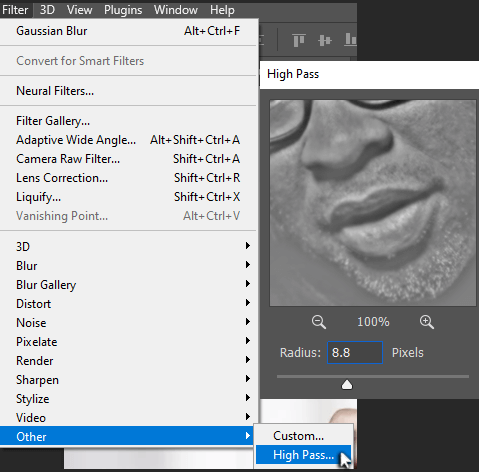
Step 5: Go to Filter > Other > High Pass.
Save this spot in your History Panel like we did after completing the previous method.
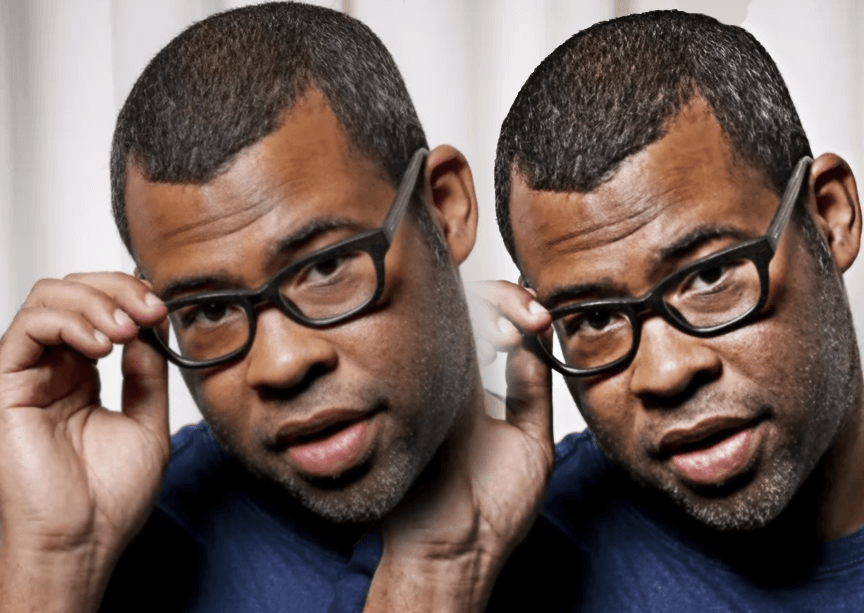
Comparison:
Final Thoughts
Since we converted our image layers into smart objects, it’s always possible to go back and change filter values or masks.
Today we covered four different methods for sharpening an image in Photoshop. I certainly hope that this tutorial taught you everything you wanted to learn and that it helped you to accomplish exactly what you were hoping for in your own project.
Did you find this tutorial helpful? What else would you like to learn? Let me know in the comments below!