
There are many ways to smooth and feather edges in Photoshop. First, you may want to try using the Blur tool. Evenly blur all the edges of your image or layer first by creating a layer mask of your object, then go to Select and Blur to edit the Feathering, Contrast, and Edge Shift.
Hello! I’m Jayde, and Photoshop is my favorite design program. I’m going to show you three different ways to smooth and feather/blur any photo, subject, or layer, so that you may mix and match the techniques to achieve the precise look you’re aiming for.
Table of Contents
Key Takeaways
- To edit your image or layer non-destructively and retain a copy of the original, use the shortcut Ctrl/Command + J to duplicate your selected layer.
- Use the Blur tool with a reduced Strength percentage on specific edge areas.
- Go to Select > Select and Mask to edit the Smoothness and Feathering of the edges of a cutout layer or its mask.
- To learn how to use a channel and layer filter to smooth the edges of a layer or cut out the subject, scroll down to the final method.
Note: The screenshots from this tutorial are taken from the Adobe Photoshop Windows version. Mac or other versions can look different.
Without further delay, let’s get started.
Method 1: Feather the Edges of a Photo
Let’s start simple and see how we would quickly feather the edges of a photo.
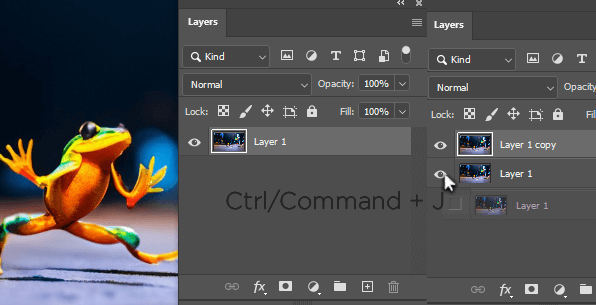
Step 1: Duplicate your layer with the shortcut Ctrl/Command + J. Always edit non-destructively and keep a copy of the original image.
Toggle off the bottom layer’s visibility by clicking on the eye.
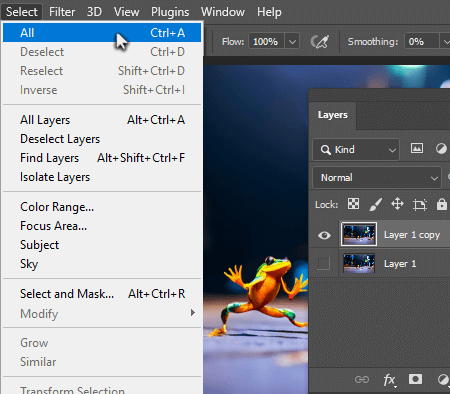
Step 2: Use the shortcut Ctrl/Command + A or go to Select > All.
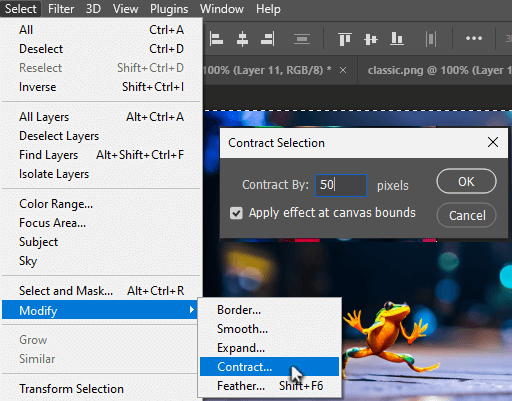
Step 3: Go to Select > Modify > Contract and change the number of pixels relative to the size of your image. Make sure “Apply effect at canvas bounds” is checked off.
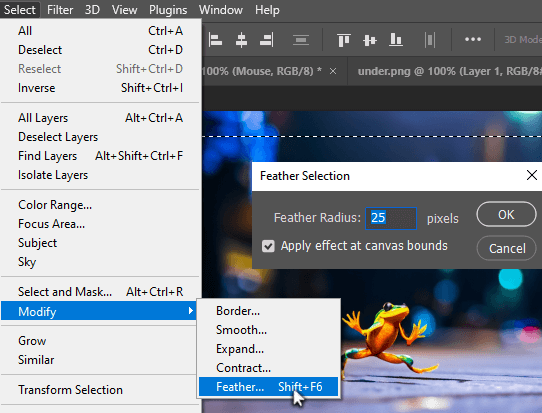
Step 4: Go to Select > Modify > Feather and change the number of pixels relative to the size of your image.
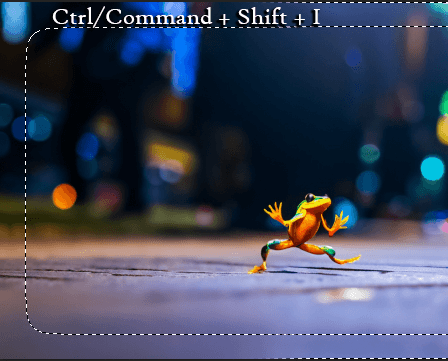
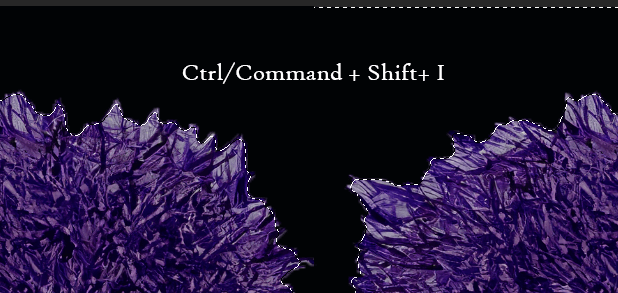
Step 5: Use the shortcut Ctrl/Command + Shift + I reverse the selection.
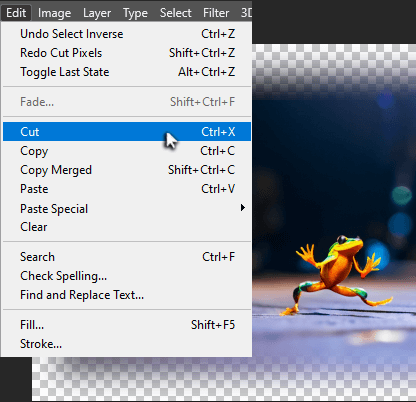
Step 6: Go to Edit > Cut.
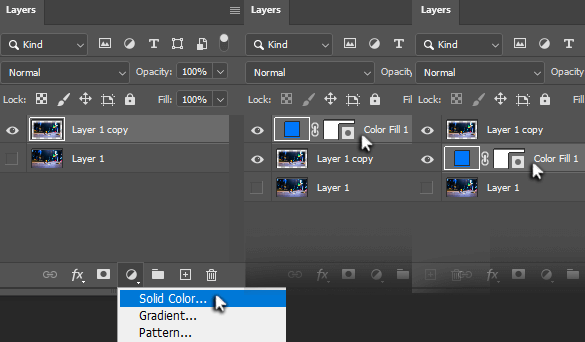
Bonus Step: To see this with a colored background, add an adjustment layer for
Solid Color. Choose the color you want.
Click and drag it below.
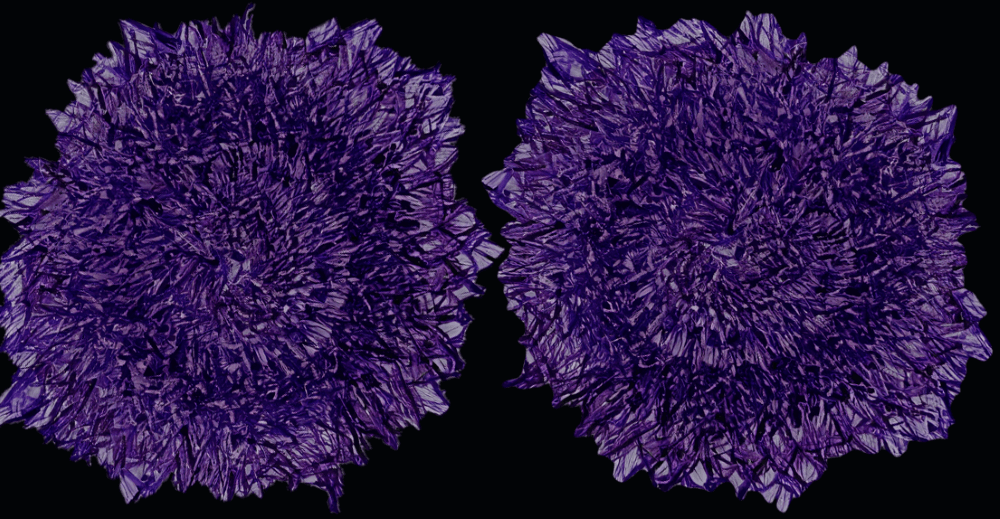
Here is our comparison.


Method 2: Feather and Blur the Edges of a Layer Mask
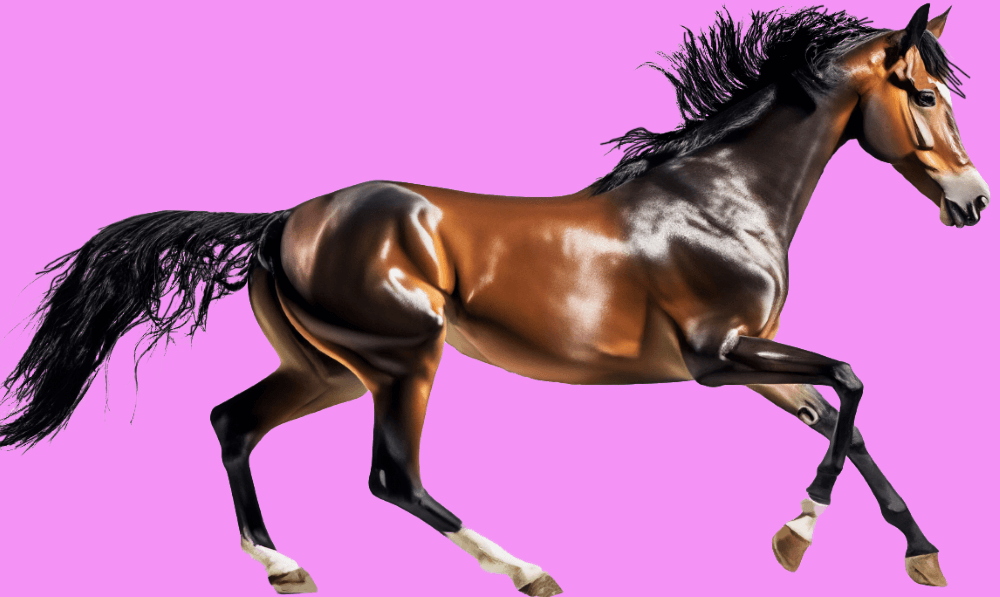
Here I have an object that is already cut out, but the edges are a little too clean, so much so that it looks unrealistic.
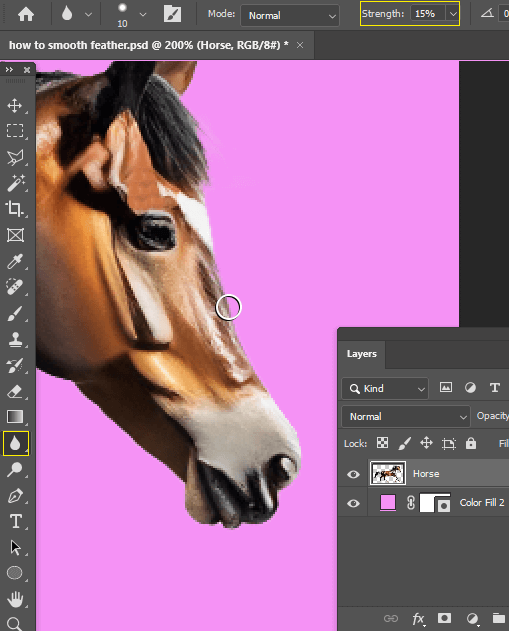
Step 1: Try using the Blur tool on the edges of the object that you want to blur. Reduce the Strength to what best suits your image.
That worked well, but let’s see how to blur the edge evenly all the way around.
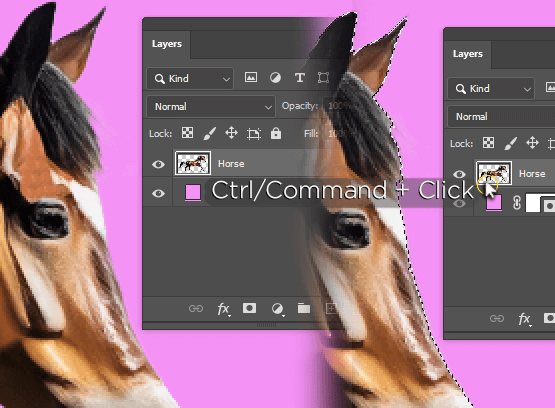
Step 2: Select the cut-out object by holding Ctrl/Command and clicking on the layer thumbnail.
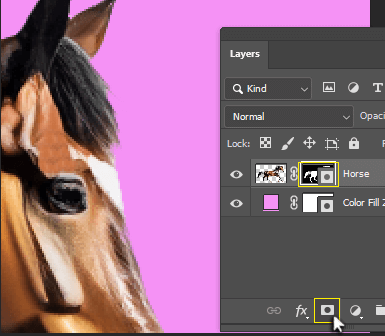
Step 3: Add a layer mask of the object.
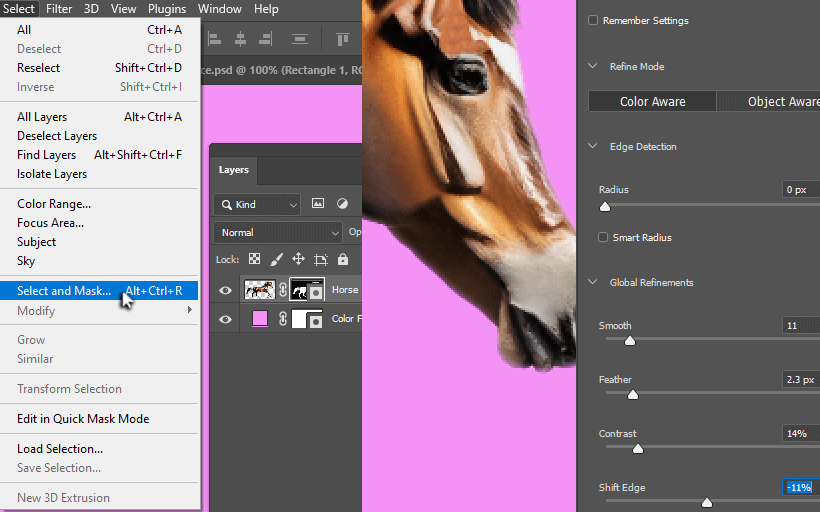
Step 4: Go to Select > Select and Mask. Increase Smooth, Feather, and Contrast a bit.
Adjust the Shift edge slider.
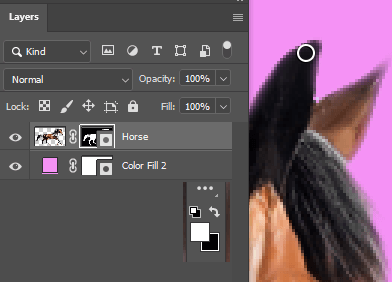
Bonus Tip: If you notice the edges of your subject fading too much, you can use the Brush tool with white on the layer mask to make it visible again.
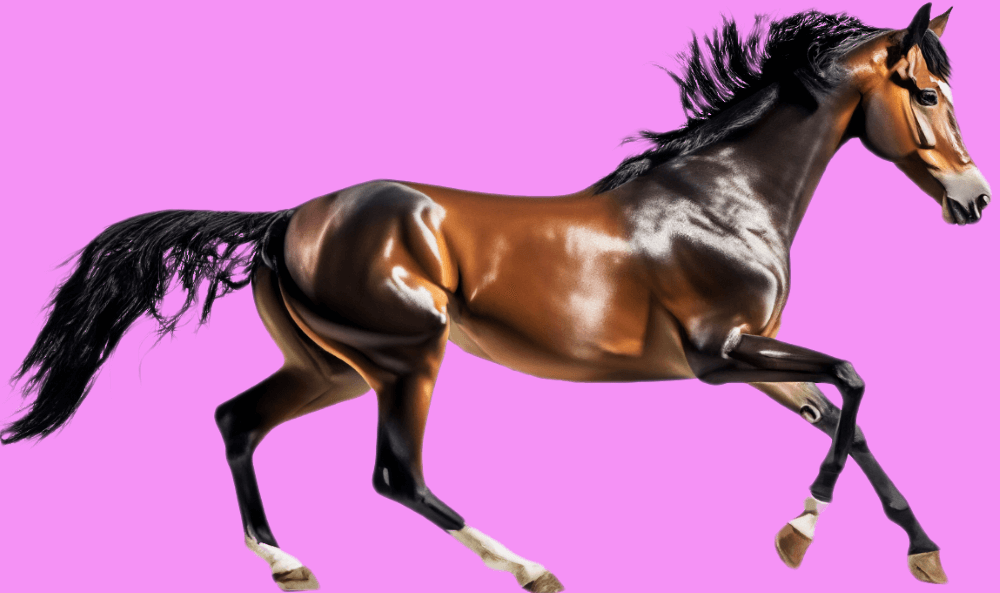
Here is our comparison.
Method 3: Use Channel and Filter
Let’s take a look at another way to smooth the rough edges of a cutout.
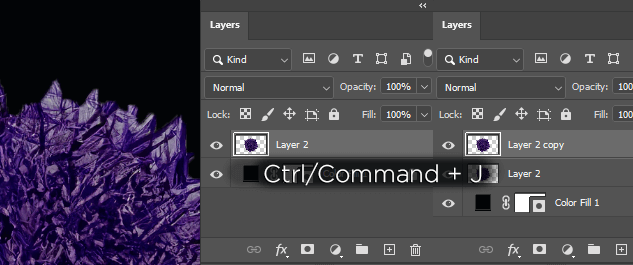
Step 1: Duplicate the selected layer using the shortcut Ctrl/Command + J.
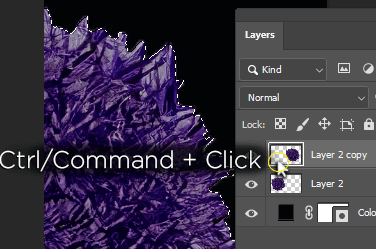
Step 2: Select everything within the layer by holding Ctrl/Command and clicking on the layer thumbnail.
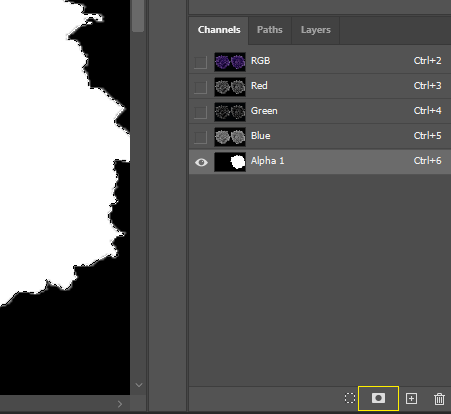
Step 3: Go to the Channels panel (Window > Channels). Click on the Layer Mask symbol to create a layer mask with your selection.
Use the shortcut Ctrl/Command + D to deselect your selection.
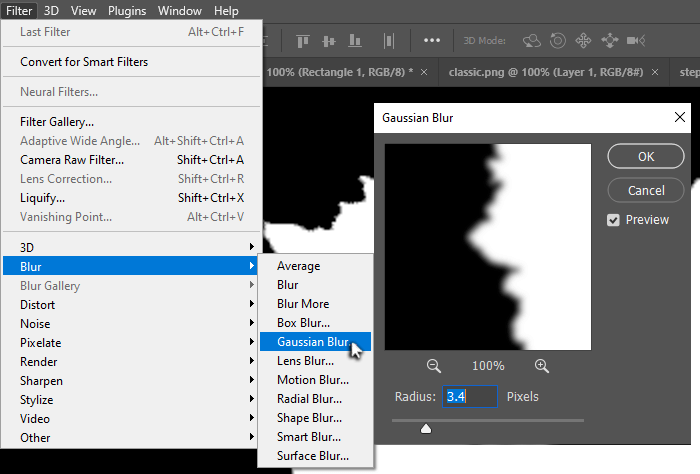
Step 4: Go to Filter > Blur > Gaussian Blur. Set the pixels relative to the size of your layer, enough to blur out the roughest edges.
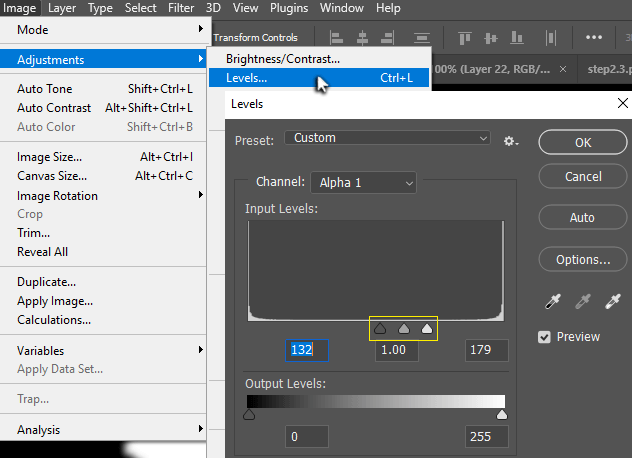
Step 5: Go to Image > Adjustments > Levels and bring the left and right sliders inward. This sharpens the blur we just applied while retaining the smoothness we were looking for.
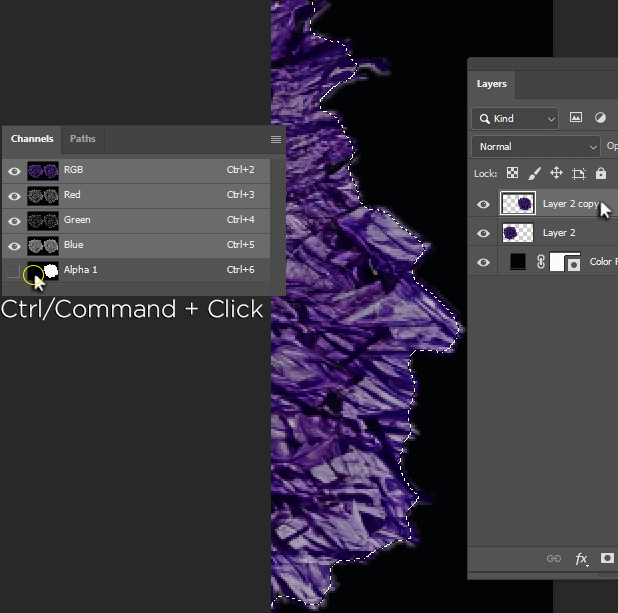
Step 6: Hold Ctrl/Command and click the layer thumbnail again (still in the Channels panel) to reselect it. Go back to the layers panel and click on the working layer.
Compare the difference between your selection and the original object.
In some cases, your selection will be bigger than your object, but in my case, it is smaller, so I would go to Select > Modify > Expand to bring my selection a bit closer to the original edges.
If your selection is larger in comparison, go to Contract instead.
I like where my selection is, so I won’t be doing either of those.
Step 7: Use the shortcut Ctrl/Command + Shift + I to select the inverse of your selection, and then go to Edit > Cut or use the shortcut Ctrl/Command + X.
Here is our comparison.
Final Thoughts
With that, we’ve covered 3 different ways to smooth and feather the edges of any image or layer in Photoshop.
This program offers infinite possibilities to the creative minds that use it, making it possible for anyone to create anything they can imagine.
Which method do you like the most? Are you working on a personal project or a job for a client? Let me know in the comments below.