
When it comes to underlining text in Photoshop, I’m happy to tell you that you’ve got it easy! Photoshop editing capabilities resemble other commonly used software like Microsoft Word or Google Docs so you’ve probably already got some common ground and understanding to take on this task like a pro.
My name is Skyler, and I’ve been using Photoshop on a personal and professional level for well over a decade. Today I’ll be showing you how to underline and edit text in Photoshop.
Not only does Photoshop allow us the ability to create, edit, and manipulate text or text paths – but it also allows us to transform things like thickness, kerning, and yes, underlining! I’ll be showing you not only how to simply create and underline your text, but also how to polish and present your underline in ways that are sure to impress.
Table of Contents
Method 1: Character’s Panel
In the Character’s panel, you do have an option to add an underline to selected text, and here’s how it works.
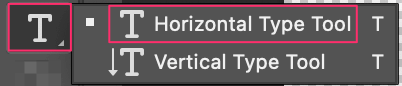
Step 1: Choose the Horizontal Type Tool in the Photoshop toolbar.
Once you’ve selected your Horizontal Type Tool, you can apply it in two ways. You can either click anywhere on your canvas for a Single Line element, or you can drag and draw a text box to your liking for Multiple Lines.
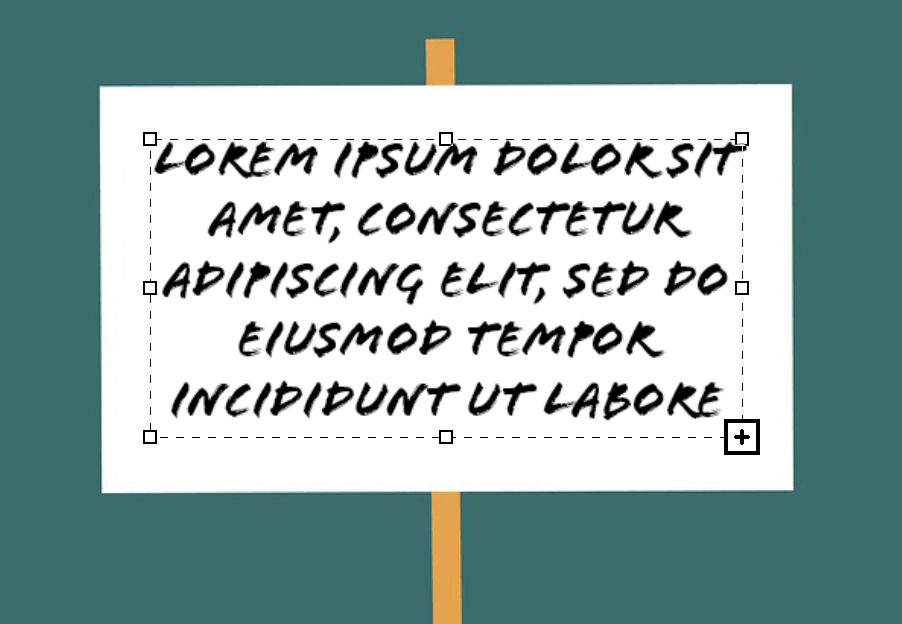
Here’s an example of what a text box will look like when you click and drag across your canvas. As you can see, the text provided is a placeholder and randomly generated, so you’ll have to edit it to suit your preferences.
Step 2: Adjust the Text Area. If you want to get rid of any unwanted text, simply click or highlight the words you don’t need, and delete them.
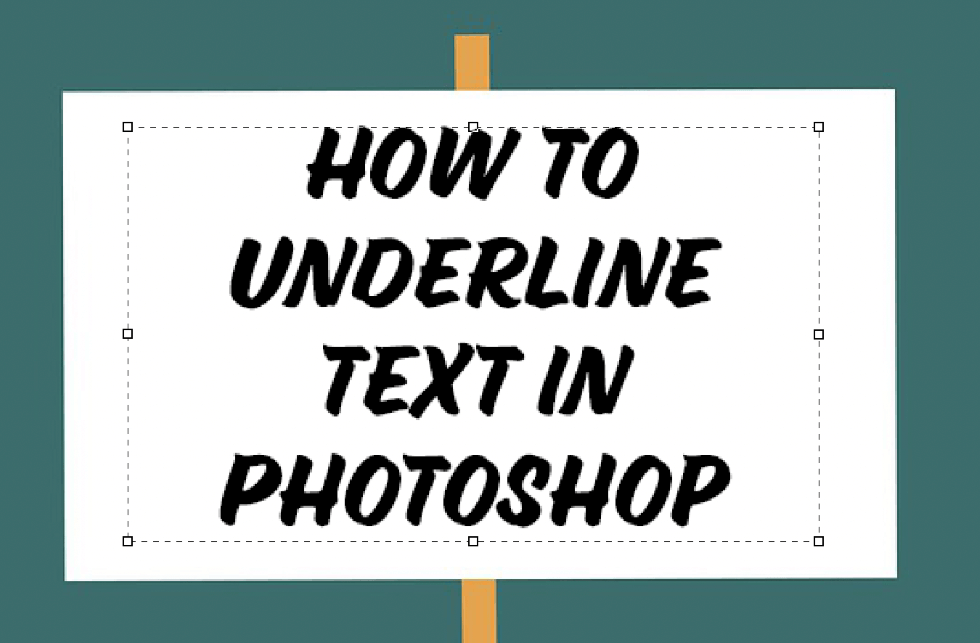
Editing text in Photoshop works very similarly to programs like Word or Google Docs, so you can easily type whatever you desire inside your text area before moving on.
Once you’ve finalized your text, you’ll have to bring up the Character Panel to edit it any further.
Step 3: Open the Character Panel. In order to summon the Character Panel, you’ll have to navigate to Type > Panels > Character Panel.

This window can be a bit intimidating at first as it allows you to edit multiple properties like size, font, color, and more – but don’t worry. In order to underline your text you’ll only need to press a single button!
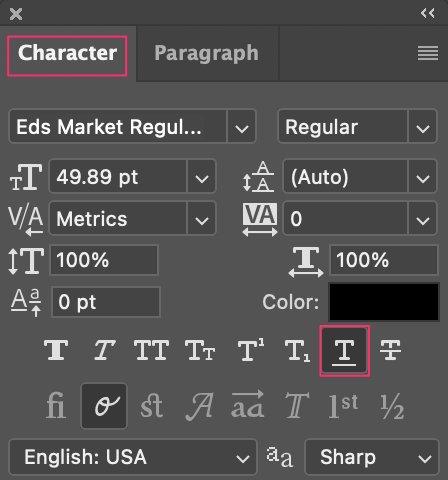
Just below the Color Box, you’ll find a T with an underline beneath it – this is our Underline Tool Button.
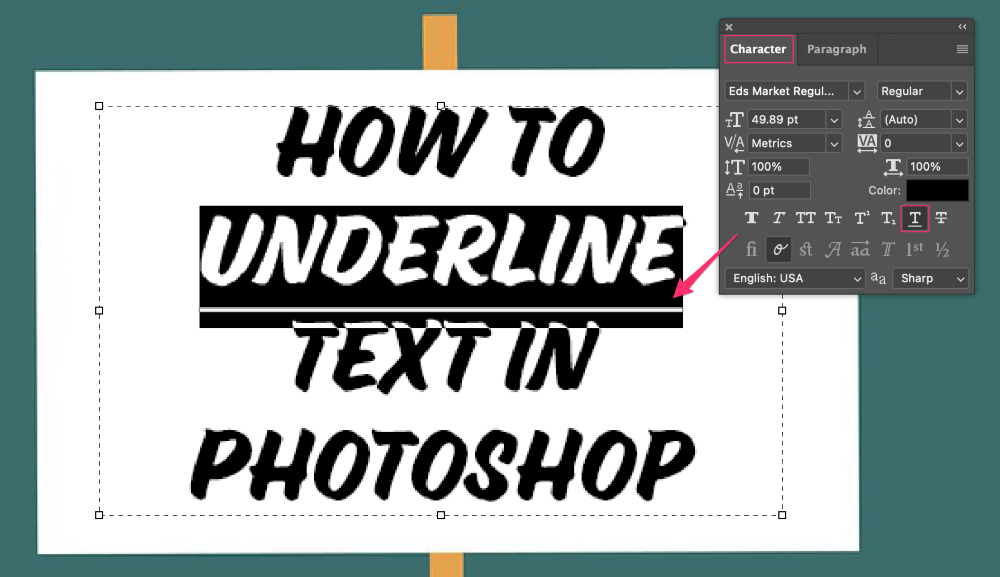
Once you’ve located it, go ahead and highlight the part of your text you’d like underlined and click the button. Just like that, you’ve got your text underlined with just a few simple steps! Not too bad, right?
Method 2: Custom Underline Style Alterations
If you enjoyed learning how to underline your text in Photoshop – but still wish you could modify it further then I’ve got a few options for you to consider!
- Draw your underline yourself using the Line Tool, and then edit it further in the Properties Panel. This is best for simple alterations, like line dashes or strikes.
- Import a PNG, and line it up underneath the desired text. You can either export a project you’ve drawn yourself in Photoshop as a PNG to use, or you can find a PNG from whatever online sources you find appropriate. This is best for those who want complete control over their designs.
Drawing your Underline
You’ll once again need to find the Horizontal Type Tool in the Photoshop toolbar.
Once you’ve selected your Horizontal Type Tool, you can apply it in two ways. You can either click anywhere on your canvas for a Single Line element, or you can drag and draw a text box to your liking for Multiple Lines.
To get rid of unwanted text, you can simply click or highlight the words you don’t need, and delete them.
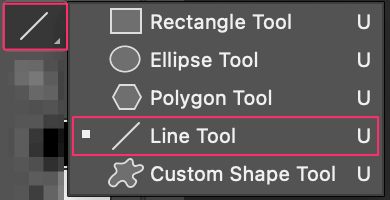
Now that you’ve got your text edited, you can find and select the Line Tool in your toolbar. With this Line Tool enabled, you’ll now have access to the Properties Panel.
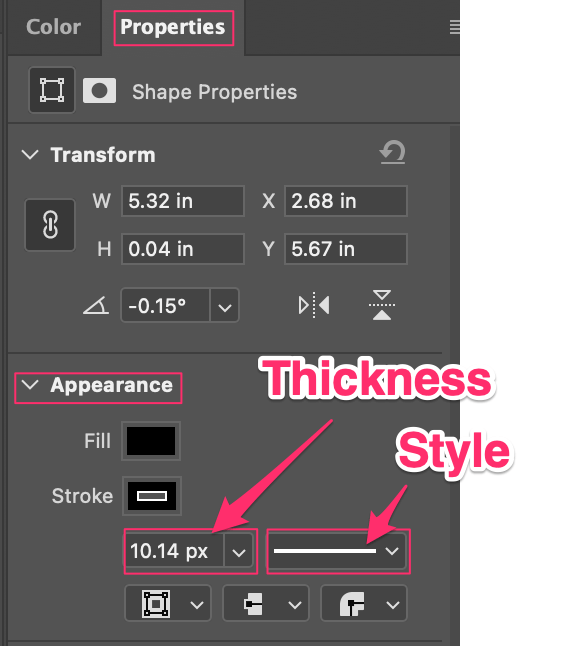
Within the Properties Panel, you’ll see several menu options. In your case though, you’ll only need to concern yourself with the Appearance Tab. This tab allows you to edit the Thickness of your line, as well as the Style.
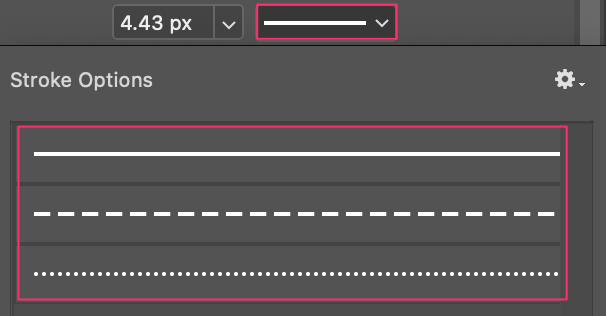
When you click on the Style tab, a dropdown menu will appear with several options. These options include a simple line, dashed line, and a dotted line.
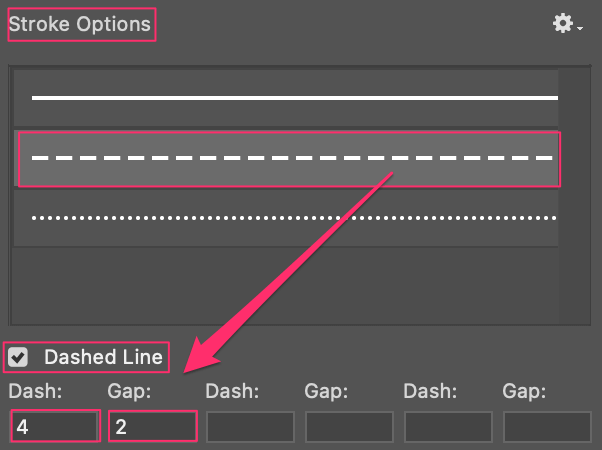
You can even customize your dashed or dotted lines by entering the number of dashes and gaps you want in sequence.
Ta-da! With just a few extra steps, we’ve got a customized underline with a unique little flair.
Importing your Underline
Alternatively, importing your own underline is best for those who want complete control over their designs. This can be done by exporting a project you’ve drawn yourself in Photoshop as a PNG to use, or finding a PNG from whatever online sources you desire.
To accomplish either of these methods, you’ll first have to open your project file or desired PNG in Photoshop.
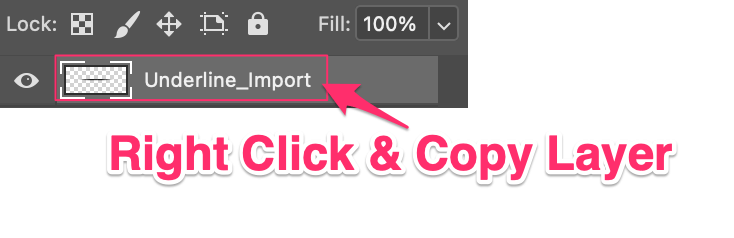
Once you’ve done this, you can simply right-click and copy your desired layer. You can also accomplish this by pressing Command/Ctrl + C on your keyboard with the layer highlighted.
Now all that’s left to do is go back into the original project and paste your layer by navigating to Edit > Paste or using Command/Ctrl + V on your keyboard.
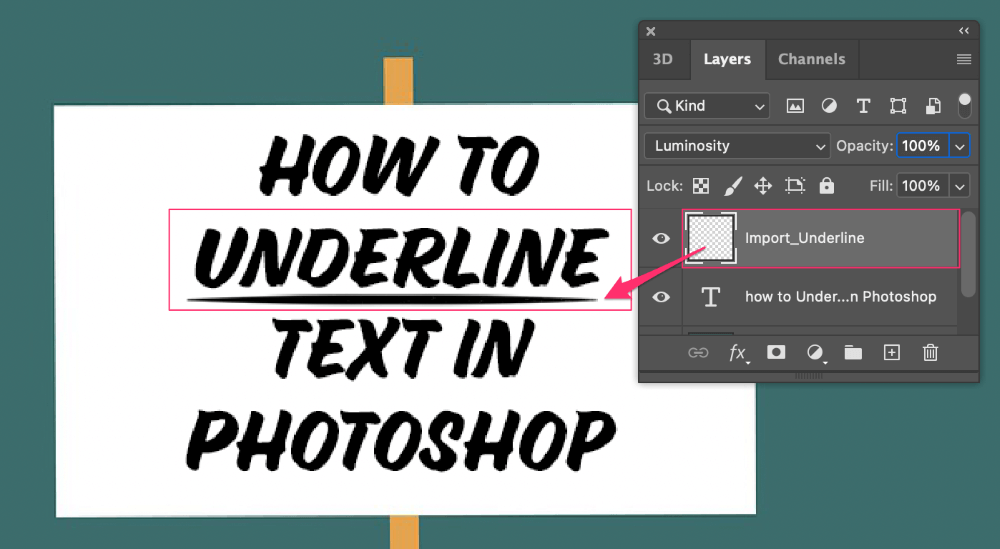
Now your PNG will be available in your layers panel, where you can reposition it under your text using Free Transform. This can be found by navigating to Edit > Free Transform, or by pressing Command/Ctrl + T on your keyboard.
Job well done! You’ve officially customized and imported your underline in Photoshop with no problem.
Conclusion
You didn’t just learn how to underline your text in Photoshop! You also learned how to draw your own underlines with the Line Tool and import your own PNGs for a truly customized design. Now I have every confidence that you’ll be able to polish and present your underlines for projects that are sure to impress!