
InDesign can create documents that range from a single page to multiple volumes, so it has some unique tools for speeding up the process of setting up huge amounts of text.
Paragraph styles are one of the most important tools for working with long documents since they can easily save you hours of tedious work while preventing any embarrassing formatting errors.
They are a bit of a complex subject, so we’ll only have time to cover the basics of how to use paragraph styles in InDesign, but they’re definitely worth learning.
Table of Contents
Key Takeaways
- Paragraph styles are reusable style templates that control text formatting across entire paragraphs.
- Paragraph styles are created and applied using the Paragraph Styles panel.
- Editing a style will change the formatting on all text using that style throughout a document.
- An InDesign document can have an unlimited number of paragraph styles.
What is Paragraph Style in InDesign
A paragraph style acts as a stylistic template for formatting text in InDesign. You can configure a paragraph style to have its own unique combination of font, weight, point size, color, indentation style, and any other formatting property that InDesign uses.
You can create as many different styles as you want, and assign each one to a different section of text in your InDesign document.
A common method is to create one paragraph style for your headline text, another style for subheadings, and yet another for body copy, captions, pull quotes, and so on for every type of repeating text element in your document.
Each paragraph style gets applied to the relevant portion of text, and then if you decide later on that you need to change the headline formatting throughout your entire document, you can just edit the headline paragraph style instead of editing every single headline individually.
This can save a truly incredible amount of time and effort when you’re working on long documents, and it prevents you from making any formatting mistakes by ensuring consistency throughout the entire document.
For shorter documents, you may not want to spend time creating paragraph styles, but they’re an essential tool for anything longer than a few pages, so it’s a good idea to get familiar with them as soon as possible. There are even a few text formatting adjustments that you can only make using paragraph styles!
The Paragraph Style Panel
The central place for working with paragraph styles is the Paragraph Styles panel. Depending on your InDesign workspace, the panel may not be visible by default, but you can launch it by opening the Window menu, selecting the Styles submenu, and clicking Paragraph Styles. You can also use the keyboard shortcut Command + F11 (just use F11 if you’re on a PC).
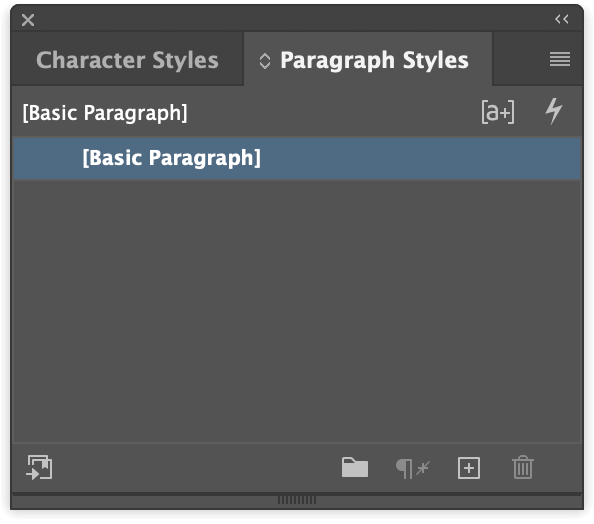
Whenever you create a new document, InDesign creates the Basic Paragraph style and applies it to all the text in your document unless you create other styles. You can edit it and use it like any other paragraph style, or simply ignore it and create your own additional paragraph styles.
The Paragraph Styles panel allows you to create new styles, organize them, and apply them, so let’s take a closer look at how you can use them in your next project.
How to Create a Paragraph Style in InDesign
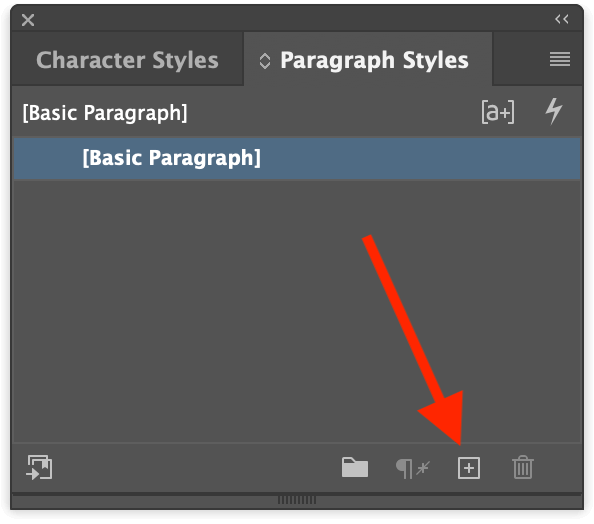
To create a new paragraph style, click the Create new style button at the bottom of the Paragraph Styles panel, as highlighted below.
InDesign will create a new paragraph style in the list above. Double-click the new entry in the list to open the Paragraph Style Options window so that you can configure the style’s formatting options.
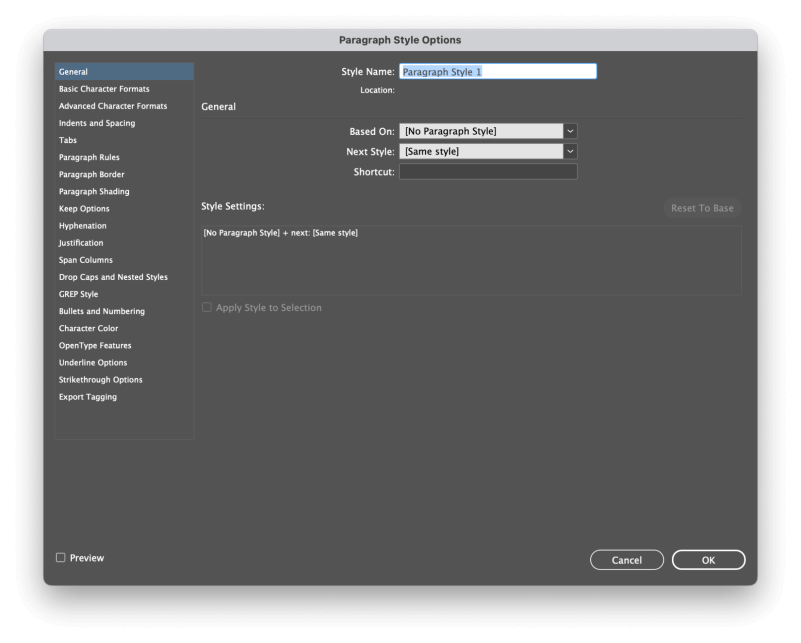
Start by giving your new paragraph style a name in the Style Name field. It might seem like a waste of time, but when you’ve got 20 different styles in your document, you’ll be glad that you started building good habits from the beginning!
Along the left side of the panel, you’ll see a very long list of different sections that control various formatting options. You can work your way through each section until you’ve customized all the aspects of your style that you need.
Since there are so many, I won’t take you through every single section one by one, and most of them are fairly self-explanatory anyway. You probably already know how to configure the typeface, point size, color, etc for your text, and the process is the same within each relevant section.
When you’re satisfied with your settings, click the OK button, and your paragraph style settings will be saved.
You can repeat this process as many times as you want until you’ve created all the necessary paragraph styles for your document, and you can come back and adjust existing styles at any time by double-clicking the style name in the Paragraph Styles Panel.
Before we move on to applying your new paragraph style, there are a few unique sections in the Paragraph Style Options window that deserve a special explanation, though, so read on for some advanced paragraph style tricks.
Special Paragraph Style Features
These special sections offer unique functionality that isn’t found in standard InDesign text formatting. You won’t need them for every situation, but they’re worth knowing about.
The Next Style Feature
Technically it’s not a special section, since it’s located in the General section, but it’s definitely a special feature.
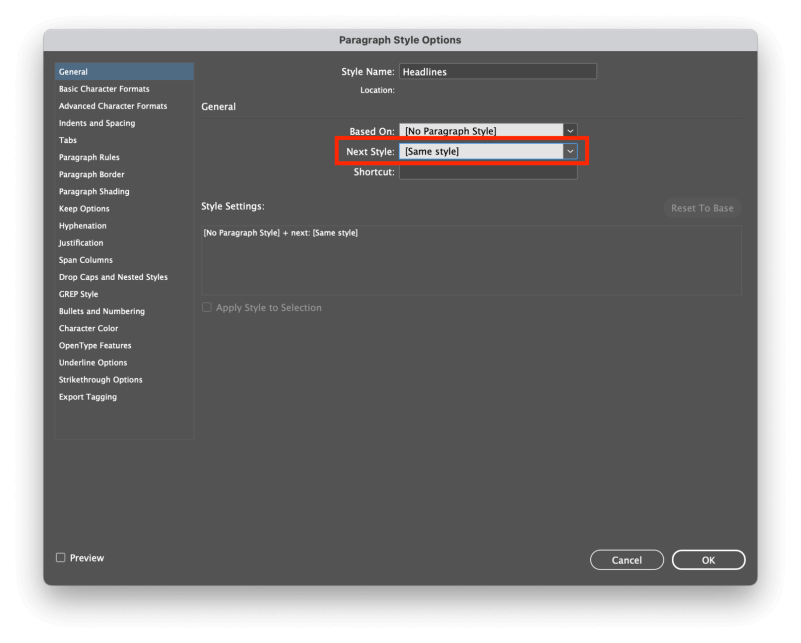
This is a time-saving tool that is intended to speed up the process of setting text. It works best when you create all your paragraph styles before adding text to your document since it will help automatically apply them for you.
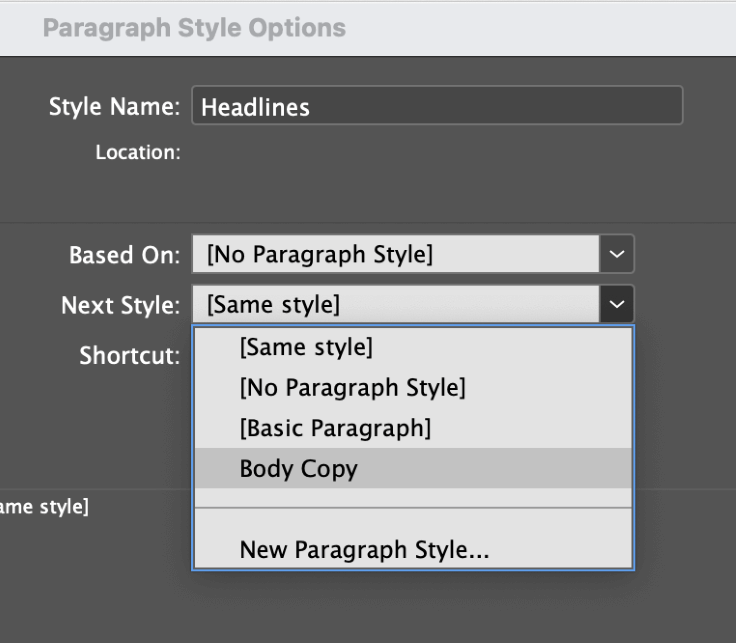
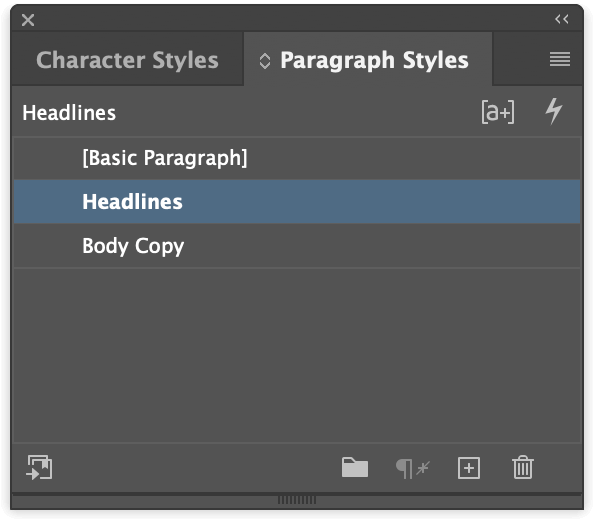
In this example, I’ve created a Headline style and a Body Copy style. Within the Headline style, I’ll set the Next Style option to my Body Copy style. When I type in a headline, assign the Headline style, and then press Enter/Return, the next text I enter will automatically be assigned the Body Copy style.
It takes a bit of careful management and a consistent document structure, but it can save a lot of time when used correctly.
Drop Caps and Nested Styles
Drop caps are large initial capital letters that are typically used at the beginning of new chapters or sections within a book, which is simple enough to configure. But it’s also possible to create nested styles that follow the drop cap for a specific number of words or lines.

Typically used to help balance out the visual effect of a large capital letter next to a full paragraph of body copy, these nested styles give you flexible control automatically without having to set the text by hand.
GREP Style
GREP stands for General Registry Expressions, and it deserves a whole tutorial just by itself. The quick version is that it allows you to create rules that dynamically apply character styles based on the specific text that is entered.
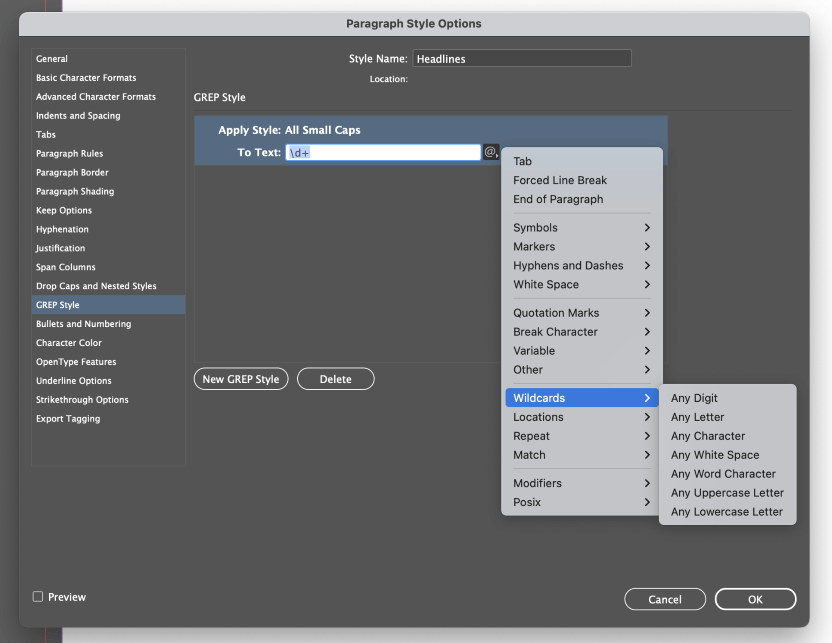
For example, if my text contained a lot of numerical dates and I wanted them all to use the Proportional Oldstyle formatting option, I could create a character style that contained the proper formatting options, and then automatically apply it to all the numbers within my text.
This only scratches the surface of what you can do with GREP, but as I said earlier, it really does deserve a whole tutorial just to itself.
Export Tagging
Last but not least, Export Tagging is a great feature for exporting your text as an ebook or any other screen-based format that has style options that can be altered by the viewer. The EPUB format is a popular choice for ebooks, and it follows a similar text tagging structure to HTML: paragraph tags, and several different hierarchical tags for headlines.
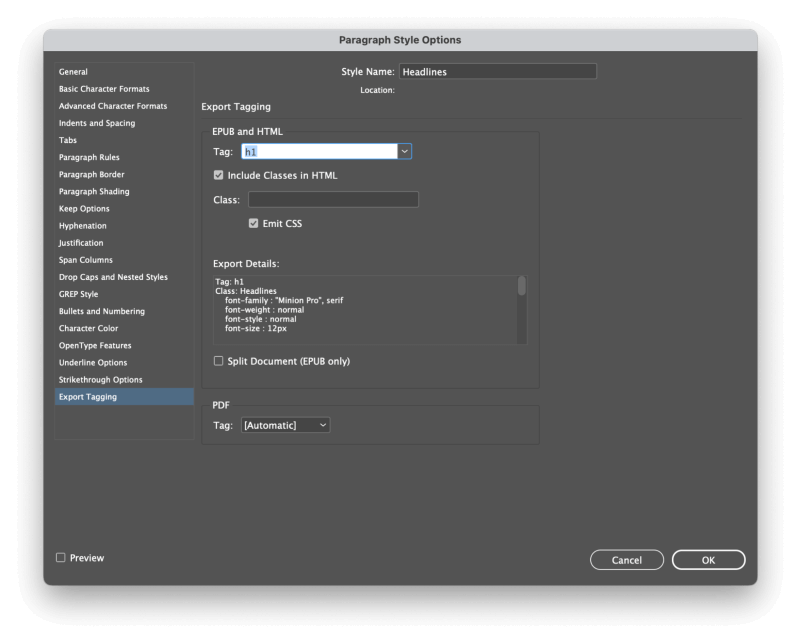
Using Export Tagging, you can match your paragraph styles to the hierarchical tags used by these document formats. For example, you can match your Body Copy paragraph style to the <paragraph> tag, match your Headlines style to the <H1> heading tag, Subheads to <H2>, and so on.
Using Your New Paragraph Style in InDesign
Now that you’ve created a paragraph style, it’s time to actually apply it to your text! Fortunately, this process is much faster than actually setting up the style in the first place.
Switch to the Type tool, and select the text you want to style with your new paragraph style. Click the appropriate style in the Paragraph Styles panel, and it will immediately be formatted using the options you specified in the Paragraph Style Options window.
That’s all there is to it!
If you need to go back and edit your paragraph style while you’ve got your text cursor active, you can’t just double-click the entry in the Paragraph Styles panel, because that might accidentally apply the wrong style to the wrong text. Instead, you can right-click the style name and select Edit without accidentally applying it.
Importing Paragraph Styles
It’s also possible to import paragraph styles from existing documents, which can help simplify the process of creating a consistent visual appearance across multiple documents.
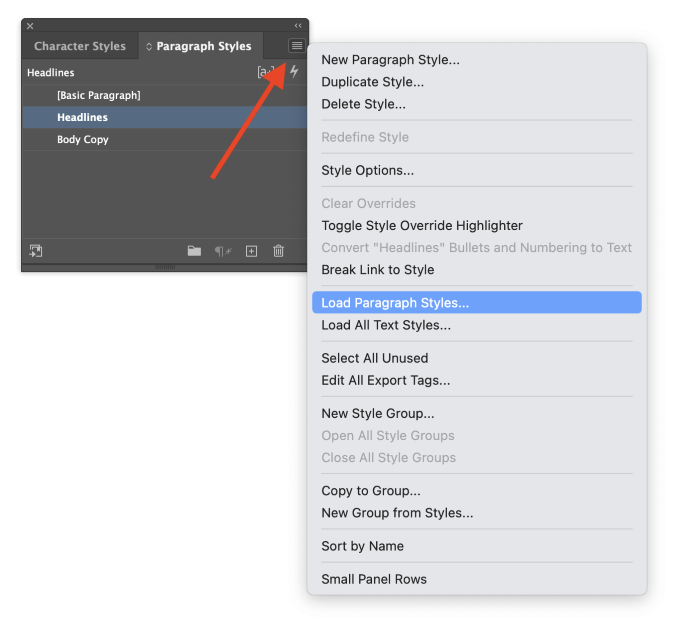
In the Paragraph Styles panel, click the panel menu icon, and select Load Paragraph Styles from the popup menu. InDesign will open a standard file selection dialog window, and you can browse to select the InDesign document containing the styles you want.
A Final Word
That covers the basics of how to use paragraph styles in InDesign! There are a few more important tools to learn if you want to become a true InDesign expert, so the best way to really understand them is to start using them in your next design project.
They might seem a bit tedious at first, but you’ll quickly begin to appreciate just how valuable they are.
Happy styling!