
You can warp text in Photoshop by right-clicking on the layer in the Layers Panel to Convert to Smart Object, then, using the shortcut Ctrl/Command + T to activate Free Transform. Right-click inside the box that appears around the text and right-click to select Warp.
Warping is as simple as clicking and dragging any of the grab points that appear, or even in between them.
Hello! I’m Jayde, and today I will show you how to warp text in Photoshop. This can be done very easily, so without further ado, let’s get started!
Key Takeaways
- Right-click on the text layer in the Layers Panel and go to Convert to Smart Object.
- By Converting to Smart Object instead of Rasterizing your text, you retain the ability to edit your text after warping and higher digital quality.
- To view more text editing options, go to Window > Character.
- After converting your text to a smart object, use the shortcut Ctrl/Command + T to activate Free Transform.
- Right-click inside the Free Transform box and go to Warp.
Note: The screenshots from this tutorial are taken from the Adobe Photoshop Windows version. Mac or other versions can look different.
The Detailed Guide to Warp Text in Photoshop
Follow the steps below to warp text in Photoshop.

Step 1: Go to Window > Character to see many text editing options. I prefer to do this before warping my text.
If you’d like a more detailed walkthrough of these features, take a look at my How to Edit Text in Photoshop tutorial.
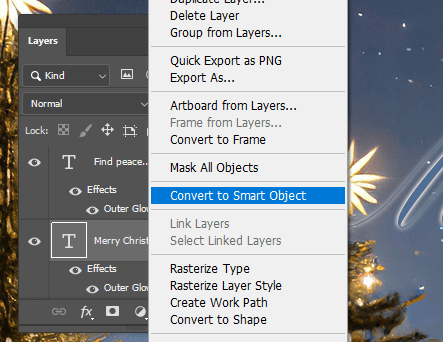
Step 2: Right-click on the text layer in the Layers Panel and click Convert to Smart Object.
By doing this, you can do the following step without rasterizing the text, which makes it uneditable in the future and lessens the resolution.
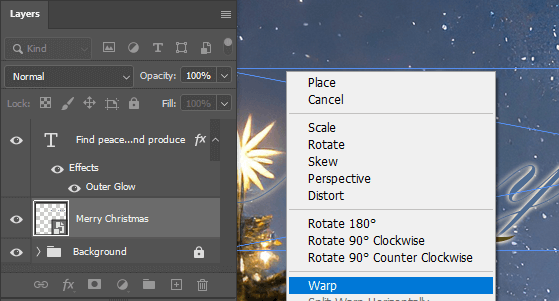
Step 3: Use the shortcut Ctrl/Command + T to activate Free Transform and right-click inside the box that appears to click Warp.
Or go to Edit > Transform > Warp.
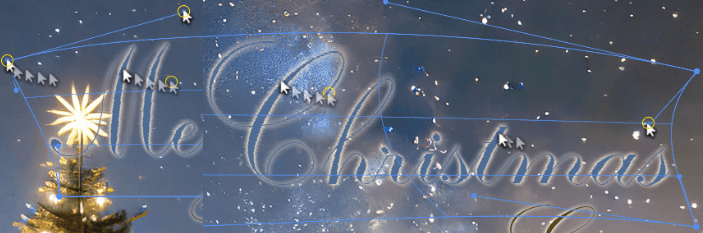
Step 3: Click and drag grab points or space in between them to warp and change the angle of your text.
Bars appear from the corners and offer a way to curve the text. You can also flip, fold, and bend the text.
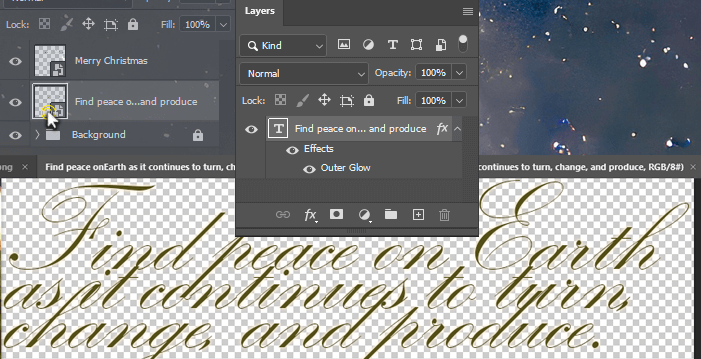
Step 4: To edit text that has been converted into a smart object, double-click on its thumbnail. This will open the text object in a different tab, in its own file.
After changing the text, go to File > Save or use the shortcut Ctrl/Command + S to save. Your changes will appear in the original file.
Final Thoughts
That concludes this warping text tutorial. I love working in Photoshop by exploring all the different features and unique effects it offers. Warping text as a smart object is so convenient because you can edit the text later if necessary.
Did you find this tutorial helpful? If you have more doubts, don’t hesitate to let me know in the comments below!