
Navigating in Photoshop is one of the first things you’ll have to learn in order to be a successful user! That being said, there are many ways to accomplish this task. From scrolling, and gestures to menu dropdowns and tools that all aim to aid us in this endeavor.
I’m Skyler, and I’ve been using Photoshop on a personal and professional level for well over a decade. In one way or another, I need to zoom in and out of my work to make adjustments.
It’s one of the most useful keyboard shortcuts that cut down on work time, and has aided me greatly throughout my creative career – and I’m confident they’ll do the same for you!
In this tutorial, I’ll be going over all the ways we can zoom in or out, in addition to highlighting those essential shortcuts in Photoshop.
The easiest way to Zoom in and out is definitely using the keyboard shortcuts Command/Ctrl + + and Command/Ctrl + –. But I’ll show you more ways to zoom in Photoshop to speed up your workflow.
Table of Contents
Keyboard Shortcuts
- You can use the keyboard shortcut Command/Ctrl + + to zoom in, and Command/Ctrl + – to zoom out.
- You can access the Zoom tool without navigating to the tools panel, we can click Z for quick access. Then you can click on the portion of the image you’d like to zoom in on. Alternatively, you can zoom out the same way by clicking and pressing Option on your keyboard.
- You can use the scrub tool through the keyboard exclusively by activating the Move Tool (keyboard shortcut V). Once this tool is activated, you’ll hold down Spacebar + Command while clicking and dragging to zoom. Scrub right to zoom in and left to zoom out.
- You can change the magnification of our image to 100% by pressing Command + 1.
Method 1: Zoom Percentage Leveler
Probably the most detailed tool you can use to ensure accurate edits in the Zoom Percentage Level. With this tool, we can manually input a number to suit our needs.
This can be easily found by checking the current zoom level in the tab at the top of the screen, as well as the box in the bottom left corner of the screen.
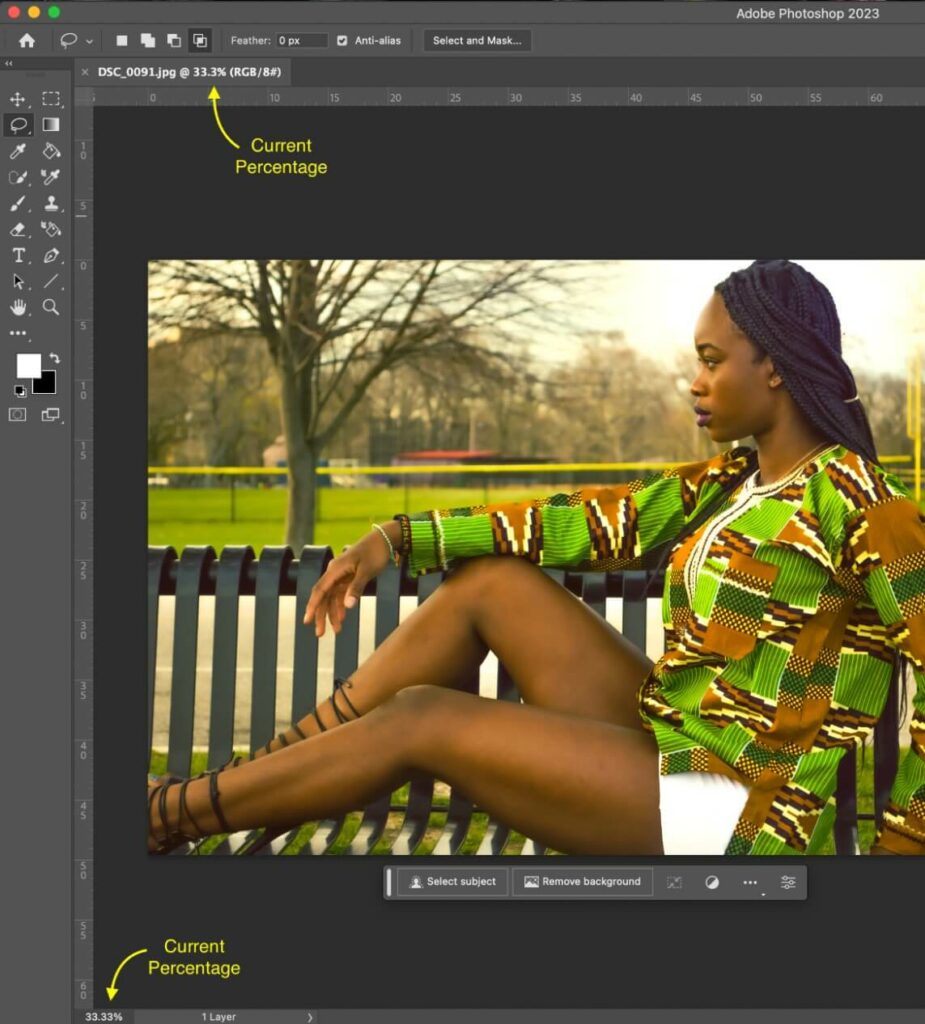
Please keep in mind when using this method, the percentage on the top tab is for viewing. In order to edit or input a new number, you’ll have to use that box in the bottom left corner, and remember that the higher the input number, the more you’ll zoom into your image.
Method 2: Zooming with a Click
Another efficient method for zooming with your mouse or trackpad is using the right-click action. Firstly though, we have to engage the Zoom Tool in order to make this menu active.
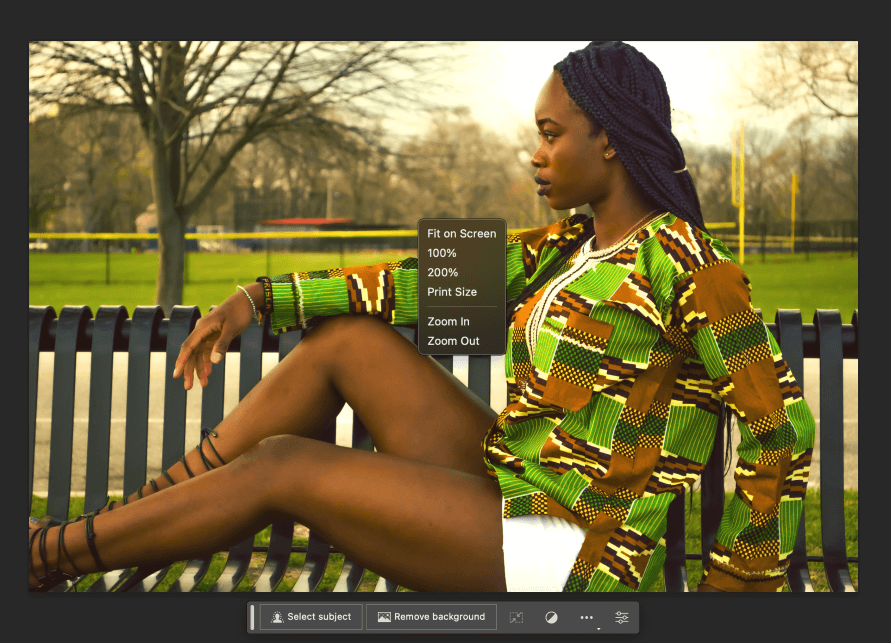
Once the Zoom Tool is active, a new menu will appear upon right-clicking. As pictured above, you can now choose from several preset options.
Method 3: Using the Scroll Wheel
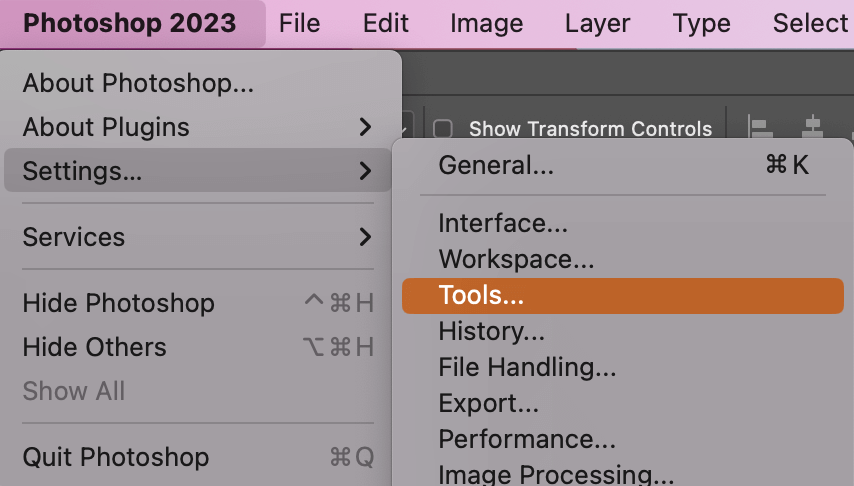
If you’re using a mouse, this method works great. In order to set this up though, we’ll have to edit our preferences a bit first. We’ll need to navigate Photoshop > Settings > Tools.
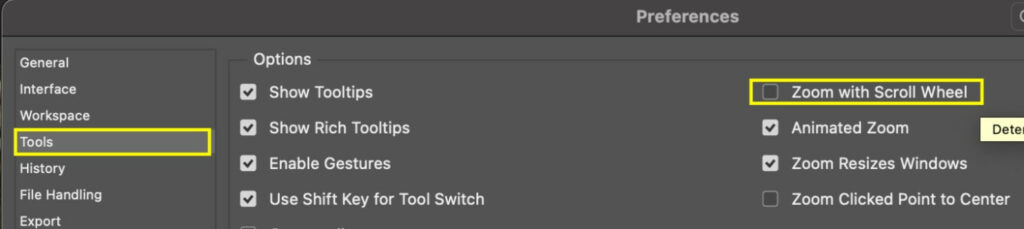
This is the window that will open. From here we have to click Tools in the sidebar and check the box that says Zoom With Scroll Wheel.
Method 4: Touchpad & Gesture Zoom
For those with a touchpad, you don’t have to jump through any of the above hoops. Simply hold down the Option key while scrolling up or down with two fingers to zoom in or out!
If you’ve got Gesture Controls enabled on a Mac then you’ll be able to use another method as well. This is commonly used on iPads, where we can pinch in or out using two fingers (typically the thumb and index) to zoom!
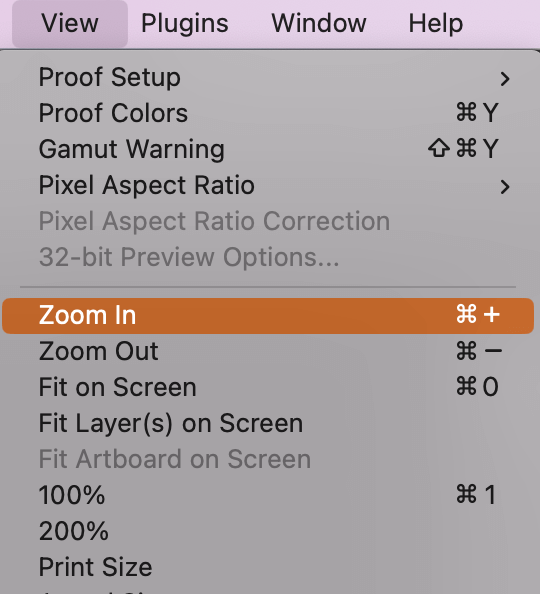
This isn’t the most convenient method, but chances are you’ll find yourself using it at one point or another. You can find these simplified commands by going to View > Zoom In or View > Zoom Out.
These buttons are arguably the most accessible considering they’re always available in the overhead panel on Photoshop. You can manually type in the percentage, or click the zoom in and out buttons.

Option 1: Resize Windows to Fit
This option is easily enabled or disabled by checking the corresponding box in the overhead panel. It seems like a fairly self explanatory function, but for those who don’t often work with several floating windows in Photoshop it may not be apparent.
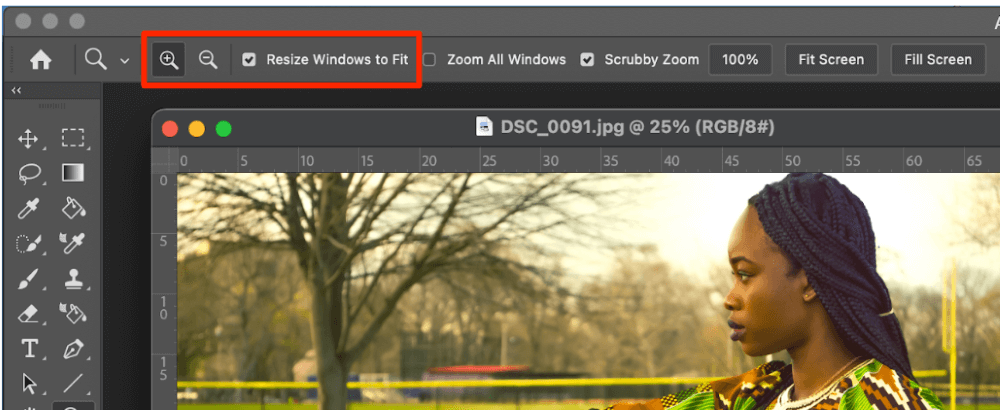
When you have your tabs floating like pictured above – this function can be used to adjust the window size automatically when you zoom in and out. By pressing Command + – or Command + + the window and the image will adjust accordingly for your convenience.
Option 2: Zoom All Windows
This is another checkbox option in the overhead panel. The Zoom All Windows option is best for when you have multiple files or tabs/windows up at once. This function will apply your zooms to all windows simultaneously.
Do keep in mind this function works when an image is selected – not with keyboard or gesture motions alone.
Option 3: Scrubby Zoom
This function is automatically enabled upon opening Photoshop. When the Scrubby Zoom box is checked, all you have to do to zoom in is click the image and drag your cursor to the right. To zoom out, we can do the opposite by clicking and dragging your cursor left. Easy!
Option 4: Fit & Fill Screen
As for the Fit and Fill Screen buttons, they do exactly what they say! When clicked, the Fit Screen option will automatically zoom to make the longest side of your image fit within the screen’s parameters.
Alternatively, the Fill Screen option will automatically zoom to fill the entire screen, so there is no empty canvas space.
Conclusion
Lots of options are available when it comes to zooming in Photoshop, and you can use different zoom features depending on the project and edit you work on.
Now that you’re able to use these Zoom Tools like a pro, your precision editing will be that much better! I’m looking forward to seeing how you’ll put this new knowledge to use in all your creative endeavors.